

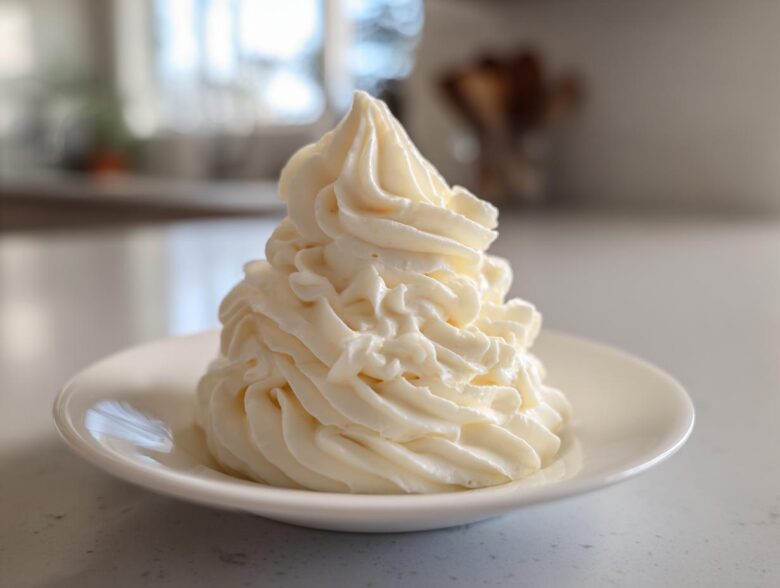
Okay, let’s talk about the most crucial part of any celebration dessert: the topping! If the cake is the star, the frosting is definitely the sparkly cape it needs to wear, right? I swear, I must have tried a dozen ways to get a buttercream that stacks beautifully without collapsing into a sad, greasy puddle. It took some serious chaotic kitchen practice, but I finally nailed the definitive recipe for what I now call my fail-safe vanilla buttercream frosting. This isn’t some complicated, French-method nonsense; this is the real deal—a classic American buttercream that is genuinely perfect for frosting cakes, piping sharp swirls on cupcakes, and just eating with a spoon when Leo isn’t looking. Trust me, this recipe is the one that *always* works for us, no matter how crazy the music is playing in the background!
Why This is the Best Classic American Vanilla Buttercream Frosting
I call this the ‘set-it-and-forget-it’ recipe because once you learn the technique, you never have to worry again! This classic American buttercream is the foundation for almost everything we frost around here. It’s the perfect vehicle to deliver that rich, sweet vanilla punch we all crave on a homemade cake. Why mess with complicated recipes when you can have this incredible vanilla buttercream frosting done in a flash?
- It whips up amazingly light and fluffy—no heavy, greasy feeling here!
- It’s guaranteed smooth texture, provided you sift that powdered sugar properly.
- It’s totally stable and ready for fancy swirls or just slathering on thick.
Quick Prep Time for Your Vanilla Buttercream Frosting
Seriously, this is where it shines. If you need quick dessert decorations for an impromptu party or just a Tuesday night cupcake craving, this takes about ten minutes flat. We’re talking almost instant gratification, which, in my busy kitchen, is golden!
Achieving Perfect Buttercream Frosting Piping Consistency
This is the secret sauce. Because we whip the butter long enough first, we get incredible structure. That means you get fantastic buttercream frosting piping consistency that stays sharp and doesn’t melt off your beautiful layer cakes while you’re trying to serve them. It’s stability without tasting like shortening!
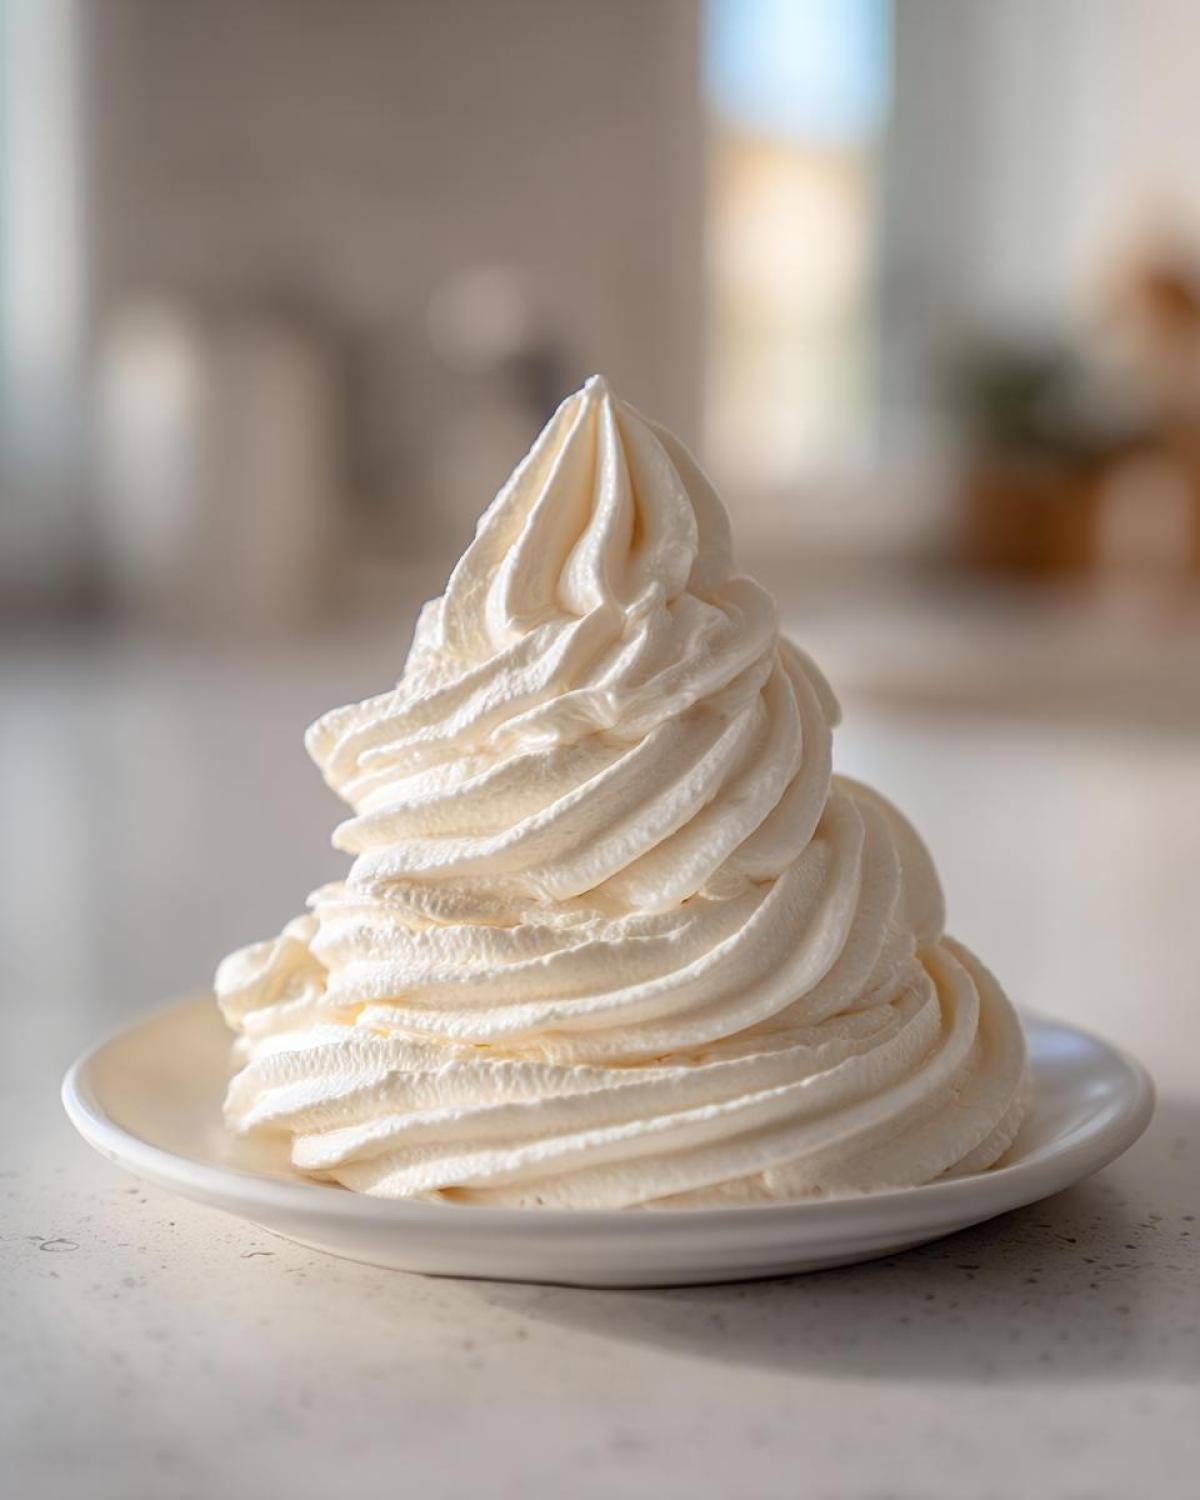
Gathering Ingredients for Your Creamy Vanilla Frosting Recipe
Alright, now that you’re sold on how amazing this is going to be—and how fast we can whip up this creamy vanilla frosting recipe—let’s talk about what you need. The beauty of this classic vanilla buttercream frosting is that it’s made from stuff you probably already have hiding in the pantry. Precision matters here, though! Don’t just throw things in; follow these measurements, and you’ll be golden.
- 1 cup (2 sticks or 226g) unsalted butter, softened to cool room temperature
- 4 cups (480g) powdered sugar, sifted
- 1 teaspoon pure vanilla extract
- 2 to 4 tablespoons heavy cream or whole milk
- Pinch of salt
Ingredient Notes and Simple Substitutions
The biggest rookie mistake people make? Warm butter! You want butter that’s soft enough to dent easily with your finger, but it should *not* look greasy or shiny. If it’s too warm, your gorgeous frosting turns into a melted mess, and we just spent ten minutes whipping it for nothing! That cool, soft texture is the backbone of a smooth buttercream.
Also, please, for my sanity, sift that powdered sugar! It breaks up any hardened clumps before they make it into the mixer, saving you from having tiny sugar rocks in your otherwise beautiful vanilla buttercream frosting. As for the liquid, I usually start with heavy cream if I want something richer, perfect for a special layer cake frosting. If I’m making a thinner, spreadable batch, whole milk works just fine. Just add it slowly until you hit that perfect texture we talked about!
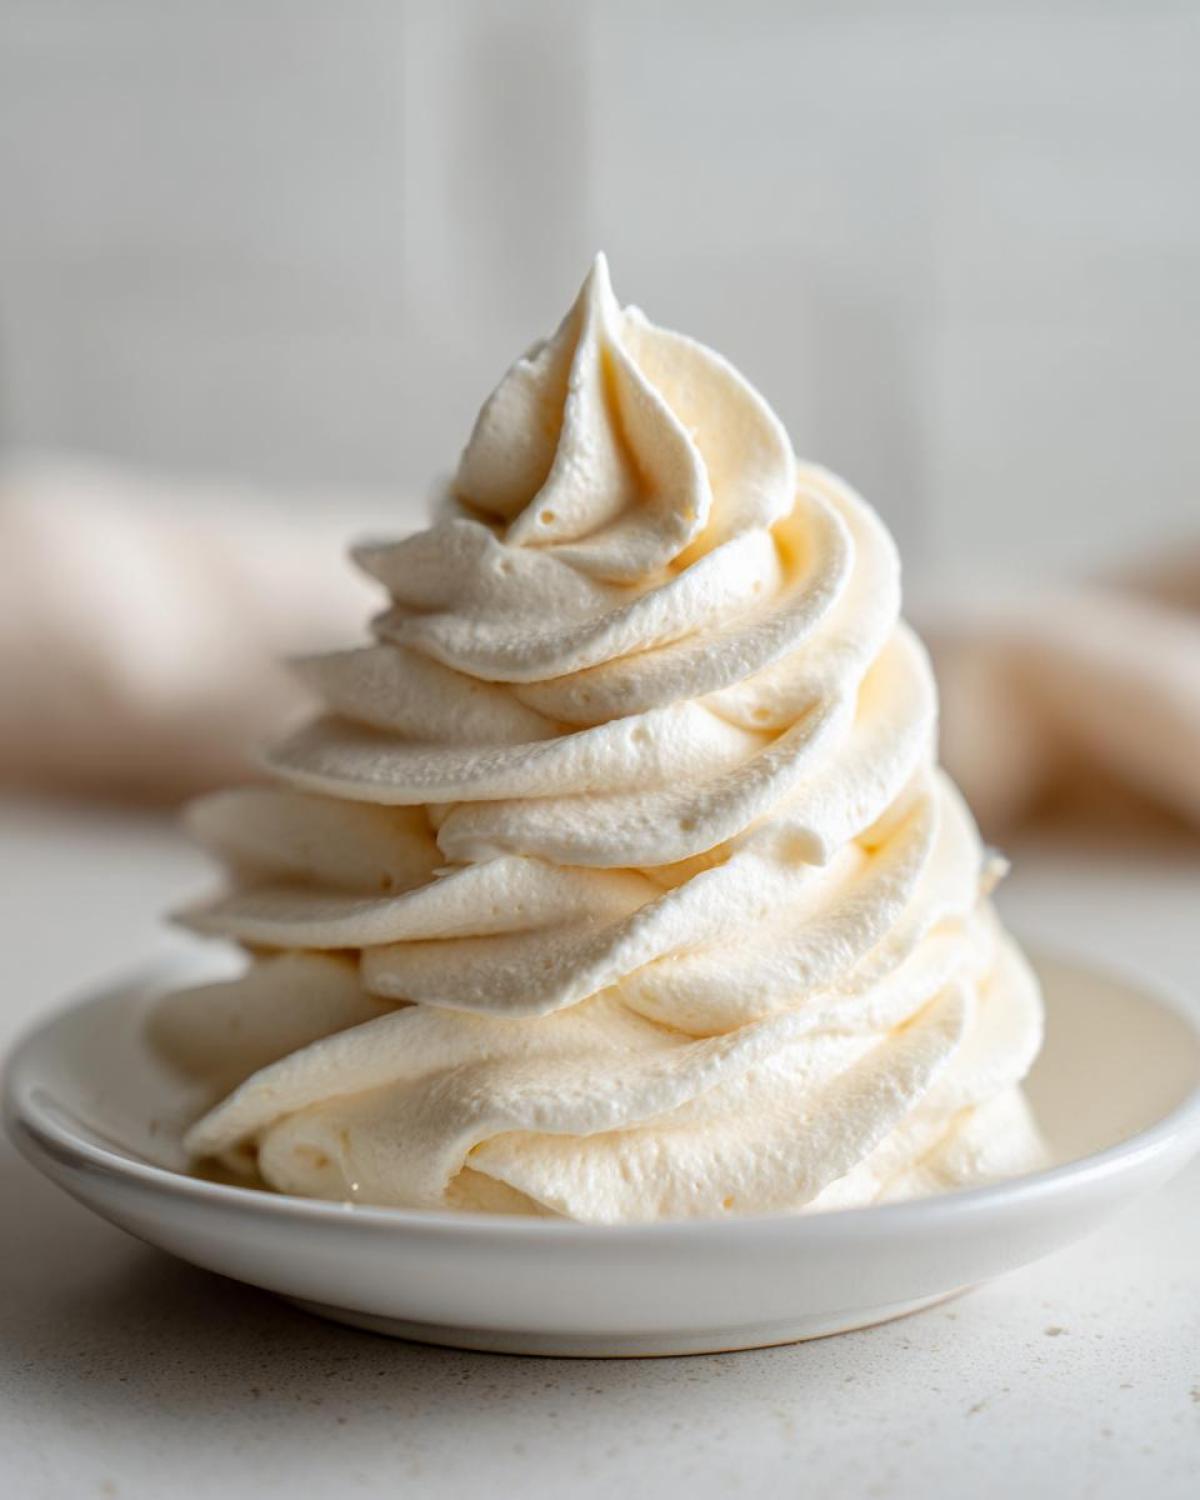
How to Make Smooth Buttercream: Step-by-Step Vanilla Buttercream Frosting Instructions
Okay, here’s where the magic really happens! Making incredible vanilla buttercream frosting isn’t about measuring to the milligram; it’s about technique and timing. If you follow the steps below, especially nailing that whipping time, you’ll see the difference immediately. We’re turning basic butter and sugar into something light, airy, and totally scoopable. Let’s dive into the process of making this smooth, show-stopping topping!
The Critical First Step: Creaming the Butter
This is non-negotiable, people! Grab your mixer—trust me on this one—and put that softened butter in the bowl. You need to beat it on medium speed for a solid three to five minutes. Don’t rush it! I know we love speed, but this step is where we force air bubbles into the fat. When you stop, the butter should look significantly paler, almost white, and have the texture of fluffy whipped cream. That trapped air is what gives our final vanilla buttercream frosting that beautiful lift instead of being dense and heavy. If you skip this, the rest of the steps won’t matter as much!
Achieving the Best Buttercream for Cakes Texture
Once the butter is perfect, start adding that sifted powdered sugar, one cup at a time, mixing slowly so it doesn’t explode all over your kitchen (Leo knows that struggle well!). Once the sugar is in, it’s time for the flavor boost: your vanilla and a tiny pinch of salt. Now, for the final push: add just two tablespoons of that heavy cream or milk. Turn the mixer up to medium-high and let it go for another three to five minutes. This long beating process smooths everything out, eliminates any graininess, and totally transforms it into the best buttercream for cakes. If it looks a little weird mid-way, don’t panic! Just keep whipping. It always sorts itself out by the end.
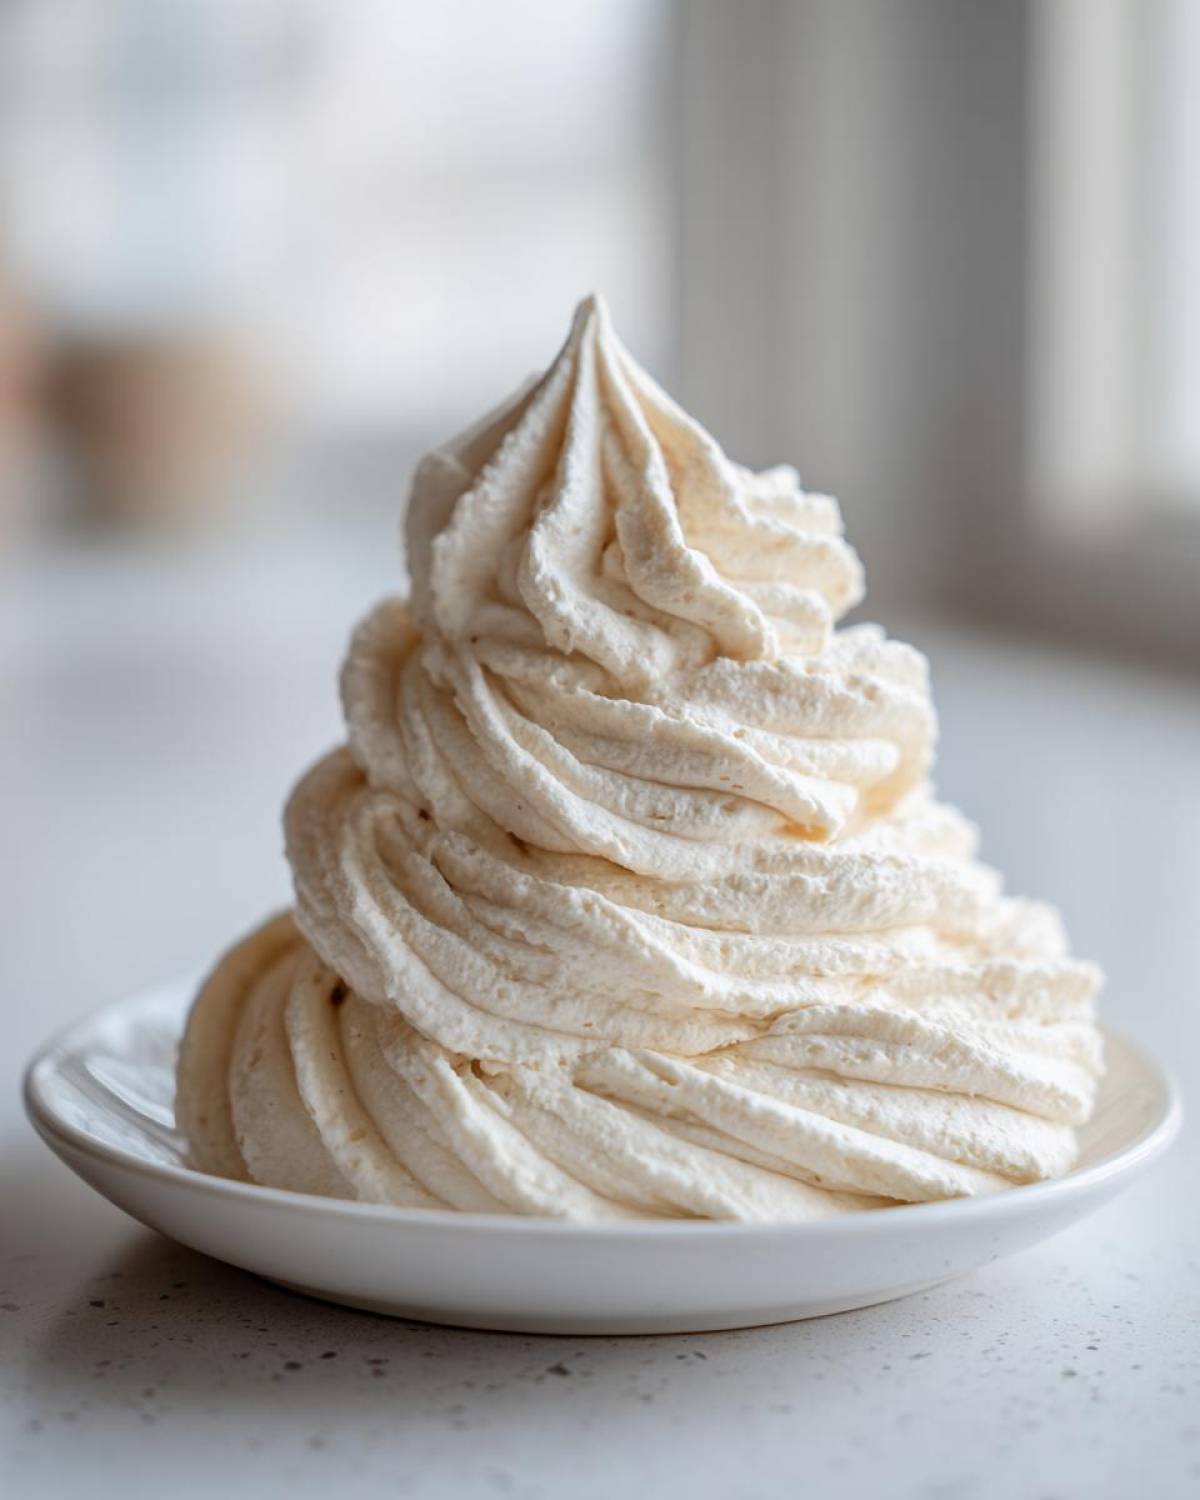
Tips for Success with Your Easy Homemade Frosting
Even though this easy homemade frosting recipe is incredibly straightforward, sometimes the kitchen has other plans, right? Don’t worry, I’ve mapped out the fixes for the two nastiest problems people run into with vanilla buttercream frosting: runny frosting and frosting that looks like it curdled.
If you followed the creaming rule and your butter was cool, but adding the milk made everything look like it separated—like cottage cheese floating in soup—your first instinct might be to dump more sugar in, but DON’T! Just keep mixing! Seriously, crank that mixer up to medium-high and let it run for a full minute or two. Nine times out of ten, that motion remixes the fat and liquid, giving you a perfectly smooth buttercream again. It’s weird magic, but it works every time.
Now, what if your final product is just too stiff? Maybe you needed that extra tablespoon of cream, or maybe your powdered sugar was clumpy even after sifting. If the frosting isn’t spreading nicely, add milk or cream, one teaspoon at a time, until it loosens up. But remember, you’re aiming for something that can hold a swirl, so only add enough to get it moving. A little stiffness is actually a good thing if you plan on using decorating bags!
One last note: if you decide to stop mixing early because you’re impatient (I do it too!), your frosting will taste sugary instead of complex. That extra few minutes of whipping after the sugar goes in is what dissolves the sugar crystals and creates that trademark mouthfeel. It’s worth the wait for this amazing vanilla buttercream frosting!
Variations on Classic American Buttercream
While I stand by the fact that this base vanilla buttercream frosting recipe is absolutely perfect as is—it’s the ultimate reliable go-to—sometimes you just need to jazz things up a bit! It’s so easy to take this classic recipe and twist it into something totally new without messing up the structure. We’re still keeping it quick, easy, and sturdy for piping, but we’re adding layers of flavor!
The easiest way to switch things up is by playing with extracts. If you’re making a birthday cake for someone who loves brightness, swap out half of that vanilla for a teaspoon of lemon extract. The tanginess pairs beautifully with the sweetness of the sugar, giving you a surprisingly vibrant flavor profile. Just make sure you use the extract form, not fresh lemon juice right away, because adding too much liquid can throw off the texture balance we worked so hard to achieve!
Or, chase after that sophisticated almond flavor! A half-teaspoon of good quality almond extract mixed in during the final whip gives you something that tastes way more grown-up than a standard vanilla buttercream frosting. It’s amazing on shortbread cookies or paired with coconut cake. Leo actually prefers almond over vanilla when we make frosting for fruit tarts!
Color is another fun one! Because this is such a stable, buttery recipe, it takes gel food coloring like a dream. Just know that the butter starts slightly yellow, so if you want a truly shocking white frosting for wedding cakes or something equally formal, you might need to use a tiny bit of violet food coloring to neutralize the yellow tint. For pretty pastels, though, just add a drop or two of your favorite color after the final whip. It allows you to customize your vanilla buttercream frosting for every holiday without needing a new recipe!
Serving Suggestions for Fluffy Vanilla Icing Tutorial
Now that you have whipped up this incredible, stable, and gorgeously fluffy vanilla icing tutorial batch of vanilla buttercream frosting, the fun really begins: putting it on things! Honestly, half the joy of making this from scratch is getting to use a piping bag again. After all that whipping, we want to show off those sharp edges, right? Don’t just smear it on a cookie; give your dessert the treatment it deserves!
My absolute favorite canvas for this frosting is a classic batch of vanilla cupcakes. If you use a large star tip—like the Wilton 1M or a similar size—you can create those beautiful, professional bakery swirls in about thirty seconds per cupcake. It makes it look like you spent hours in the kitchen, even though we know it only took ten minutes to whip up the frosting itself!
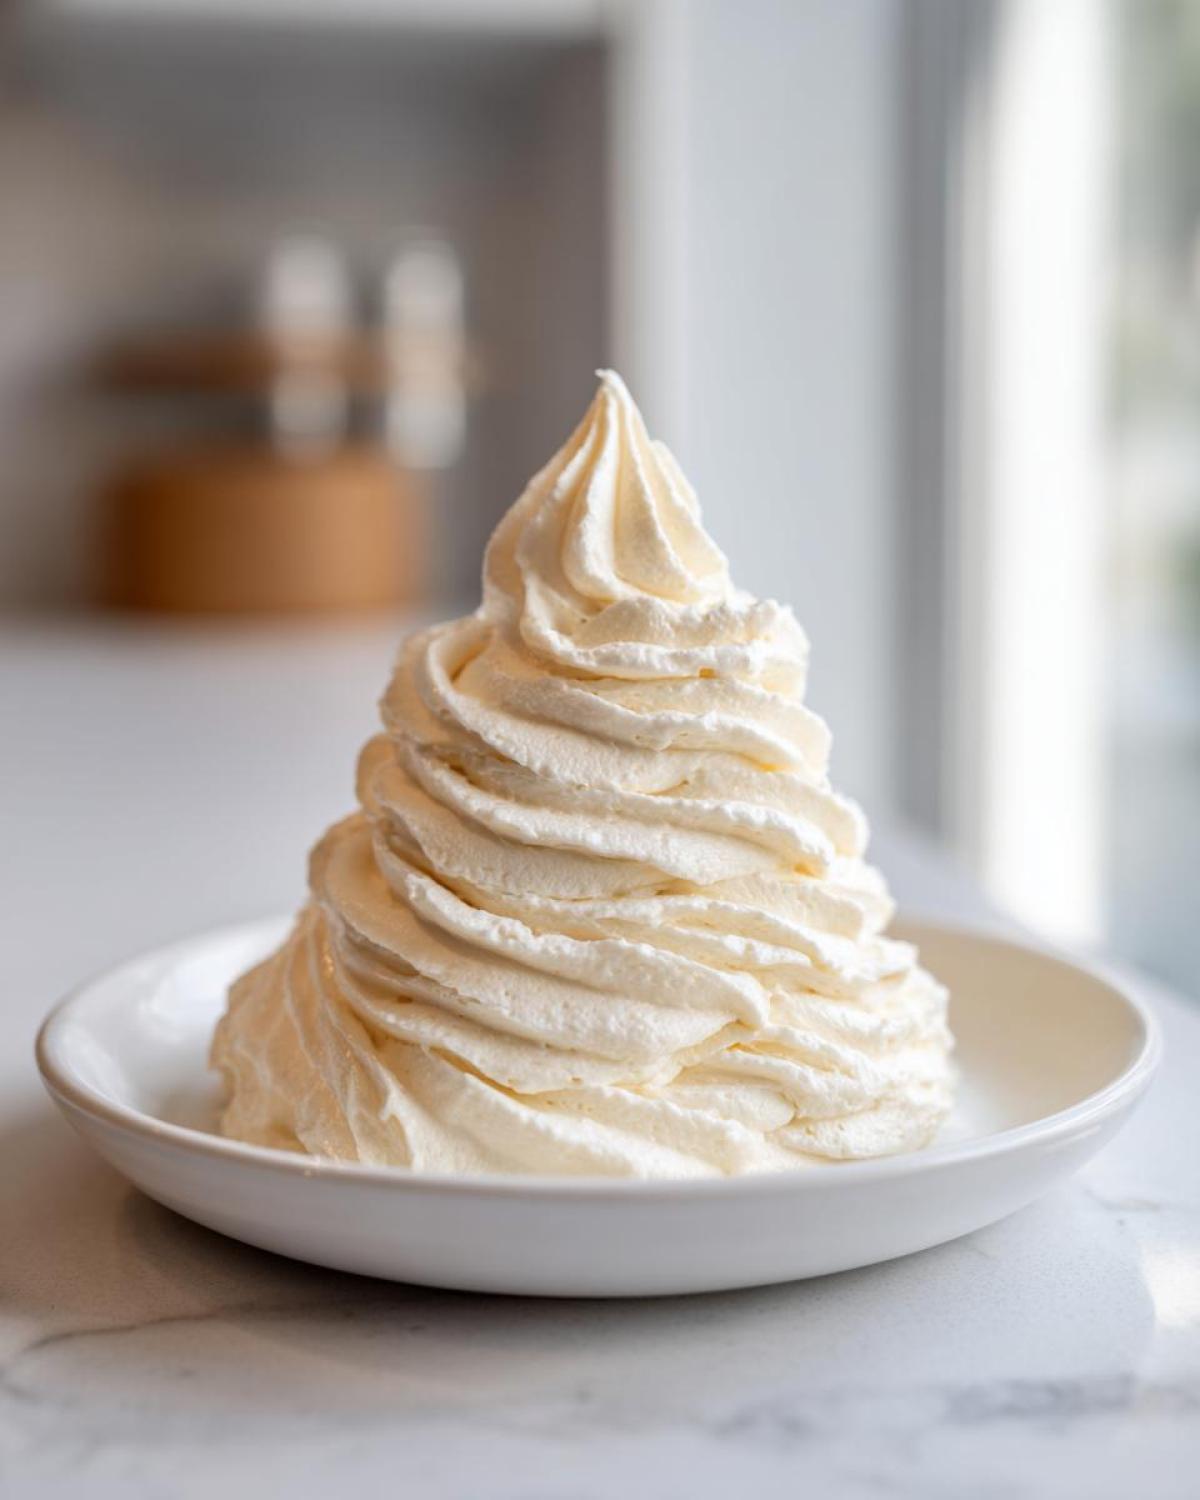
This also makes the best buttercream for cakes. If you’re stacking layer cakes, this frosting is sturdy enough to handle a crumb coat, a final smooth layer, or even being used as the filling between the layers. Because it’s so rich, a little bit goes a long way, but you still get that wonderful buttery sweetness in every bite.
And don’t forget cookies! Forget thin icing; this thick, creamy frosting is glorious spooned onto sugar cookies or even homemade shortbread. You can pipe simple rosettes on the top of the cookie, and it sets up just enough that it won’t stick to the box when you stack them. It’s truly the most versatile dessert topping we have in our repertoire!
Storage and Reheating Instructions for Vanilla Buttercream Frosting
Okay, sometimes you just can’t eat three cups of incredible vanilla buttercream frosting in one sitting—although I highly recommend trying! If you have leftovers, or if you’re planning ahead for a weekend baking session, you need to know how to store this stuff correctly. Good news: this classic American buttercream freezes and chills like a champ, but you have to treat it right so it doesn’t turn weird when you try to use it later.
For short-term storage, say, a couple of days, just pop your leftover frosting into an airtight container. You can put it right on the counter if your kitchen isn’t too hot, but I generally prefer the fridge just to be safe, especially using real butter. Cover the top surface of the frosting directly with a piece of plastic wrap before putting the lid on. That extra layer of protection stops any weird fridge smells from migrating into your beautiful sweet topping. Store it like this for up to a week!
If you need to keep your vanilla buttercream frosting around for longer—like maybe you just don’t trust yourself not to eat it all before next weekend—freezing is the answer! Transfer it to a freezer-safe zip-top bag or a sturdy container. If you use a bag, press out all the air before sealing it tight. It will keep perfectly for up to three months. Honestly, I often make a double batch just so I have emergency frosting ready to go for those simple desserts topping moments.
Now, the crucial part: bringing it back to life! When you take the frozen or chilled frosting out, it will obviously look super hard or possibly separated (don’t panic!). You *must* let it come up to cool room temperature on the counter for at least an hour or two. Resist the urge to microwave it! Once it softens up a bit, put it back on the mixer. Beat it again on medium-high speed for about three to five minutes. That whipping action redistributes the fats and air, bringing it right back to that fluffy, pipeable state. If it looks a little curdled after bringing it back from the cold, just keep whipping; it usually sorts itself out wonderfully! This reheating process ensures your stored vanilla buttercream frosting is just as good as the batch you made fresh.
Frequently Asked Questions About Making Butter and Sugar Frosting
I get so many messages wondering about little troubleshooting issues, and honestly, that’s just part of cooking, right? We’re all trying to figure things out! Since this butter and sugar frosting is so fundamental, I wanted to dump quick answers here to make sure your next batch of homemade icing is perfect. Don’t stress if you run into a little hiccup!
What is the secret to the smoothest vanilla frosting for cupcakes?
The secret is twofold, sweetie! First, you absolutely must sift your powdered sugar. Skipping this means you are bringing sugar clumps into the mixer, and no amount of whipping will truly dissolve those big lumps once the mixture gets stiff. Second, the long whip! That final three to five minutes of beating on medium-high after the liquid goes in is what smooths everything out. It turns the grainy mixture into that silky, dreamy vanilla frosting for cupcakes we all want. Don’t stop beating too soon!
Can I use salted butter in this buttercream frosting recipe?
You *can*, but I strongly advise against it for this specific recipe unless you truly love salt in your sweets. Since the recipe already calls for a pinch of salt (which just helps cut the extreme sweetness), using salted butter means you lose control over the final flavor. If you use salted butter, leave out the extra pinch. But for the best flavor balance in your vanilla buttercream frosting, stick to unsalted butter so you can control the seasoning perfectly. A little control goes a long way!
If your frosting tastes *too* sweet, that’s usually a sign you stopped whipping before the sugar dissolved properly, not necessarily that you used too much sugar. Keep that mixer running!
Estimated Nutritional Data for This Simple Desserts Topping
Okay, darling bakers, here we get into the slightly less fun, but still necessary, part of sharing any recipe! Since we are all about transparency here at Cookify Me—even if Leo sometimes jokes that the only truly ‘healthy’ part of this frosting is the joy it brings—I want to give you a rough idea of what’s in this batch of creamy vanilla frosting recipe. Remember, this is just an estimate based on standard amounts of butter and sugar. If you go heavy on the cream or add extra vanilla, the numbers shift, so take these figures as a friendly guideline, not a doctor’s order!
We’re looking at this data based on a serving size of about 1/4 cup, which is a decent dollop for most cupcakes. Trust me, comparing it to what you’d find in a tub from the store, ours is way better because we used real butter and pure vanilla extract!
- Serving Size: 1/4 cup
- Calories: About 380
- Fat: 18g (11g Saturated Fat)
- Carbohydrates: 55g
- Sugar: 55g
- Protein: 1g
- Cholesterol: 45mg
See? Lots of sugar and fat, which is totally expected for a decadent, fluffy topping, but we kept the salt and trans fats wonderfully low. This is why making your own butter and sugar frosting is always the way to go. Enjoy responsibly—or irresponsibly, I won’t tell!
PrintThe Best Classic American Vanilla Buttercream Frosting
You need a creamy, smooth, and fluffy vanilla buttercream frosting that holds its shape for piping on cakes and cupcakes. This easy homemade frosting recipe is your go-to for perfect results every time.
- Prep Time: 10 min
- Cook Time: 0 min
- Total Time: 10 min
- Yield: About 3 cups
- Category: Dessert Topping
- Method: Mixing
- Cuisine: American
- Diet: Vegetarian
Ingredients
- 1 cup (2 sticks or 226g) unsalted butter, softened to cool room temperature
- 4 cups (480g) powdered sugar, sifted
- 1 teaspoon pure vanilla extract
- 2 to 4 tablespoons heavy cream or whole milk
- Pinch of salt
Instructions
- Place the softened butter into the bowl of a stand mixer fitted with the paddle attachment, or use a large bowl with a hand mixer. Beat the butter on medium speed for 3 to 5 minutes until it becomes very pale, light, and fluffy. This step incorporates air, which is key for a fluffy vanilla buttercream frosting.
- Stop the mixer. Gradually add the sifted powdered sugar, one cup at a time, mixing on low speed until just combined after each addition. Scrape down the sides and bottom of the bowl frequently.
- Add the vanilla extract and the pinch of salt. Mix on low speed until incorporated.
- Add 2 tablespoons of heavy cream or milk. Increase the mixer speed to medium-high and beat for 3 to 5 minutes. This extended whipping time is crucial for achieving a smooth buttercream consistency that is perfect for piping.
- Check the texture. If the frosting seems too stiff, add the remaining cream, one teaspoon at a time, until you reach your desired spreading or piping consistency. If it seems too soft, add a quarter cup more sifted powdered sugar.
- Beat on medium-high for one final minute to ensure everything is fully combined and light. Use immediately for frosting cakes or vanilla frosting for cupcakes.
Notes
- Use cool, but truly soft, room temperature butter. If the butter is too warm, your frosting will be greasy and thin.
- Sifting the powdered sugar prevents lumps and helps you achieve a smooth buttercream texture quickly.
- For a stronger vanilla flavor, use vanilla bean paste instead of extract.
- If your frosting separates or looks curdled after adding the liquid, continue beating it on medium-high speed; it often comes back together into a creamy texture.
Nutrition
- Serving Size: 1/4 cup
- Calories: 380
- Sugar: 55
- Sodium: 55
- Fat: 18
- Saturated Fat: 11
- Unsaturated Fat: 7
- Trans Fat: 0.5
- Carbohydrates: 55
- Fiber: 0
- Protein: 1
- Cholesterol: 45