

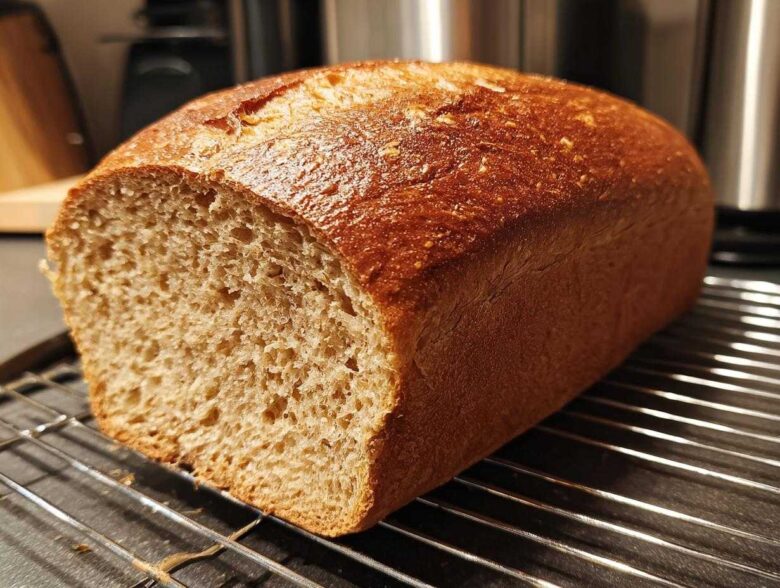
Oh my goodness, you know that smell? That deep, comforting, slightly sweet scent that only means someone is baking fresh bread? It just fills the whole house, right? Well, get ready for that to be your kitchen very soon! I’m Sofia, the chaos coordinator here at Cookify Me, and I truly believe baking shouldn’t be some scary, precise science project. It’s supposed to be fun, messy, and result in something truly delicious! If you love the scent of home baking, you should definitely check out my recipe for easy homemade apple butter, too over here.
That’s why I’m sharing my absolute favorite recipe for whole wheat bread. This isn’t that heavy, cardboard-like health loaf you might be picturing. No way. This is the ultimate, easy recipe for a loaf that manages to be incredibly hearty *and* unbelievably soft. It’s perfect for thick morning toast or stacking high with your favorite sandwich fillings. Trust me, if Leo and I can make this loaf without setting off the smoke alarm, you absolutely can too. Let’s get baking!
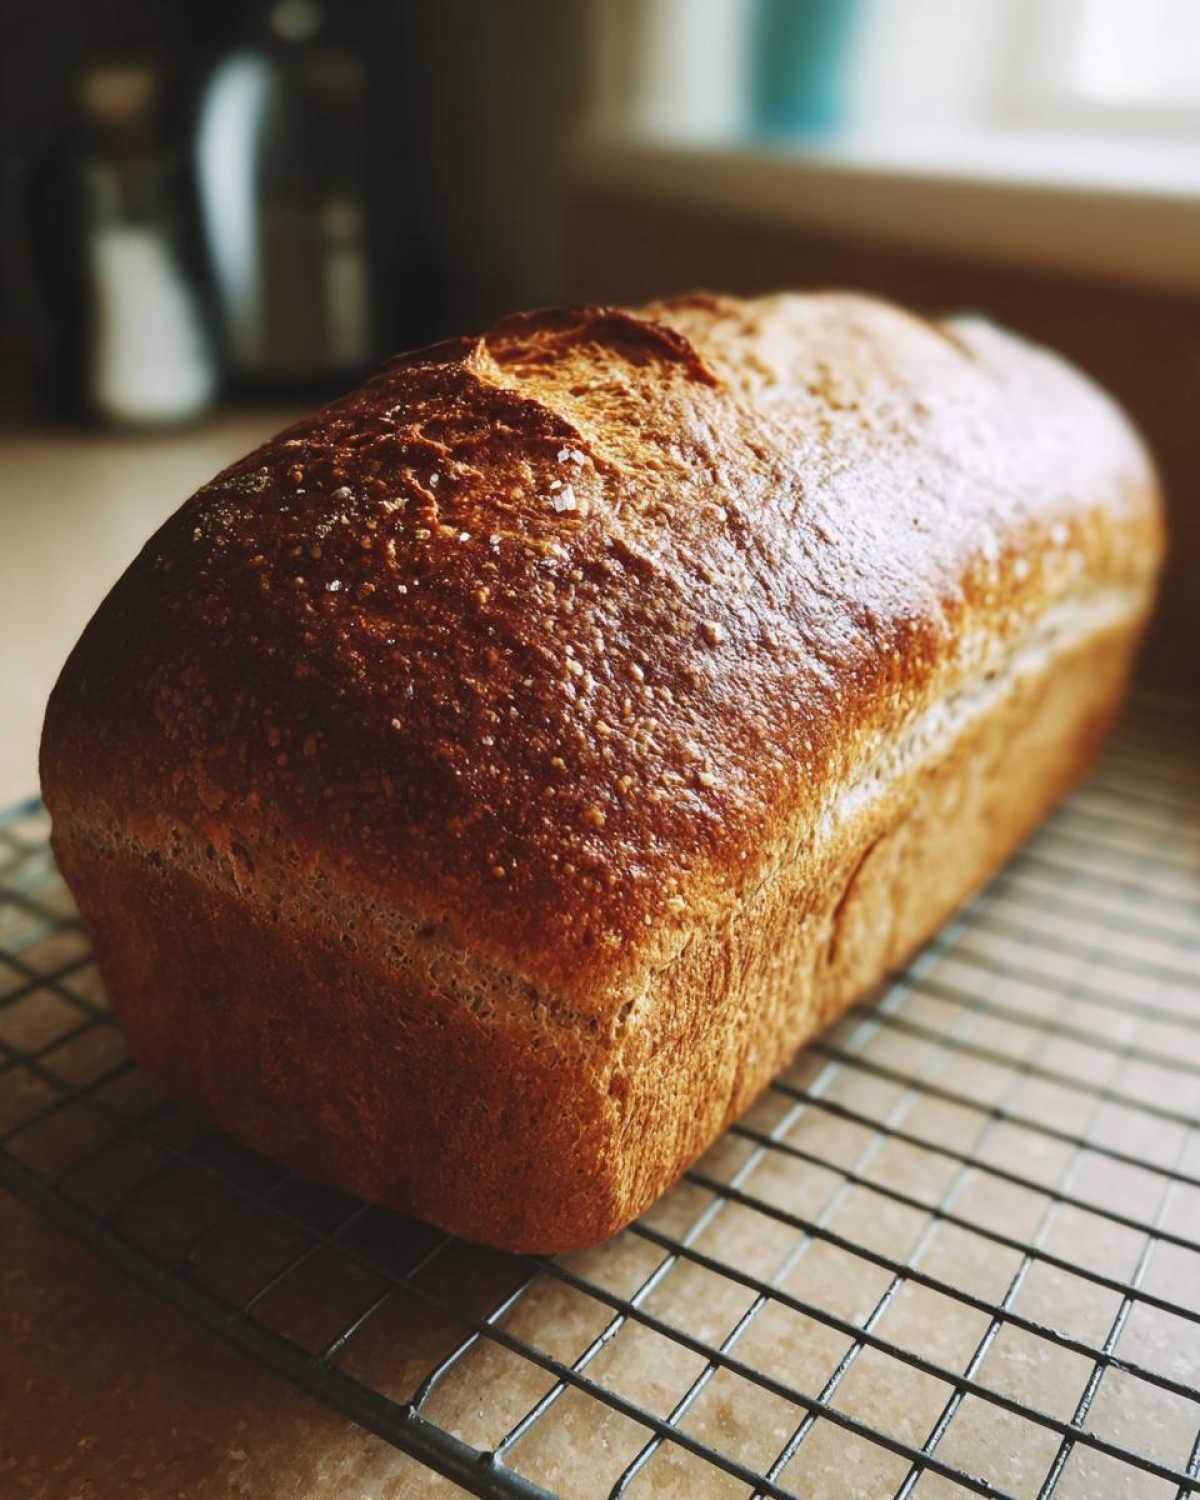
Why This Easy Homemade Whole Wheat Bread Recipe Works for Everyone
I know baking bread can feel intimidating. Seriously, who hasn’t ended up with a hockey puck instead of a loaf? But give this recipe a chance! I’m sharing it because it’s designed to be foolproof, even if you’ve never touched yeast before. It’s all about keeping things simple and fun, just like we do here at Cookify Me. If you’re looking for something else delicious and simple, check out this slow cooker apple butter recipe here.
- It comes together fast—way faster than those all-day artisan loaves.
- It delivers that wholesome, nutty flavor without sacrificing tenderness.
- You can see the results happening right before your eyes!
Beginner-Friendly Techniques for Perfect Whole Wheat Bread
We skip all the fussy steps that usually trip people up. For instance, the kneading isn’t some marathon event. You just work it until it feels right—smooth and elastic. If you feel like it’s fighting you a little, don’t panic! That’s normal with whole wheat flour. The dough is surprisingly forgiving, meaning you don’t have to worry too much about timing it perfectly.
Achieving a Soft and Hearty Whole Wheat Bread Texture
The real secret to texture isn’t just kneading; it’s the flour combo. We use a mix of whole wheat flour for that beautiful, hearty flavor and fiber, but we pair it with regular all-purpose flour. That all-purpose flour is what keeps the crumb soft! It gives the gluten structure without letting the whole wheat completely take over and make things stiff. It’s the best of both worlds: wholesome nutrition with a satisfying chew.
Gathering Your Ingredients for Hearty Whole Wheat Bread
Before the fun starts, we have to gather our supplies! I always lay everything out on the counter first, Leo calls it my mise en place, but really, it just stops me from forgetting the salt at the very end. We need the heart of the bread, which is the one-two punch of whole wheat flour and regular AP flour. If you want something different next time, check out my Greek Yogurt Banana Bread for a different kind of baking fun here!
You’ll need our starches, yeast, salt, oil, and something sweet to wake up that yeast. Here’s the full rundown:
- 2 teaspoons active dry yeast
- 1 cup warm water (make sure it’s 105-115°F – too hot and you kill the yeast, too cool and it sleeps in!)
- 2 tablespoons honey or maple syrup (this is the yeast food!)
- 1 tablespoon olive oil
- 1 1/2 cups whole wheat flour
- 1 1/2 cups all-purpose flour (plus extra for dusting later)
- 1 teaspoon salt
Ingredient Notes and Substitutions for Your Whole Wheat Bread
The yeast is sensitive, so please check that water temperature! It needs to be bathwater warm, not shower hot. The honey or maple syrup is what gets it going so it foams up nicely—it’s that foamy top that tells you the yeast is ready to party. Know that if you decide to get brave and use 100% whole wheat flour next time, your dough will probably need an extra couple of tablespoons of water, since whole wheat loves to soak things up!
Step-by-Step Instructions to Bake Your Whole Wheat Bread
Okay, gloves off! This is where the magic happens. Baking is all about watching the transformation, and yeast doughs are the best for a show. Remember, timing is key here, not just for flavor, but so your kitchen smells divine!
Activating Yeast and Mixing the Whole Wheat Bread Dough
Grab that warm water and that honey—remember, not too hot! Stir the honey in, then sprinkle the yeast on top. Now, you just watch it work its magic for about 5 to 10 minutes. If it gets foamy and bubbly, you’re golden; the yeast is wide awake and ready to go! Start stirring in the olive oil, then dump in all your whole wheat flour and the salt. Keep adding the all-purpose flour slowly until you can just stir it together into what I call a ‘shaggy dough.’ It won’t look pretty yet, trust me!
Kneading and the First Rise for Optimal Whole Wheat Bread Structure
Now we knead! Turn that shaggy mess out onto a counter dusted lightly with flour. We’re aiming for smooth and elastic, which takes a solid 8 to 10 minutes of steady work. It feels good once you get into a rhythm! Once it’s smooth, find a nice, warm corner of your kitchen—maybe on top of the oven right before you preheat—lightly oil a clean bowl, tuck your dough ball in there, cover it up, and forget about it for 1 to 1.5 hours. It needs to double in size; don’t rush this!
Shaping and the Second Rise Before Baking
When you come back, gently—and I mean gently—punch that loaf down to release the gas. Turn it onto your floured surface and shape it into a nice neat little log that fits snugly into your greased 9×5 inch loaf pan. Cover it loosely again. This second rise is shorter, usually 30 to 45 minutes. The important visual cue here is that the dough should be cresting about an inch over the edge of the pan. That means it’s perfectly puffed and ready for the heat!
Baking and Cooling Your Fresh Whole Wheat Bread
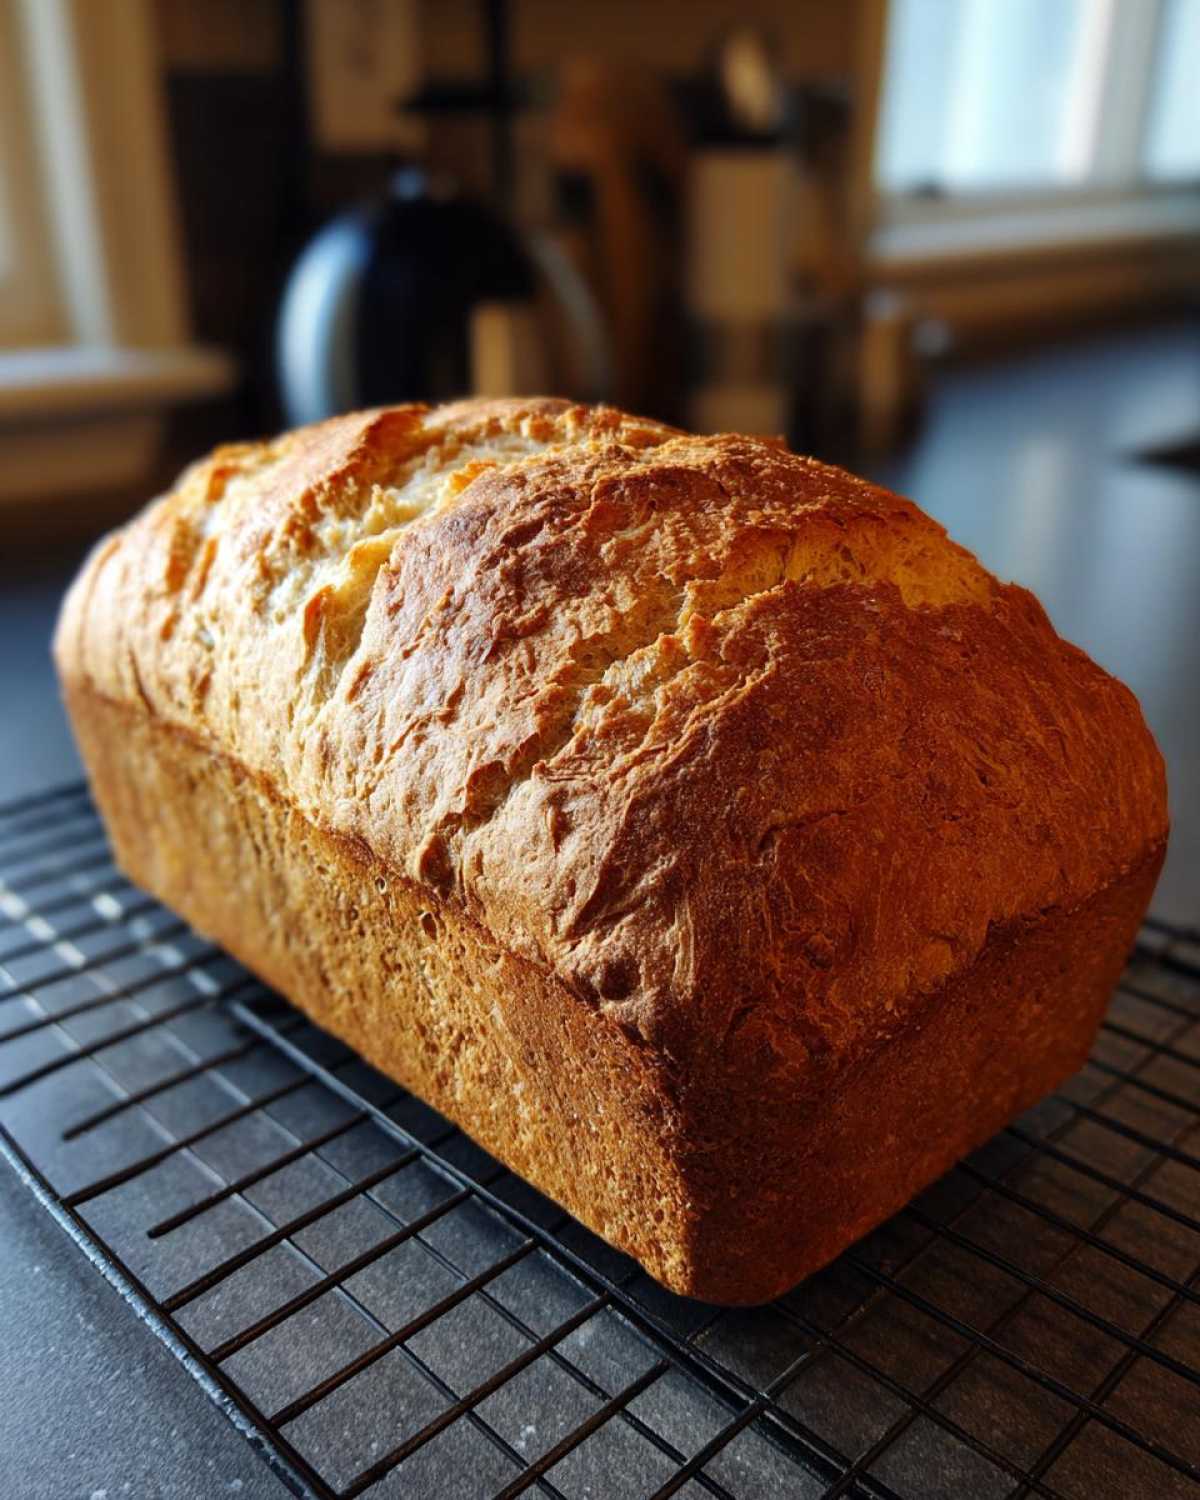
Time for the real test! Get that oven roaring up to 375°F (190°C). Bake it for 30 to 35 minutes until it’s beautifully golden brown on top. For those professional bakers out there, you can check the internal temperature—we’re looking for 200°F (93°C). When it’s done, pull it out and get it onto a wire rack right away. Seriously, don’t let it sit in the hot pan! And here’s a pro tip: you *must* let this whole wheat bread cool completely before you slice it. If you cut it warm, it gets gummy, and nobody wants gummy bread! If you’re looking for something easier to throw together while this cools, try my recipe for homemade cheese crackers here, or check out this general recipe guide for good measure from Goodies Recipes here.
Tips for Making the Best Whole Wheat Bread Every Time
Even though this recipe is super straightforward, there are always those little tweaks that make a good loaf great, you know? It’s about personalizing it to your taste. I’ve learned a few tricks over the years—mostly by watching Leo eat a slice and immediately ask, “Can we make it sweeter next time?” Ha! If you like a sweeter loaf, or if you really want that bakery-soft exterior, I’ve got the easy moves right here. When you’re done, you should totally try out our favorite Chocolate Chip Banana Bread recipe here!
Crust Softening and Flavor Adjustments for Whole Wheat Bread
If you are one of those people who prefers a gentle, soft crust instead of a crispy one, I have the simplest trick. The second that loaf comes out of the oven—and I mean immediately—brush the entire top surface with about a tablespoon of melted butter. It takes like five seconds, and it makes the crust wonderfully tender as it cools down. It’s heavenly!
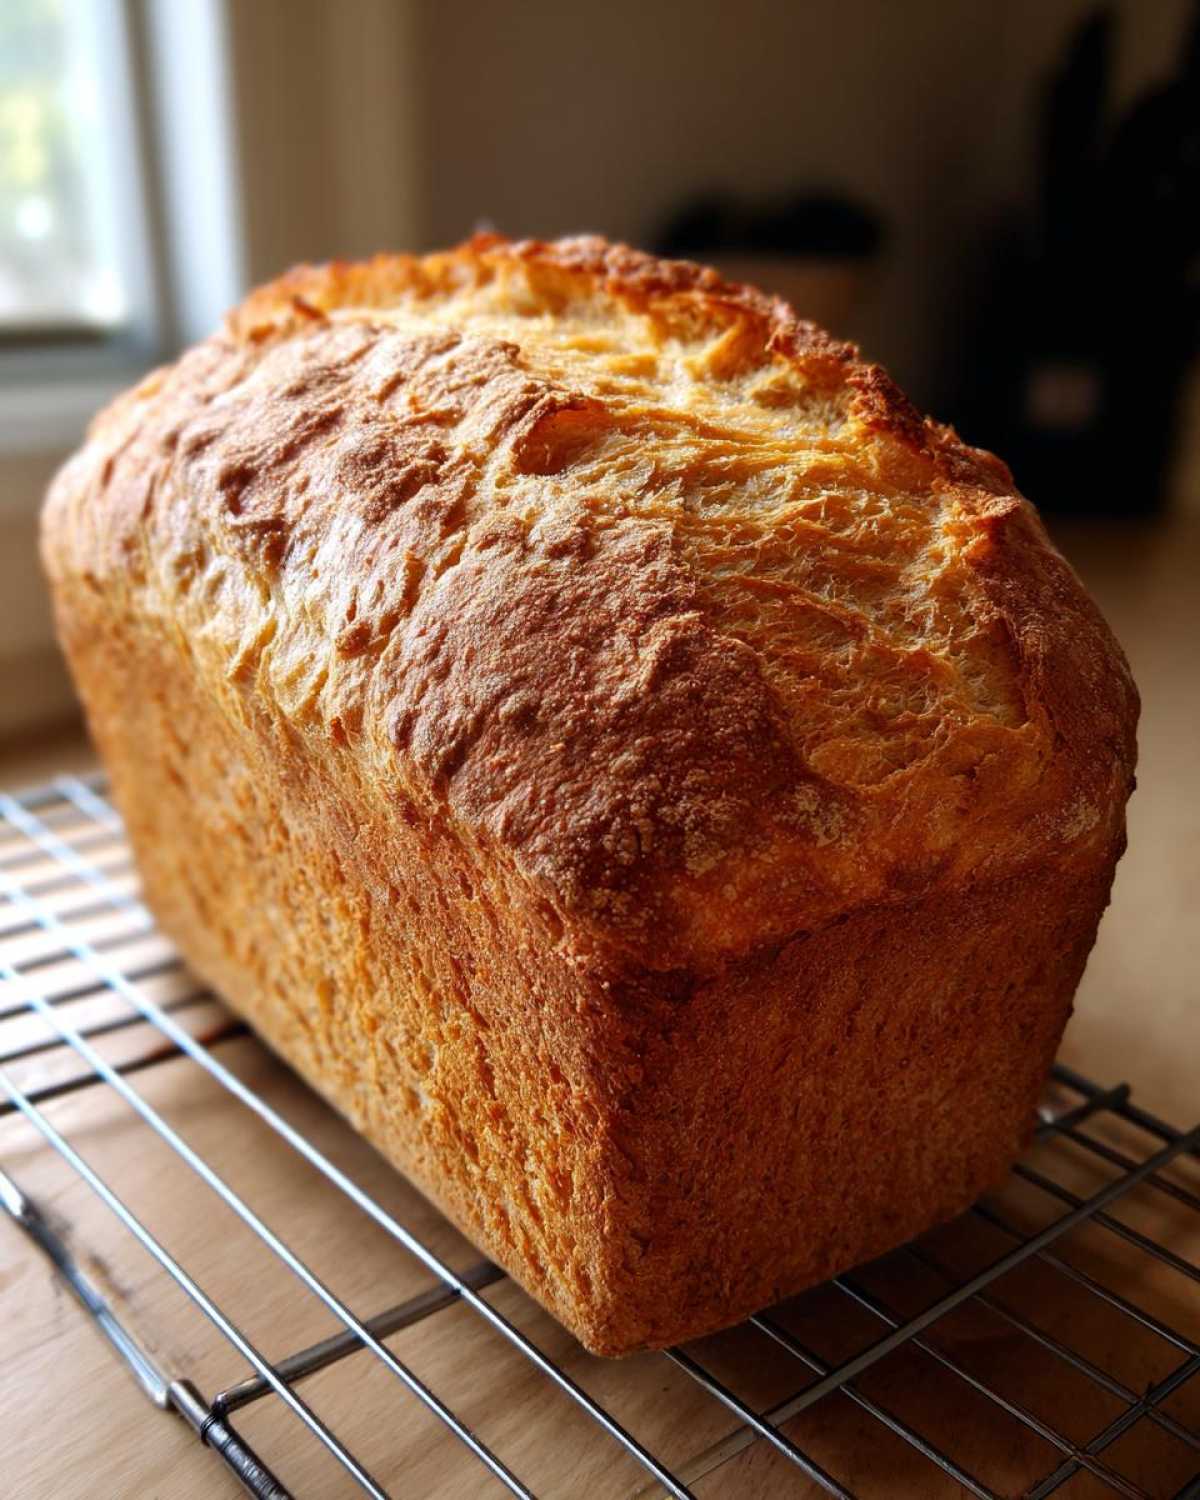
Also, about that sweetness Leo always craves? You can easily move up to 3 tablespoons of honey or maple syrup if you want a slightly sweeter sandwich bread. I usually stick to the original amount, but sometimes, when it’s chilly outside, that extra sweetness really compliments the deep, earthy whole wheat flavor. Don’t forget to check out Sally’s fantastic tips on whole wheat baking here if you want to explore more options!
Storing Your Homemade Whole Wheat Bread
Okay, you baked it, it cooled completely (I know, that part is the hardest!), and now you have this gorgeous, hearty loaf. How do we keep it tasting like it just came out of the oven?
For everyday eating—say, three or four days—just wrap it tightly in plastic wrap or put it in a zip-top bag. Keep it on the counter. Don’t refrigerate it, though! Refrigeration is the enemy of fresh bread; it makes the crumb go stale super fast. If you know you won’t finish it in four days, slice it up and toss it in the freezer. That’s my favorite move! You can pull out slices as needed for toast later on. And hey, if you’re suddenly craving a sweet bake, my soft cinnamon raisin bread is calling your name right here!
Serving Suggestions for Your Hearty Loaf
The best part about making your own loaf is that you finally get to eat it! Since this bread has such a great texture, it handles almost anything you throw at it. I definitely don’t wait for it to cool completely before I slice the first piece—don’t tell Leo, but I usually sneak a warm heel when he’s not looking!
For me, the absolute classic pairing is just slathering a thick slice with good quality, softened butter. Nothing beats real butter melting into that warm, slightly nutty crumb. But if you’re feeling fancy, this bread sings with homemade jam. We used our late-season strawberry preserves last weekend, and it was perfection.
If you’re looking for a fantastic savory option, this honey wheat version is excellent toasted and topped with avocado. It’s sturdy enough to hold everything! In fact, if you want some fun ideas on how to load up that toast, check out my guide to avocado toast variations right here. And if you still need more whole wheat inspiration after baking, you can find another great basic recipe here!
Frequently Asked Questions About Making Whole Wheat Bread
I totally get it—baking is chemistry, and sometimes things just don’t cooperate, especially when you start messing with whole wheat flour! But don’t stress. We’ve all been there, staring at a flat loaf wondering what went wrong. I’ve pulled together the questions I get asked the most about this recipe. If you’re looking for more recipe ideas in general, take a peek at my main blog page here!
Can I substitute all-purpose flour completely with whole wheat flour in this whole wheat bread recipe?
You absolutely *can*, but I’d advise against a direct swap if you’re new to this. Whole wheat flour has all the bran and germ, which means it absorbs way more water than regular white flour does. If you swap it all out, you’ll likely end up with a dough that feels stiff or dry, and the final bread will be much denser and heavier. If you want to go 100% whole wheat, start by adding an extra quarter cup of warm water until the dough feels similar to this recipe’s shaggy start!
Why did my whole wheat bread dough not rise properly?
Oh, the dreaded flat dough! Nine times out of ten, this comes down to the yeast being grumpy. Did you check that water temperature? If it was too hot—like boiling hot—you killed the little yeast guys instantly, and they can’t do their job. Too cold, and they just hang out and never wake up! Also, double-check that your yeast packet hasn’t been sitting open in the back of the pantry since the last century! Fresh yeast is key for that beautiful bubble action we need.
What is the best way to get a soft crust on my homemade whole wheat bread?
I mentioned this earlier, but it’s so important it bears repeating! The moment you pull the hot loaf out of the oven, you need to brush the top with some melted butter. It melts right into the crust and keeps it from drying out and getting tough as it cools. Another trick I use, especially if I’m not eating the whole loaf right away, is immediately wrapping the loaf while it’s still slightly warm in a clean, dry kitchen towel while it sits on the cooling rack. That steam helps soften everything up perfectly!
Nutritional Estimates for This Whole Wheat Bread
Okay, transparency time! Because this is homemade **whole wheat bread** and we all sprinkle flour differently, these numbers are just estimates based on the recipe’s components. You know I’m not a scientist, but it’s good to have a general idea of what we’re eating when we devour half the loaf in one sitting! (Don’t worry, Leo definitely helps me with that part.)
This breakdown is based on the entire loaf yielding 16 slices. Keep in mind that adding more honey, or using a different oil, will shift these slightly, but it gives you a solid baseline for this hearty, wholesome loaf.
- Serving Size: 1 slice
- Calories: About 150 per slice
- Fat: Roughly 2 grams (most of that great olive oil!)
- Saturated Fat: Very low, usually under 0.5 grams
- Carbohydrates: Around 29 grams
- Fiber: A nice boost with about 4 grams
- Protein: A solid 6 grams to keep you going!
- Sodium: Around 200mg
- Sugar: About 3 grams (mostly from that touch of honey)
See? Not bad at all for bread that smells like heaven and tastes way better than anything wrapped in plastic. It’s homemade goodness you can feel good about stacking high for your lunch tomorrow!
Share Your Baking Adventures
So, that’s it! You’ve made your first incredible loaf of homemade whole wheat bread! Honestly, when you pull that golden, fragrant loaf out of the oven, you deserve a little happy dance. Now, what are you going to do with it? Are you going straight for the melted butter, or are you waiting patiently for it to cool so you can slice it perfectly?
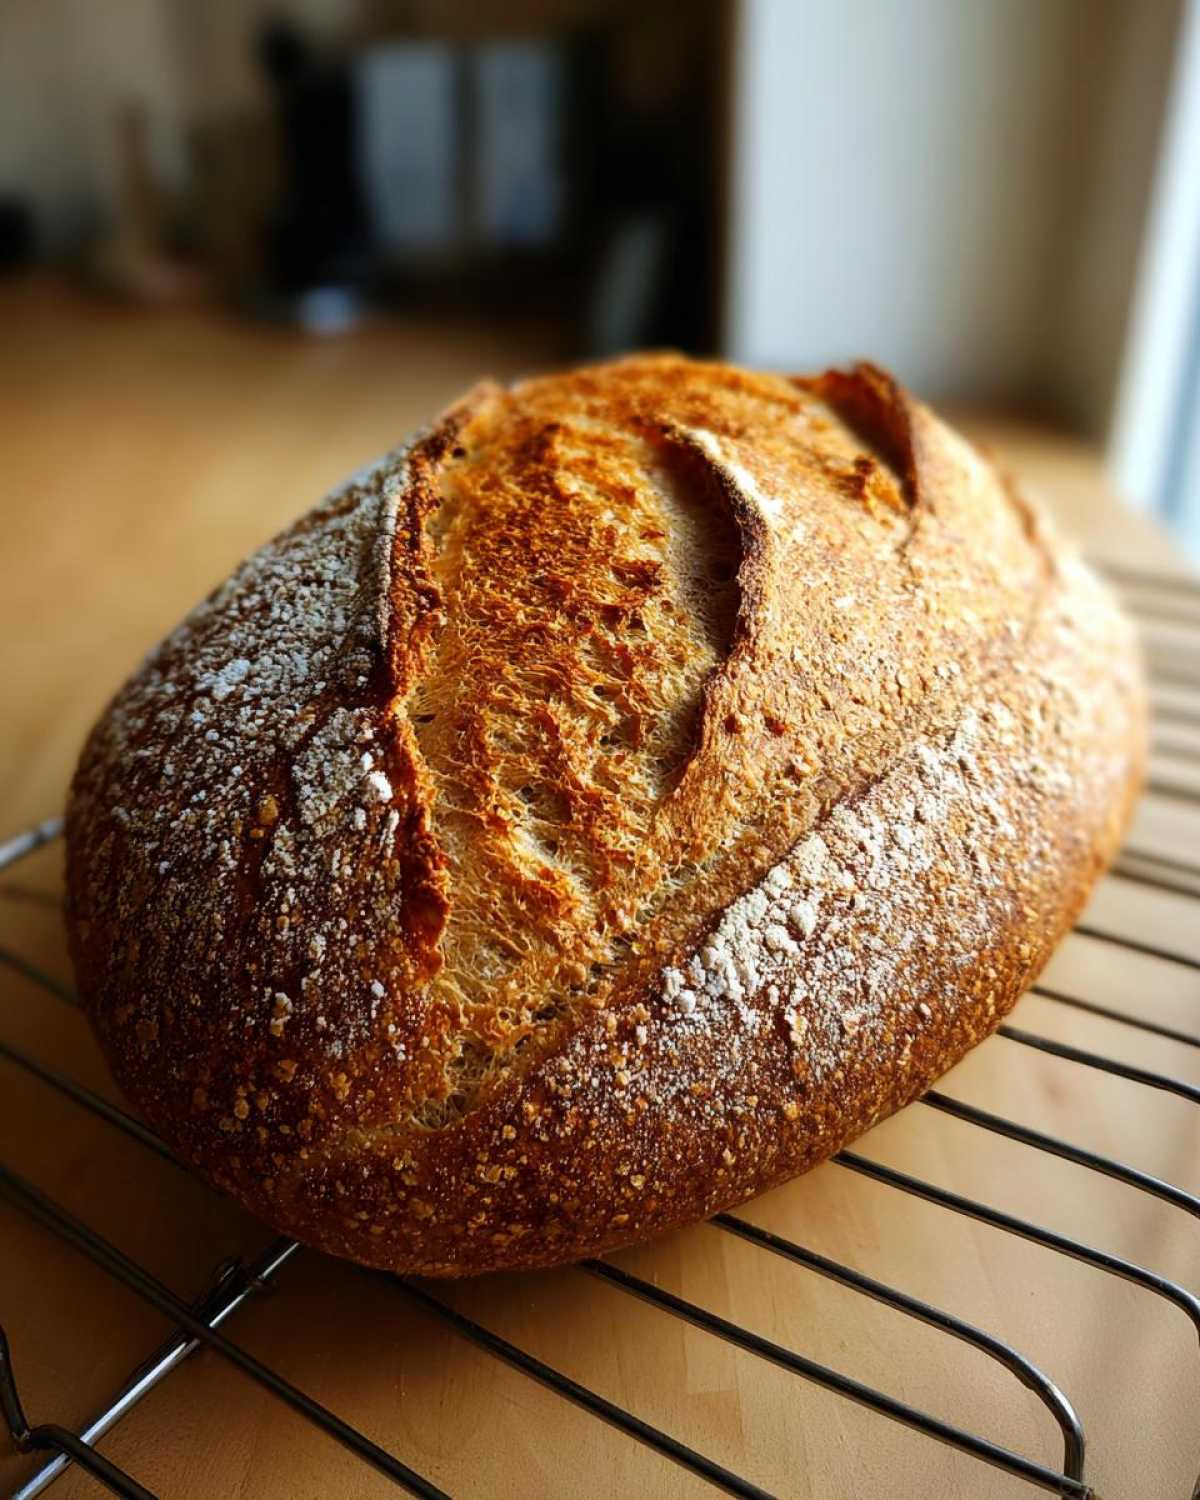
I desperately want to see your results! When you bake this, snap a picture and share it—tag us or just drop a comment below letting me know how it went. Did you use maple syrup or honey? Did Leo try to sneak a warm piece before it was fully cool? Let me know what you thought of the texture after you finally sliced into it!
Please take a moment to click those stars and rate this recipe. It helps other folks who are new to baking see that this is a reliable, fun recipe to tackle. If you have any lingering questions, or just want to tell me your favorite sandwich filling for this hearty bread, feel free to reach out through our contact page here! Happy baking, friends. If you try this and want even more rustic ideas, check out this recipe from Cook Breeze here—it’s another fun one!
PrintEasy Homemade Whole Wheat Bread: Soft and Hearty Loaf

Learn how to bake a soft, hearty whole wheat bread at home using simple ingredients. This recipe is perfect for beginners and yields a delicious loaf for sandwiches or toast.
- Prep Time: 20 min
- Cook Time: 35 min
- Total Time: 2 hours 5 minutes
- Yield: 1 loaf
- Category: Baking
- Method: Baking
- Cuisine: American
- Diet: Vegetarian
Ingredients
- 2 teaspoons active dry yeast
- 1 cup warm water (105-115°F)
- 2 tablespoons honey or maple syrup
- 1 tablespoon olive oil
- 1 1/2 cups whole wheat flour
- 1 1/2 cups all-purpose flour (plus more for dusting)
- 1 teaspoon salt
Instructions
- Activate the yeast: In a large bowl, dissolve the honey or maple syrup in the warm water. Sprinkle the yeast over the top and let it sit for 5 to 10 minutes until foamy.
- Mix the dough: Stir in the olive oil, whole wheat flour, and salt into the yeast mixture. Gradually add the all-purpose flour until a shaggy dough forms.
- Knead: Turn the dough out onto a lightly floured surface. Knead for about 8 to 10 minutes until the dough is smooth and elastic. If the dough is too sticky, add a little more all-purpose flour, one tablespoon at a time.
- First rise: Lightly grease a clean bowl with oil. Place the dough in the bowl, turning to coat. Cover the bowl with plastic wrap or a clean kitchen towel. Let the dough rise in a warm spot for 1 to 1.5 hours, or until it has doubled in size.
- Shape the loaf: Gently punch down the risen dough. Turn it out onto a lightly floured surface and shape it into a loaf. Place the shaped dough into a greased 9×5 inch loaf pan.
- Second rise: Cover the loaf pan loosely and let it rise again in a warm place for 30 to 45 minutes, or until the dough has crowned about 1 inch above the rim of the pan.
- Bake: Preheat your oven to 375°F (190°C). Bake for 30 to 35 minutes, or until the top is golden brown and the internal temperature reaches 200°F (93°C).
- Cool: Remove the bread from the pan immediately and let it cool completely on a wire rack before slicing. This step is important for the texture.
Notes
- For a softer crust, brush the top of the loaf with melted butter immediately after removing it from the oven.
- If you want a slightly sweeter loaf, increase the honey to 3 tablespoons.
- This recipe works well for making homemade whole wheat sandwich bread.
Nutrition
- Serving Size: 1 slice
- Calories: 150
- Sugar: 3
- Sodium: 200
- Fat: 2
- Saturated Fat: 0.5
- Unsaturated Fat: 1.5
- Trans Fat: 0
- Carbohydrates: 29
- Fiber: 4
- Protein: 6
- Cholesterol: 0