

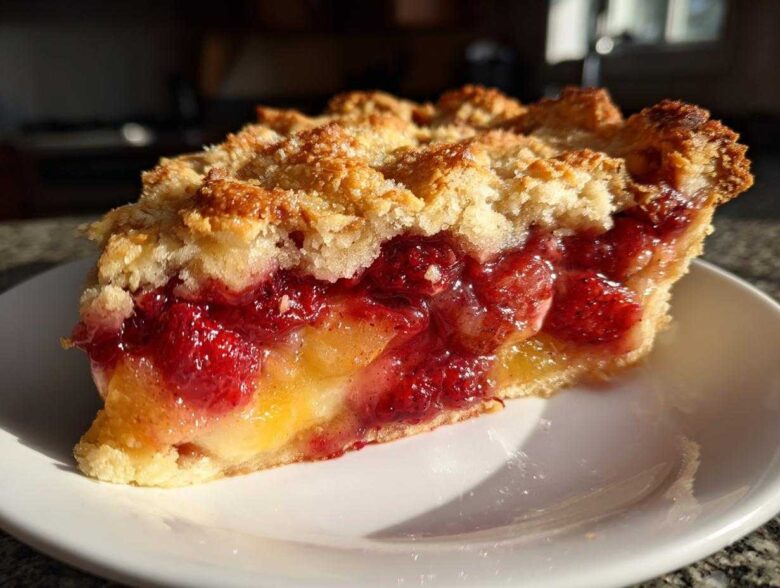
Oh, that sinking feeling! You pull out a gorgeous, golden-brown creation, ready for the applause, only to realize—gasp—the fruit filling has run off the plate, or worse, you bite into a crust that tastes more like a cracker than heaven. That happened to me more times than I care to admit when I first started getting serious about making traditional dessert recipes from scratch. I was obsessed with getting those precise numbers right, especially when dealing with complex elements like pastries and custards.
But trust me, after years of measuring butter down to the last gram and testing starches until my kitchen looked like a science lab, I finally cracked the code. This isn’t just another recipe; this is my breakdown of the foundational baking ratios for that magnificent, shatteringly flaky all-butter pie crust, paired with my foolproof methods for mastering filling consistency. If you want flawless homemade pies every single time, grab your apron—we’re going into the nitty-gritty of baking measurements!
Why You’ll Love This Perfect Pie Recipe
Honestly, I developed this for me—because I needed reliability! But now that I’ve nailed these foundational ratios, I know you’ll adore the results. These aren’t vague instructions; they are rock-solid guidelines for baking perfection.
- That Flaky Crust You Dream About: We nail the easy homemade pie crust every time. It’s shatteringly flaky, golden, and uses all butter because, well, life is too short for anything less!
- No More Runny Filling Disaster: I’m giving you my exact thickening guides. Whether you choose a sweet fruit scenario or a silky custard, your mastering pie fillings will set up beautifully without being gummy or weeping all over the counter.
- True Baking Confidence: Once you understand the core baking ratios explained here, you can apply that knowledge to almost any sweet pastry recipes you try later. It takes the guesswork out of from scratch dessert making!
- The Perfect Texture Balance: You get the delicate richness of a buttery pastry casing that perfectly complements a filling that isn’t overly sweet or stiff. It’s what traditional dessert recipes should taste like!
Essential Ingredients for Flaky Pie Crust Ratios
Okay, for our crust—which is honestly the foundation of everything—we need discipline. We are aiming for delicate layers, and that only happens when every ingredient behaves itself. For this recipe, which makes enough for a double-crust pie, you’ll need 2 1/2 cups of all-purpose flour, a teaspoon of salt, one full cup (that’s two whole sticks!) of unsalted butter that has been cut into cubes and kept very cold, and about a half cup of ice water. Seriously, the colder the butter, the flakier the all butter pie crust tips will pay off!
See? Simple ingredients. But the magic is in the ratios and the temperature control. Don’t even think about lukewarm butter!
Understanding Baking Measurements for Pie Crust Ratios
This is where we separate the casual bakers from the happy perfectionists. Those 2 1/2 cups of flour? They have to be exact. If you can get a little kitchen scale, please use it! Flour compacts so easily in a measuring cup, and adding just a tablespoon too much dries out the whole dough system. That’s how you end up with tough pastry instead of that beautiful, melt-in-your-mouth flakiness we are chasing for our baking ratios explained.
And the butter ratio? It needs to be treated like gold. Those pea-sized chunks of cold fat are what create steam pockets when they hit the oven, making those lovely, visible flakes. If your butter melts into the flour before baking, you get sandy pastry, not flaky pastry. Keep it cold, people!
Ingredient Breakdown for Mastering Pie Fillings
Now that we’ve got our dough chilling happily—which, seriously, is critical—let’s talk about what goes inside! This is where most people get nervous, worrying about a runny fruit scenario or a custard that won’t set right. Don’t stress! My homemade pie recipes for beginners start exactly here: knowing your filling materials inside and out.
For the fruit filling, we’re using about six cups of whatever fruit makes you happy—I adore crisp apples or plump mixed berries. You need 3/4 cup of sugar alongside that, but the absolute real hero here is the starch. We call for a full 1/4 cup of cornstarch. That little bit of white powder is what takes us from soup to set! For custards, the rules are equally strict. You need 1 1/2 cups of heavy cream, 1/2 cup of sugar for sweetness, and four large egg yolks. Those yolks are the key binder, so make sure they are fresh!
Getting these amounts right is step one to understanding baking measurements when building that perfect interior texture.
Tips for Perfect Fruit Pie Filling Consistency
If you’ve ever had a fruit pie where the juices just slide right out when you cut it, you used too little thickener, or you didn’t give it enough time to work! The cornstarch is your best friend here. When you toss it with the sugar and the fruit, make sure every single slice gets coated. That starch needs moisture to activate, and coating it evenly ensures it swells up evenly during baking.
Here’s the tip that changed my fruit pie life: after you mix up your fruit, sugar, and cornstarch, step away for 15 minutes before pouring it into your crust. Seriously, just go clean a mixing bowl! This rest time allows the sugar to draw out some of the fruit juice and gives the cornstarch a head start on hydrating. It drastically helps with pie filling not runny baking. If you skip that 15-minute sit, you might end up adding too much starch just to compensate later, which ruins the fresh fruit flavor!
Step-by-Step Guide to Perfect Pie Dough and Filling Consistency
Alright, this is where we bring it all together! Mastering those dough ratios meant chilling time was essential. Remember, that cold dough is critical to getting those beautiful, flaky pastries we all dream about when making pies.
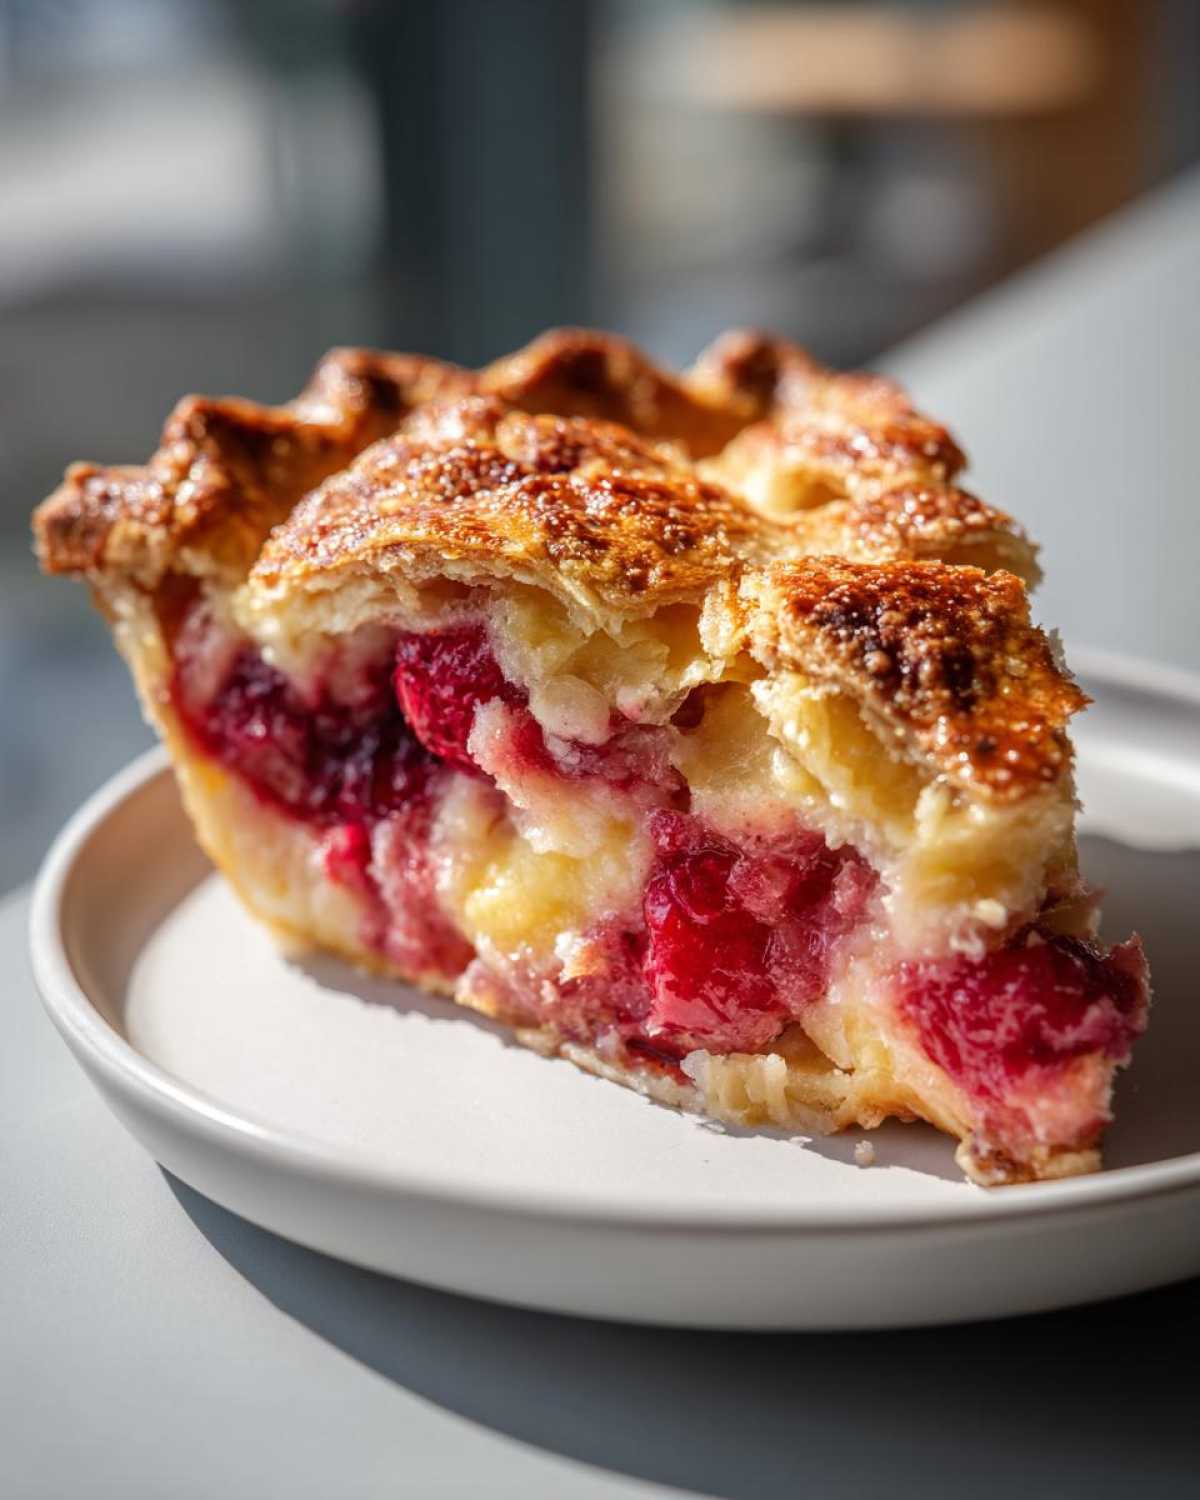
First, take your two chilled disks of dough. Roll one out carefully—I like to work on a lightly floured surface, turning the dough constantly so it doesn’t stick, and roll it wide enough to drape over that pie plate nicely. Once it’s settled in, trim and crimp those edges; you want a good seal to keep all that delicious filling inside! Now, take your prepared fruit mixture—I hope you let it rest for those 15 minutes we talked about!—and gently spoon it into the bottom crust. If you’re making a custard pie, just move right along to the next step, but if you’re using fruit, pour it right over that buttery base.
Next comes the top crust. Place it over the filling, trim the excess from around the rim, and then seal the edges together carefully—I pinch them together and then use a fork for a classic look. Don’t forget to cut those steam vents! A pie needs to breathe, or you risk structural collapse!
Achieving Optimal Pie Dough Texture
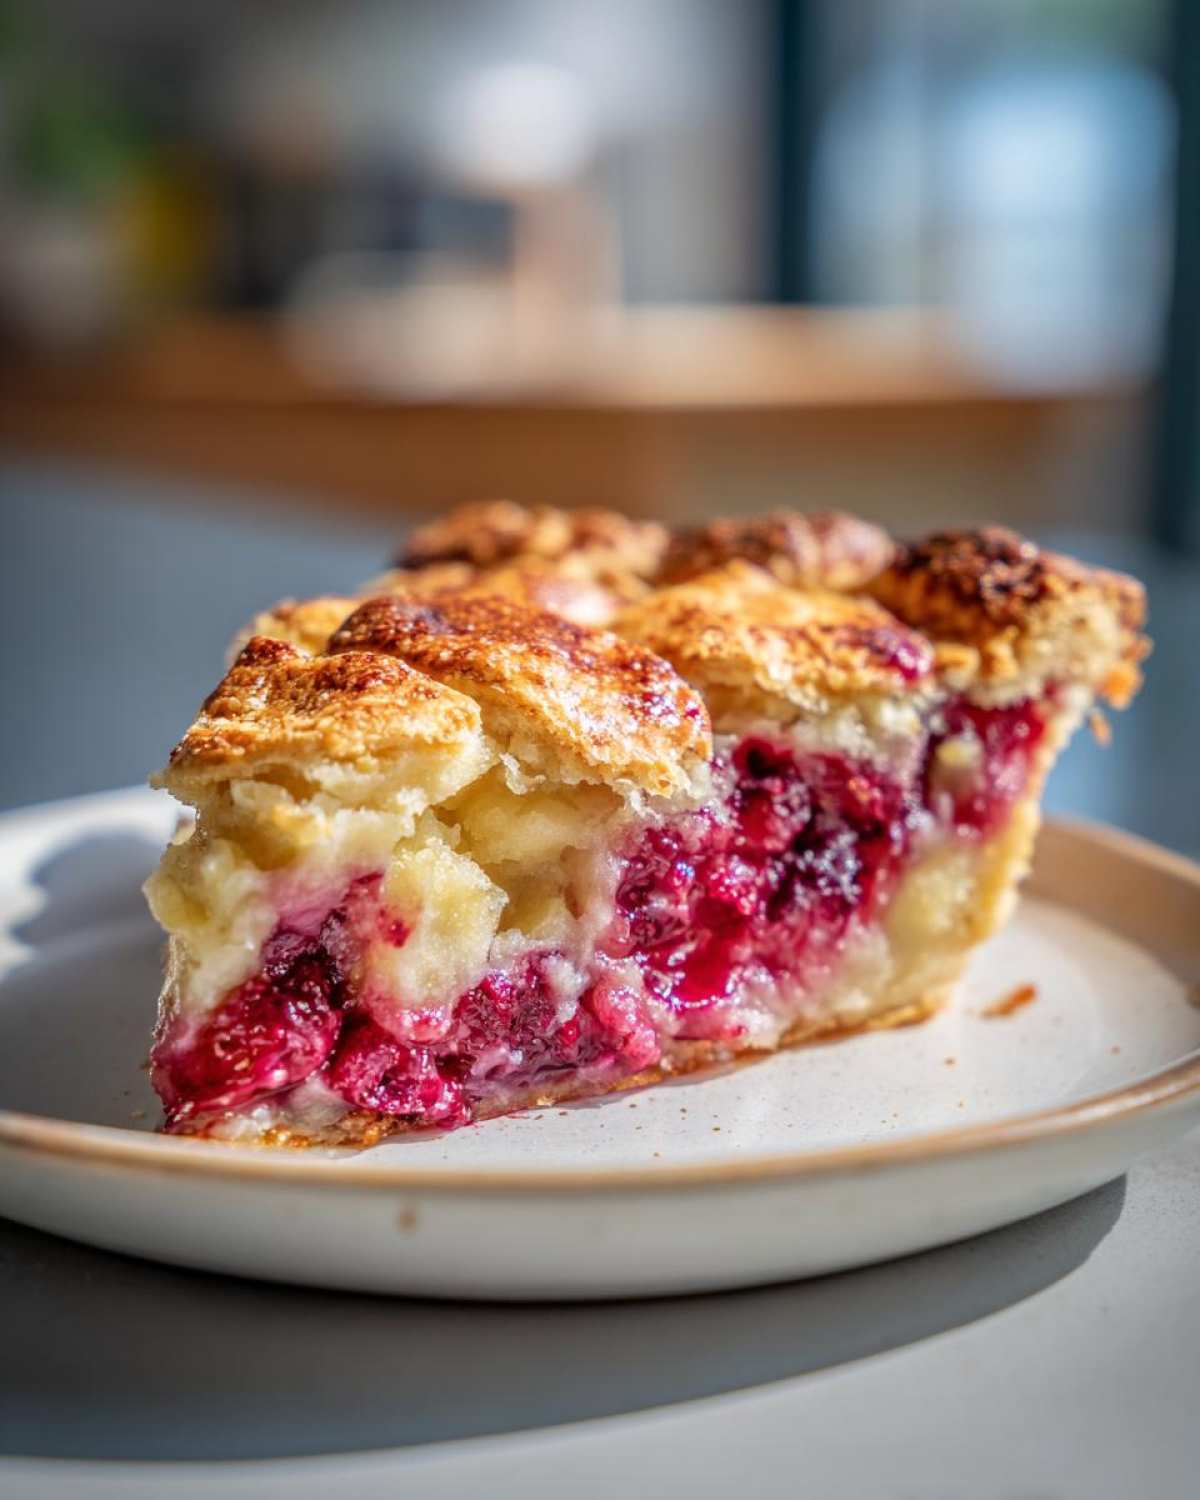
When I first tried making a truly all-butter crust, I was way too eager. I mixed everything until it looked uniform and smooth. Big mistake! The dough came out dense, not flaky. Now, I live by the ‘pea-sized butter’ rule. When you first cut the butter into the flour, you want visible little chunks scattered throughout, like tiny pebbles.
I remember the first time I *got* it right. I was making a cherry pie over the holidays, and I stepped away to get a glass of water just as the dough came together. When I came back, I noticed the butter pieces looked frosty and distinct. I chilled it for two hours, and when it baked up, the layers were distinct and airy. That’s the moment I realized keeping everything cold is 90% of having success with flaky pie crust ratios.
Setting the Custard Filling Consistency Guide
If you’re working with the custard filling, pay close attention here—this is classic pastry technique! You whisk your cream, sugar, and those four precious egg yolks in a saucepan. You must heat this slowly over medium-low heat. And when I say constant stirring, I mean it! If you walk away for 30 seconds, you’ll scorch the bottom, and then you’re done, sadly.
We are cooking this mixture until it reaches that perfect custard filling consistency guide. You’ll know it’s ready when you dip a clean spoon in and pull it out; the custard should cling thickly to the back of the spoon. If you run your finger across the coated back of the spoon, the line should stay clear—it shouldn’t immediately run back together. That’s usually around 175°F, but honestly, the spoon test is more reliable for me. NEVER let it actually boil, or those yolks will curdle, and you’ll have scrambled egg pie filling, which is just sad for everyone involved!
Once your fruit is loaded or your custard is perfectly thickened, top it with that second crust, seal it up tight, and get ready to bake! You can see how these steps ensure your finished pies will be structurally sound and utterly delicious. Need a recipe to put this practice crust and filling to the test? Check out my recipe for a beautiful blackberry pie recipe flaky crust!
Baking Tips for Perfect Pie Success
So, you’ve got your pristine filling inside that gorgeous crust, and you’re ready for the oven! This final stage is crucial because it’s where all that hard work on baking ratios explained finally pays off, or where everything falls apart if you aren’t careful. We need golden, bubbly fillings and crusts that don’t burn before the interior is set.
The first thing I always do is make sure my oven is genuinely hot. If you’re baking fruit pies, I usually start high—around 425°F—for the first 15 minutes. This blast of initial heat shocks the butter in the crust, encouraging massive steam production and that necessary lift for a flaky puff. After that initial sizzle, I immediately drop the temperature down to about 375°F or 350°F for the remainder of the bake time. This lets the inside of your pies cook through without burning that perfect exterior!
Edge protection is non-negotiable, especially with those rich, all-butter crusts. They brown fast! I keep a small strip of aluminum foil handy—just a long, thin band. Once I see the edges turning a nice, deep golden color (usually halfway through baking), I loosely wrap that foil around the rim. It shields them from direct heat while the center gets its final moments to bubble and set. This simple trick ensures no part of your spectacular pie goes naked and burnt!
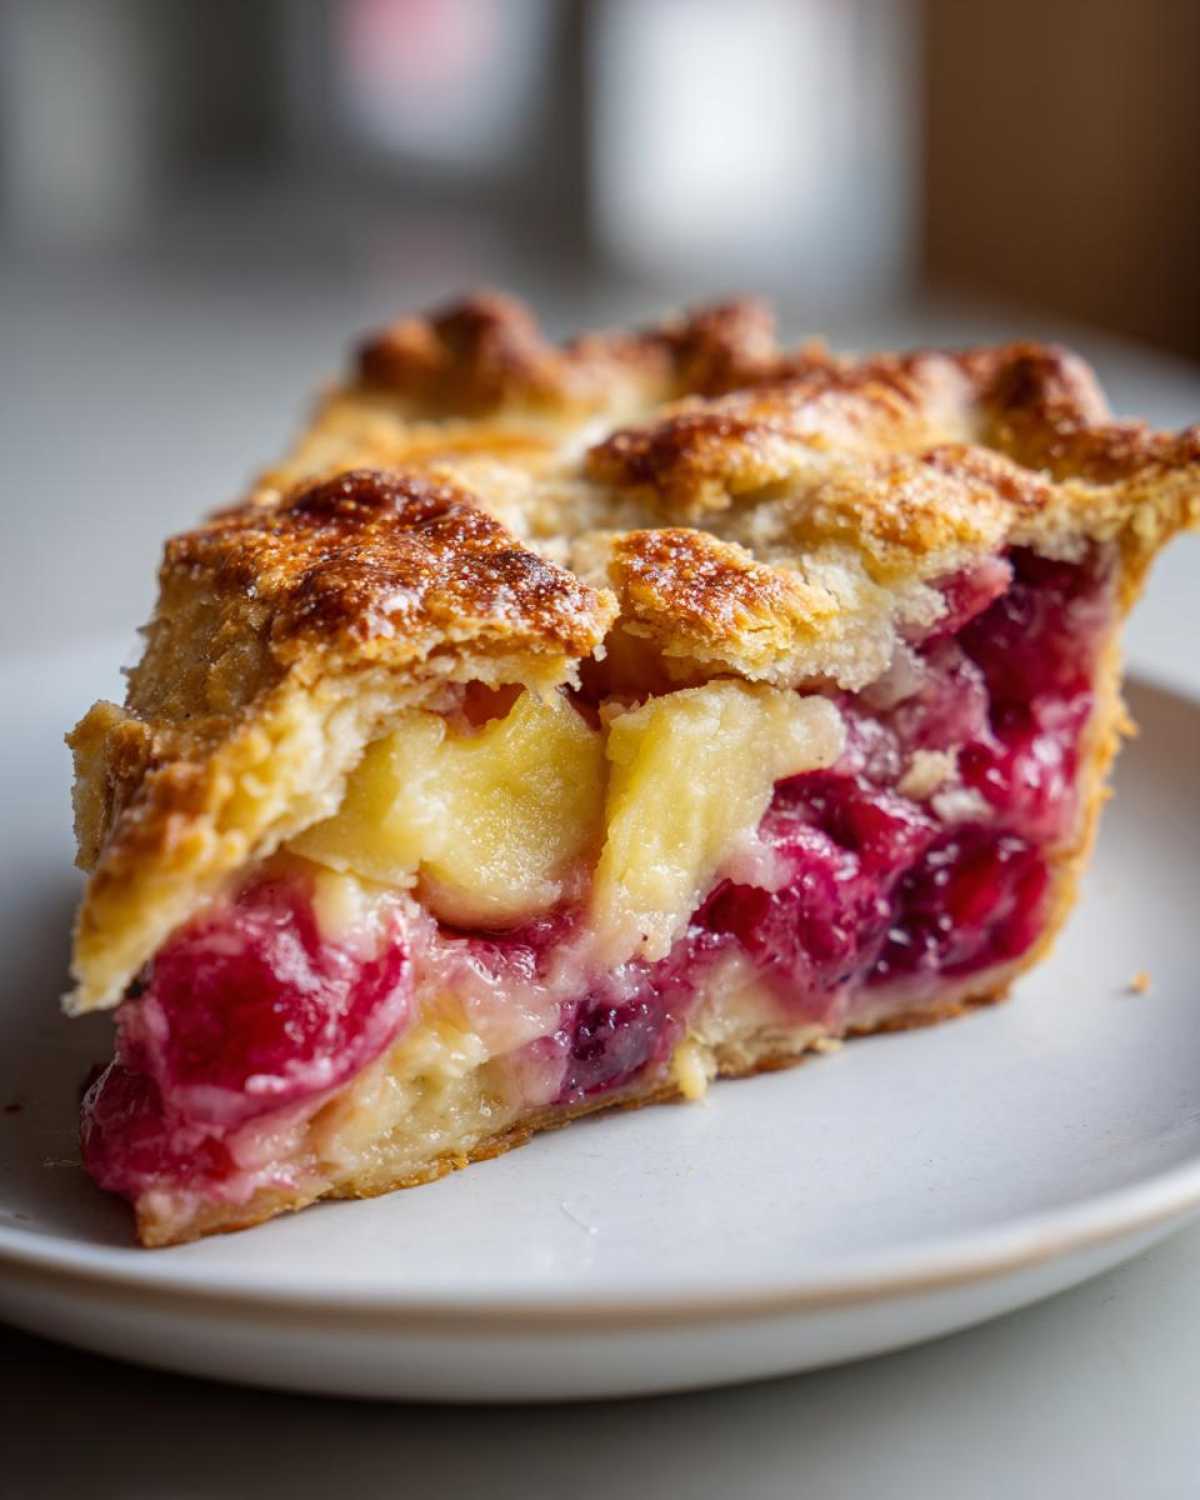
The time guidance in any recipe is just a guideline, though. You have to rely on your eyes and ears. Listen to the pie! You want to hear that filling bubbling happily. For fruit pies, the filling should be thick and actively bubbling through those vents. If it’s only bubbling faintly or looks thick but stagnant, give it another 10 minutes inside your perfect pies. That slow simmer is what finishes setting the thickeners you so carefully measured earlier!
For a lattice crust, like the one I used on my classic apple pie lattice crust, you might even want to brush the exposed top crust with an egg wash (one egg beaten with a tiny splash of milk) *before* the initial heat blast. It gives you that deep, shiny mahogany color that just screams “homemade success!”
Troubleshooting Common Pie Issues
Even when we follow the ratios perfectly, sometimes baking throws us a curveball, right? Don’t panic! Most problems fall into two main categories: crust texture issues (toughness or sogginess) and filling inconsistency. When this happens, I just go back to my notes and think about where the process might have gone wrong. Nine times out of ten, it’s temperature or mixing speed!
Let’s tackle the crust first. If your crust comes out tough, you almost certainly overworked it. Overmixing develops too much gluten in the flour, turning your delicate pastry into something chewy. When you’re incorporating that ice water, stop stirring the moment the dough *just* comes together. If you see dry streaks left, that’s fine; the chilling and the second roll-out will smooth that out. You are aiming for tenderness, not uniformity!
Now, the dreaded soggy bottom. This happens when the cold liquid from your filling soaks into the bottom crust before it has a chance to set. This is a classic problem when baking ratios explained don’t account for moisture transfer! My biggest remedy, besides making sure your butter stays cold, is either giving the bottom crust a quick 10-minute blind bake before adding the filling, or brushing the raw bottom crust with a thin layer of egg white right before you pour in the fruit. The egg white acts as a sealant against that moisture.
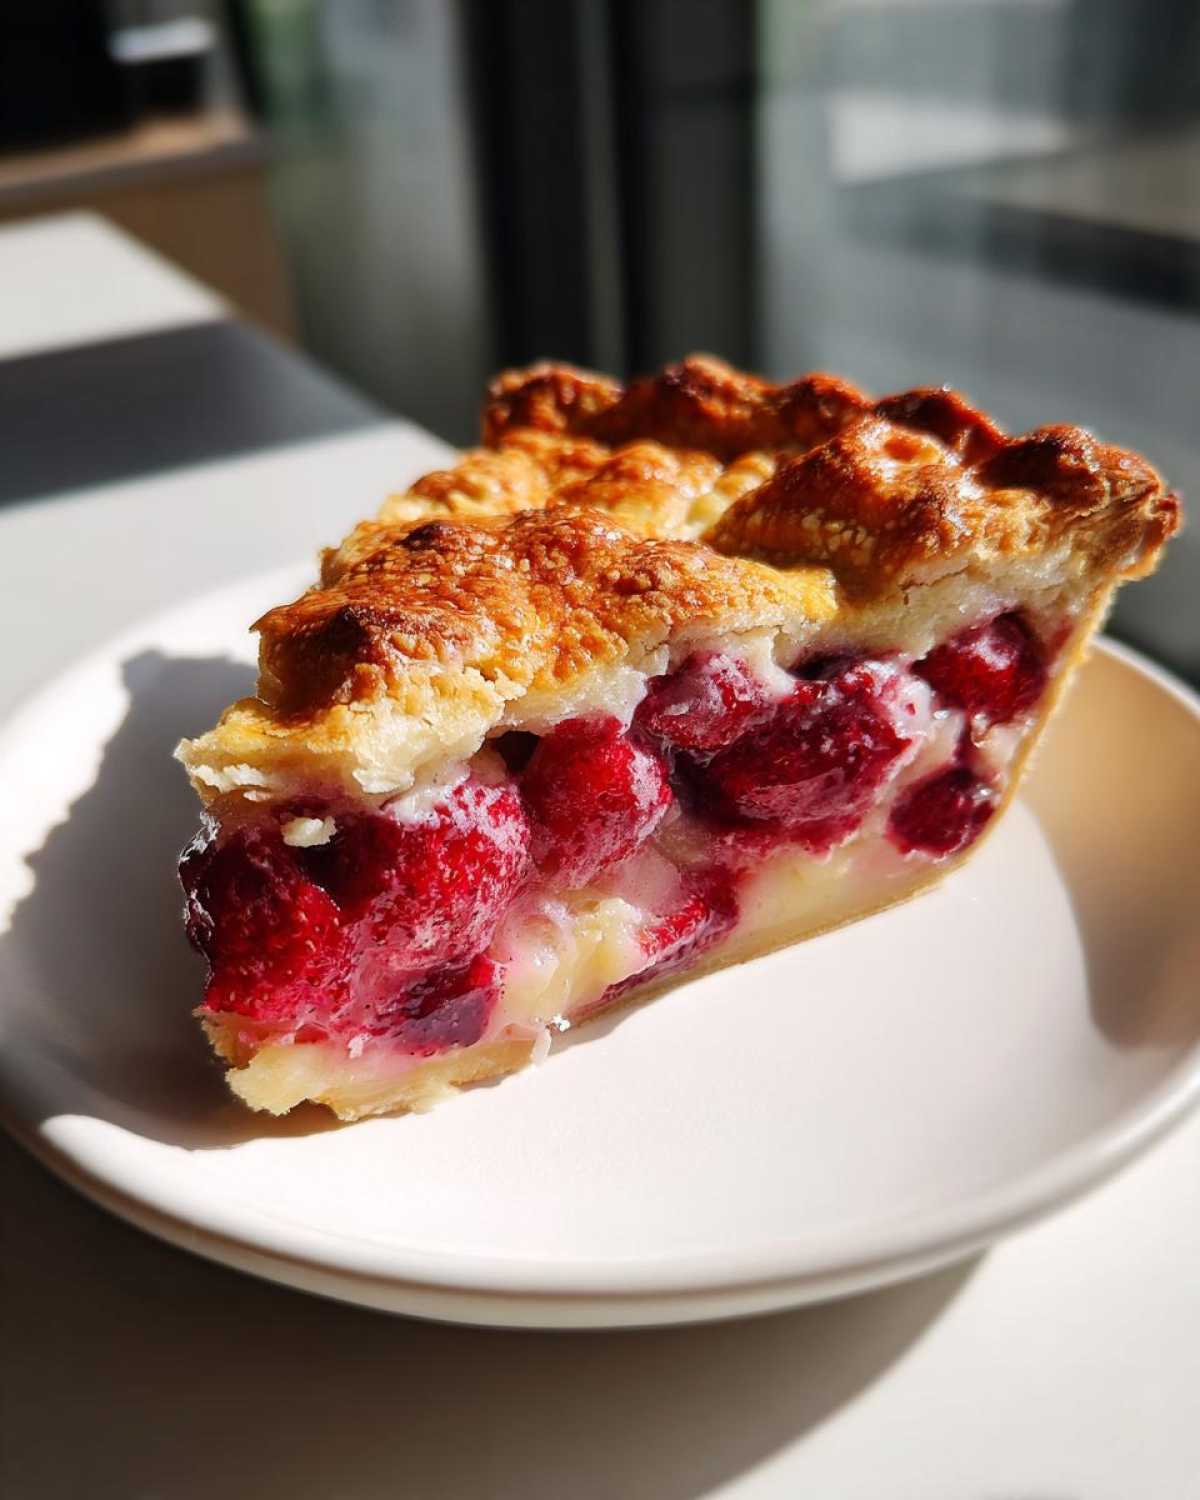
For fillings that just won’t set up—remember the fruit filling that looked a bit too loose right before you put the top crust on? Dealing with pie filling not runny baking requires a little patience. If you are using a starch like cornstarch or flour, it needs time and heat to fully activate. If you pull the pie out and it seems too liquidy, cover the edges loosely with foil (the crust is probably done already) and stick it back in the oven at 350°F for another 10 to 15 minutes. You need to see the filling actively bubbling right through the vents—that’s the universal sign that the thickener is doing its job!
If you’ve got a custard that broke or curdled, that’s almost always heat shock. You cooked it too fast or too high, scrambling those delicate egg yolks. Next time, pull that cream mixture off the heat just as it starts to strongly coat the back of your spoon, even if the recipe says go a little higher. Slow and steady truly wins the race with egg-based fillings!
Storage and Reheating Instructions for Your Perfect Pies
Phew! You’ve baked a masterpiece, and now the hardest part: waiting for it to cool! But the serving process is almost as important as the baking process, especially when you’ve worked so hard on those delicate sweet pastry recipes.
Storing pies isn’t one-size-fits-all, especially once you’ve mastered your filling consistency. You have to treat fruit pies differently than cream or custard pies. A fruit pie, once cooled completely on a wire rack (and I mean completely cool, about 3-4 hours), can usually sit safely on the counter, loosely tented with foil, for a full day. The high sugar and acid content, once set by the starch, is pretty stable. Don’t stick it in the fridge immediately, though! That cold air dries out the best all butter pie crust and makes it tough.
Custard and cream pies, however, are different beasts entirely. Since they contain dairy and eggs that aren’t fully baked to a super-high temp, they *must* go into the refrigerator as soon as they have cooled enough that condensation stops forming on the crust (maybe an hour on the counter max). These will keep well in the fridge for about three days, but the crust will definitely lose a little of that fresh-from-the-oven crispness.
Now, reheating? This is my biggest pet peeve! Never, ever nuke a slice of pie! Microwaving is the absolute death of flaky pastry; it turns butter into steam and ruins all those beautiful layers you created by keeping your ingredients cold. If you want to revive a slice of fruit pie, take it out of the fridge about an hour before serving to let it come closer to room temperature. Or, if you want that warm experience, use a toaster oven or a regular oven set low, maybe 300°F. Just pop the slice on a baking sheet and heat gently for about 8 minutes. You want warm filling, not a soggy crust!
For those amazing custard pies, just eat them cold! They are designed to be chilled. Trying to reheat a set custard usually un-sets it, taking you right back to the runny-filling-nightmare we worked so hard to avoid by getting the proper baking ratios explained!
Frequently Asked Questions About Pie Batter Ratios and Fillings
I’ve gathered a few of the questions I get all the time about getting those crucial ratios perfect, especially when people are new to baking ratios explained in pastries. Don’t feel silly asking! Getting the filling right is just as much a science as it is an art.
Can I substitute butter in this pie dough recipe?
Listen, you can certainly try shortening or margarine, but if you are serious about achieving that incredible, layered texture, stick to the butter! These all butter pie crust tips are based on butter’s specific melting point and its solids composition. Substituting fat changes how far the butter melts and steams during baking. Using anything less than all butter means you are sacrificing that pure, rich flavor and, more importantly, you won’t get the same dramatic lift and flakiness. Shortening is flakier, sure, but it tastes… flat. Butter is the only way to go for truly memorable flaky pie crust ratios!
What is the secret to preventing a soggy bottom crust on my pies?
Oh, the soggy bottom dread! This is the ultimate test of your mastering pie fillings knowledge meeting your crust knowledge. My favorite trick, especially for very juicy fruit like berries or peaches, is a quick, partial blind bake. After you place your bottom dough into the pie plate and crimp it, you prick the bottom all over with a fork, line it with parchment paper, and fill the depression with dried beans or pie weights. Bake it at 375°F for about 15 minutes until the edges look set.
When you pull those out, carefully remove the weights and paper, and just brush the base quickly with one beaten egg white—this creates a moisture barrier! Let that egg white cook for about 3 minutes until it looks dry, and *then* you pour in your filling. This simple step creates an impenetrable shield against the juices, ensuring your beautiful pie has that perfect texture all the way through!
How do I know if my custard filling consistency is thick enough before baking?
That’s all about the spoon test we discussed! You’re looking for that 175°F mark, but realistically, you need to see the mixture thickly coat the back of a clean spoon. If you can run your finger across the coating and the line of your finger stays clearly visible without the thick mixture instantly running back together to cover the gap, you nailed it! If it runs back immediately, keep stirring and heating gently—it means those egg yolks haven’t done their job yet, and your custard filling consistency will be too weak!
Share Your Mastered Pie Results
Now you have the secrets to the flaky pastry ratios and the foolproof methods for thickening fillings, whether you’re making a fruit classic or dreaming up something creamy! Honestly, the best part of from scratch dessert making is seeing your beautiful results.
I really want to know how you did! Did the cornstarch work its magic? Did you achieve the puffiest, flakiest crust you’ve ever made? Head down to the comments and tell me about your baking adventure. Rate this guide, let me know what kind of pie you ended up making, and if you have a picture, tag me on social media so I can celebrate your perfect pie consistency with you! Happy baking!
Share Your Mastered Pie Results
Now you have the secrets to the flaky pastry ratios and the foolproof methods for thickening fillings, whether you’re making a fruit classic or dreaming up something creamy! Honestly, the best part of from scratch dessert making is seeing your beautiful results.
I really want to know how you did! Did the cornstarch work its magic? Did you achieve the puffiest, flakiest crust you’ve ever made? Head down to the comments and tell me about your baking adventure. Rate this guide, let me know what kind of pie you ended up making, and if you have a picture, tag me on social media so I can celebrate your perfect pie consistency with you! Happy baking! If you need more inspiration for traditional dessert recipes, check out the rest of the archive!
PrintMastering Flaky Pie Crust and Perfect Filling Consistency

A guide detailing the precise ratios for a flaky all-butter pie dough and methods for achieving ideal fruit and custard filling textures.
- Prep Time: 45 min
- Cook Time: 50 min
- Total Time: 140 min
- Yield: 1 standard 9-inch pie
- Category: Dessert
- Method: Baking
- Cuisine: American
- Diet: Vegetarian
Ingredients
- 2 1/2 cups all-purpose flour
- 1 teaspoon salt
- 1 cup (2 sticks) unsalted butter, very cold and cubed
- 1/2 cup ice water, plus 1-2 tablespoons extra if needed
- For Fruit Filling: 6 cups sliced fruit (e.g., apples or berries)
- For Fruit Filling: 3/4 cup granulated sugar
- For Fruit Filling: 1/4 cup cornstarch
- For Custard Filling: 1 1/2 cups heavy cream
- For Custard Filling: 1/2 cup granulated sugar
- For Custard Filling: 4 large egg yolks
Instructions
- Prepare the dough: In a large bowl, whisk together the flour and salt. Cut in the cold butter using a pastry blender or your fingers until the mixture resembles coarse crumbs with some pea-sized pieces of butter remaining.
- Gradually add the ice water, one tablespoon at a time, mixing lightly until the dough just comes together. Do not overmix.
- Divide the dough in half, flatten each into a disk, wrap in plastic, and chill for at least 2 hours.
- Roll out one disk for the bottom crust and place it into your pie plate. Trim and crimp the edges.
- Prepare the fruit filling: In a separate bowl, toss the sliced fruit with sugar and cornstarch until evenly coated. Pour the mixture into the bottom crust.
- Prepare the custard filling: Whisk the heavy cream, sugar, and egg yolks together in a saucepan. Heat over medium-low heat, stirring constantly, until the mixture thickens enough to coat the back of a spoon (reaching about 175°F). Do not boil.
- If using custard, pour the thickened mixture over the fruit or use it as a standalone filling.
- Top the pie with the second crust, cut vents, and crimp the edges to seal.
- Bake according to your specific pie recipe instructions, usually around 400°F until the crust is golden brown and the filling is set.
Notes
- For the flakiest crust, keep all ingredients, including your hands, as cold as possible during mixing.
- If your fruit filling seems too thin before baking, let the mixture sit for 15 minutes; the cornstarch will hydrate further.
- For custard fillings, use a thermometer to monitor the temperature; stopping just before boiling prevents curdling and ensures proper setting.
- If the crust browns too quickly during baking, loosely cover the edges with aluminum foil strips.
Nutrition
- Serving Size: 1 slice
- Calories: 350
- Sugar: 25g
- Sodium: 250mg
- Fat: 18g
- Saturated Fat: 11g
- Unsaturated Fat: 7g
- Trans Fat: 0g
- Carbohydrates: 45g
- Fiber: 3g
- Protein: 5g
- Cholesterol: 60mg