

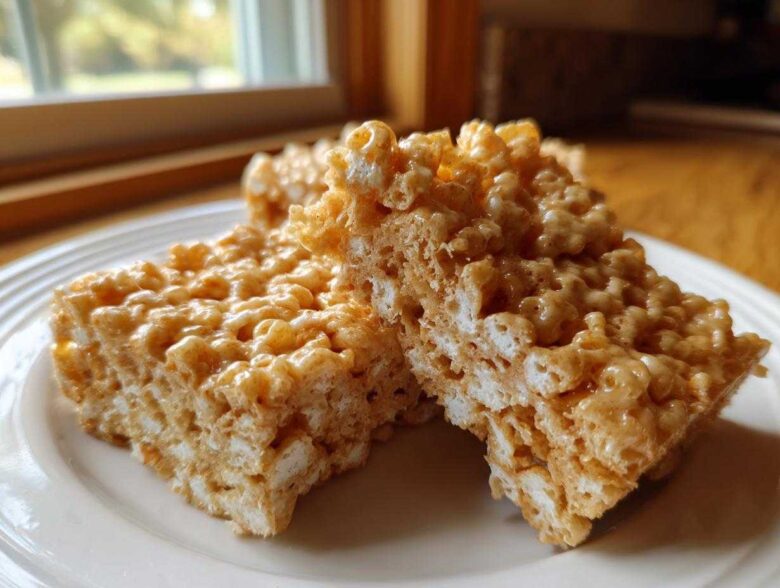
Okay, you know I love a classic, right? The nostalgic, super-simple Rice Krispie Treat is the king of my childhood snack drawer. But sometimes, plain just isn’t cutting it anymore, especially when you realize how easy it is to dramatically upgrade them! Trust me when I say that the secret weapon here is taking just a few extra minutes to brown the butter.
Introducing my absolute favorite take on this classic: the Brown Butter Rice Krispie Treat Bars. Browning the butter transforms that simple, milky fat into something deep, toasty, and intensely nutty. It adds this incredible layer of complexity that makes everyone stop and say, “Wait, what did you put in these?” It sounds fancy, but mastering that nutty aroma is surprisingly easy once you know what to watch for. I had a few disastrous burns in my early days, but I finally perfected the timing! This subtle tweak means you go from basic treat to gourmet cereal bar in under ten minutes. Speaking of upgrading, if you love deep, toasty flavors, you absolutely must check out my recipe for brown butter apple blondies next!
If you’re ready to ditch the regular butter and welcome a whole new world of toasted flavor into your no-bake rotation, keep reading. You won’t believe how much flavor we can cram into these simple squares!
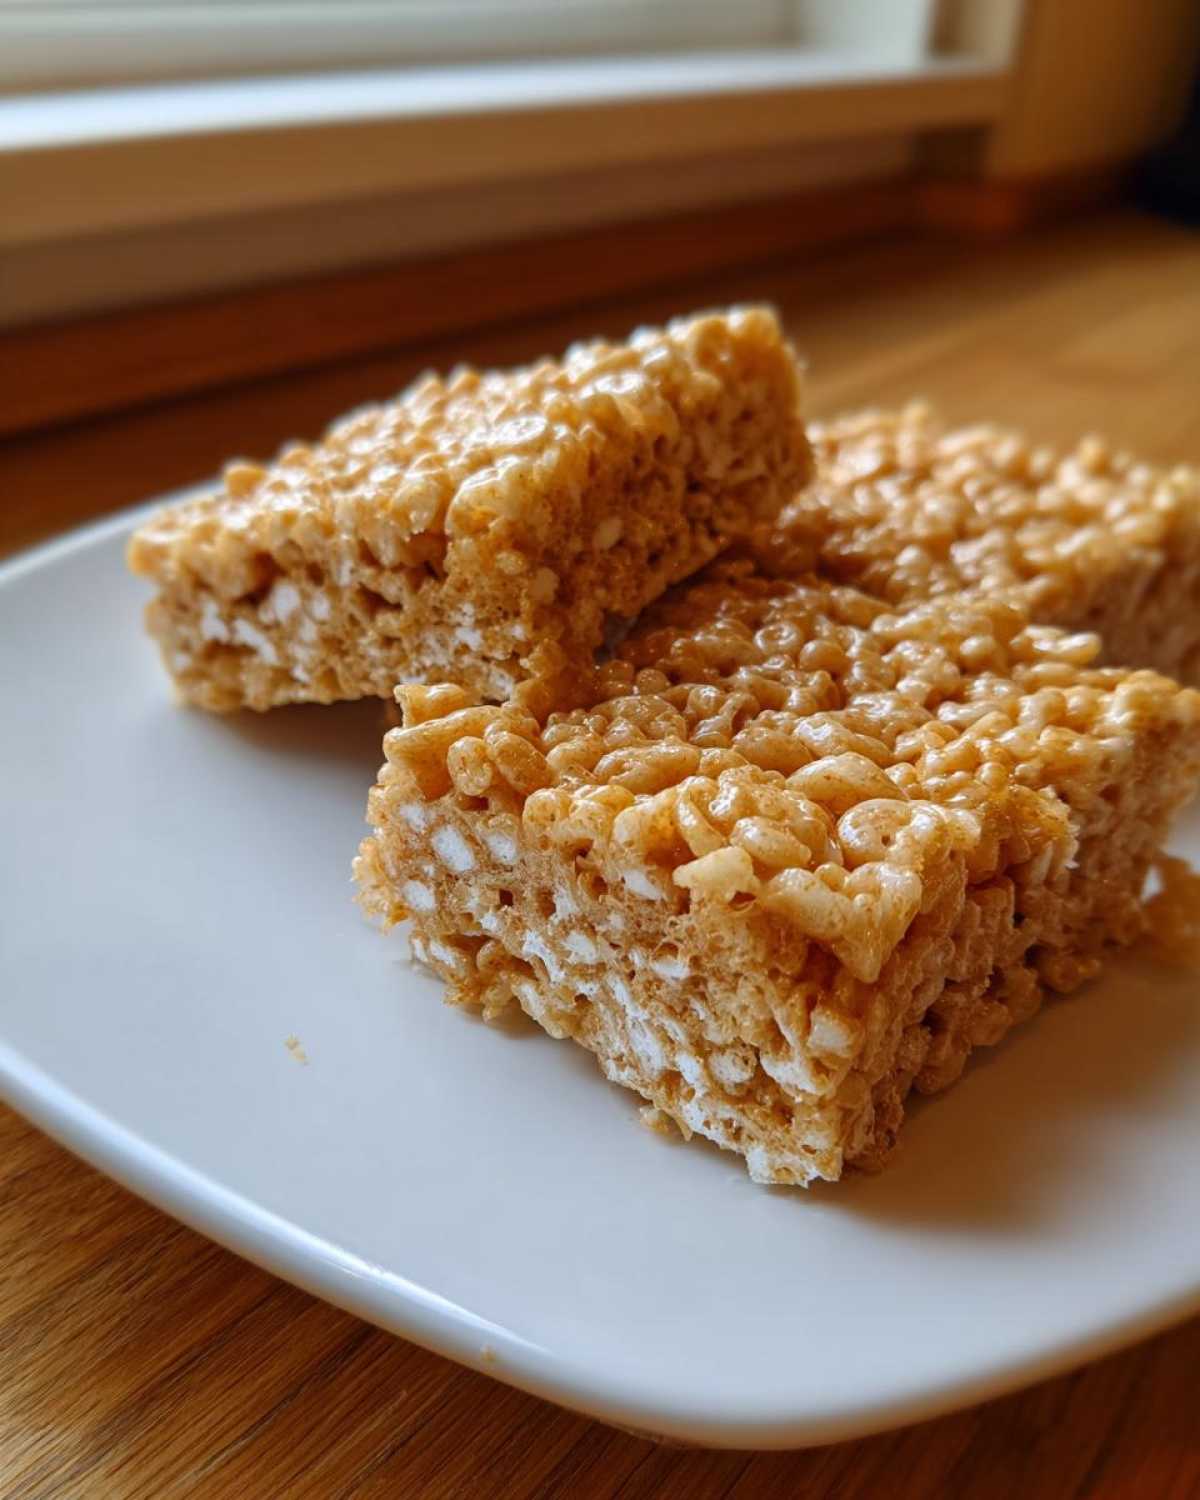
Why You Will Love These Brown Butter Rice Krispie Treat Bars
Honestly, once you try these, you might never go back to the standard version again. They just taste richer! Here’s why I keep making batch after batch:
- The flavor is seriously next level! That toasted, nutty taste from the brown butter cuts through the sweetness perfectly.
- They take barely any time at all—we’re talking 10 minutes of active cooking time, tops.
- If you need a quick dessert that looks elegant, these are your answer. They feel instantly elevated.
- Everyone always asks for the recipe after tasting these amazing Brown Butter Rice Krispie Treat Bars!
- They hold their shape beautifully, making them perfect for packing in lunches or serving at parties.
Ingredients for Rich Flavor Rice Krispie Treats with Brown Butter
This recipe is so simple, but having the right components ready to go is key, especially since the cooking step is so fast. Once you brown that butter, you have about three minutes before things get frantic! I always measure everything out and put it near the stove first.
Because we are relying on the brown butter for that deep taste, quality really matters here. I insist on using unsalted butter so *I* control the salt level later on—that flaky sea salt addition is everything, trust me on this one!
Here’s the short, perfect list you need for a standard 9×13 batch. If you’re interested in something else rich and warm, I highly recommend checking out my moist spice cake with brown butter frosting sometime!
- 6 tablespoons unsalted butter (Please, use real butter; margarine just won’t brown the right way!)
- 1 (10 ounce) package marshmallows, or about 4 cups miniature marshmallows (Miniatures melt faster, which is great for a speed demon like me!)
- 1 teaspoon vanilla extract
- 6 cups crispy rice cereal (The classic kind works best!)
- 1/2 teaspoon flaky sea salt (Completely optional, but wow—it makes the flavor pop!)
That’s it! Six ingredients, and one of them is optional. You can’t beat that for an elevated, homemade crispy treat!
Mastering the Brown Butter Technique for Your Brown Butter Rice Krispie Treat Bars
This is the make-or-break moment for these treats, but honestly, once you see it happen once or twice, you’ll swear you’ve been doing it forever. Forget the plain, boring melted butter—we are aiming for that gorgeous, toasted flavor that makes these Brown Butter Rice Krispie Treat Bars unforgettable. You need a large, light-colored saucepan so you can actually see the color change happening at the bottom. You throw in your six tablespoons of unsalted butter over medium heat, and it just melts, right?
Then watch the show! It gets foamy, and it will start making little sputtering noises, kind of aggressively. Keep gently swirling the pan—don’t stir wildly, that just cools it down. Once that initial frothy foam starts to calm down and settle, that’s when you lean in close. You’re waiting for those little milk solids at the bottom to start turning golden. Also, keep sniffing! You will smell this amazing, rich, roasted, nutty aroma, almost like hazelnuts. That smell means you’re minutes away from perfection. If you let it go even thirty seconds too long, you’ve gone from nutty to burnt catastrophe, so be ready to pull it off the heat fast!
Have your vanilla extract ready to go, because the second you smell that incredible fragrance, you just kill the heat and stir that vanilla in quick. If you’re looking for other ways to build deep flavor profiles, you have to check out my guide on caramelized onions—it’s all about slow transformation!
Signs You Have Perfectly Browned Butter
You need to rely on both your eyes and your nose here, kiddo. Visually, the butter stops foaming vigorously, and you’ll see tiny golden-brown flecks forming at the bottom of the pan. Olfactorily, the smell shifts from just milky to intensely nutty and toasted—that’s the key indicator! Pull it the second you notice both things happening.
Step-by-Step Instructions for Brown Butter Marshmallow Cereal Bars
Okay, we’ve got our liquid gold—the glorious brown butter! Now we have to move quickly but with care. Remember, pressing these bars too hard is the number one way to end up with hockey pucks instead of chewy squares, so easy does it after the brown butter is combined.
If you want an even easier cleanup later on—and who doesn’t?—check out my guide on easy no-bake Oreo balls; the pan prep trick is useful there too! Let’s get these Brown Butter Rice Krispie Treat Bars assembled!
Preparing the Pan and Melting the Butter Base
First things first: grab that 9×13 inch baking pan. I either lightly grease it all over or—my personal favorite—line it with parchment paper and let the edges hang over the sides. That overhang is your handle for popping the treats out later! Next, put your six tablespoons of butter into a large saucepan over medium heat. Melt it completely down until you get that beautiful brown butter aroma we just talked about. Once it smells perfectly nutty, take it *immediately* off the heat.
Combining Marshmallows and Cereal for Brown Butter Rice Krispie Treats
Right after you pull the pan off the heat from browning the butter, stir in that teaspoon of vanilla extract—it blooms the flavor! Now, toss in your entire package of marshmallows. Stir constantly until everything is smooth and glossy. See? No worries about burning the butter because we removed the heat source! Once it’s totally combined, stir in that optional flaky sea salt if you’re using it. Then, dump in all 6 cups of your crispy rice cereal. Here’s the trick: you fold gently! You just want the cereal coated. Don’t mash it down aggressively. Transfer that mixture into your prepared pan and gently press it into an even layer. Use a piece of wax paper—it won’t stick to that—and just pat it down lightly. Let it chill for about an hour, and then you’re ready to cut into the best cereal bars you’ve ever made!
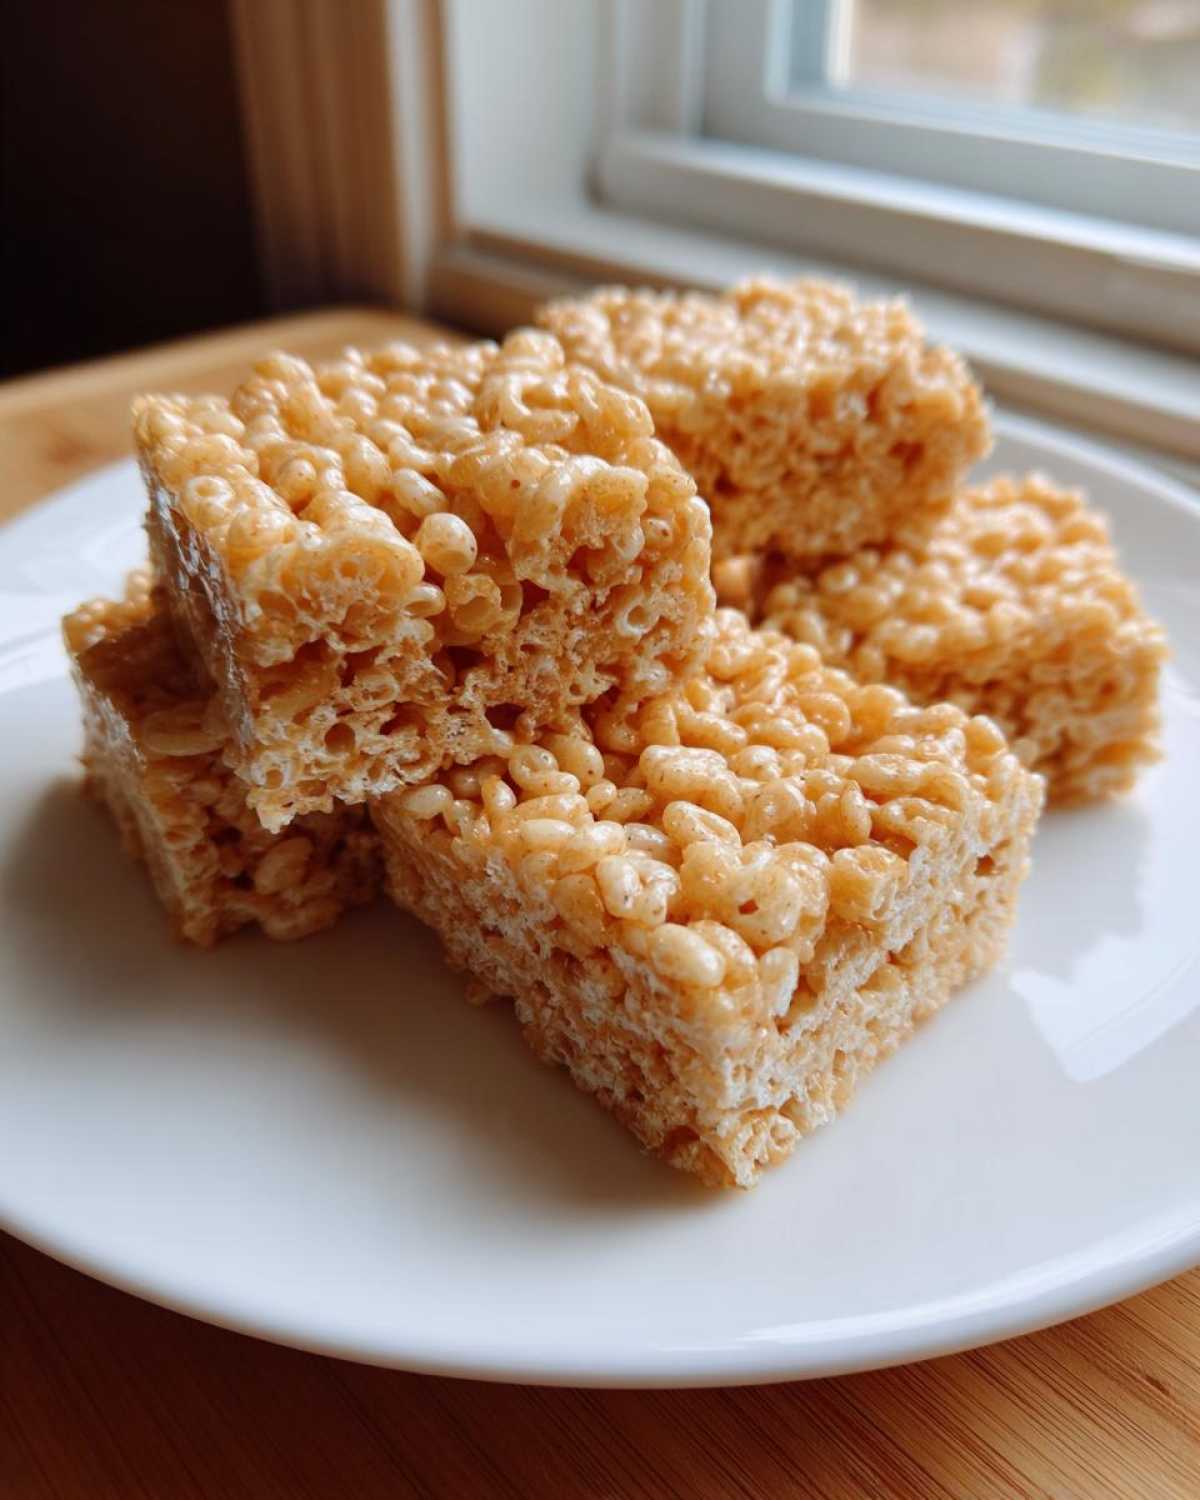
Tips for Success with Your Brown Butter Rice Krispie Treats
Look, technique is everything when you’re trying to elevate a simple dessert. For these Brown Butter Rice Krispie Treat Bars, your main fight is against mushiness and sticking! My biggest piece of advice, which I learned the hard way, is *never* press the mixture too firmly into the pan. If you compact it down hard, you squeeze out all those beautiful air bubbles we worked so hard to keep when melting the marshmallows. Just gently pat it down until it’s level.
Also, please believe me on the flaky sea salt. It’s worth the extra second to sprinkle it right on top of the bars immediately after you press them in. The salt crystals don’t dissolve instantly, so you get this amazing salty crunch against the rich, nutty buttery backdrop.
And if you want them extra soft and super chewy? Use those miniature marshmallows instead of the big ones. They melt faster and incorporate smoother, leading to a chewier final product. If you are looking for another great way to preserve flavor, you should definitely look at my slow cooker recipe for easy homemade apple butter!
Variations for Your Nutty Toasted Butter Crispy Bars
You know I love sticking to the classic method, but half the fun of baking is messing around with what you have on hand, right? Brown butter is such a versatile flavor base that it begs for mix-ins. Since the butter already brings a wonderful toasted depth, you can lean into that nutty profile or use additions to make it even more decadent.
If you’re feeling ambitious—or maybe you just have some leftovers lying around—you can seriously elevate these Nutty Rice Krispie Squares. I’ve tried a few things that have blown my mind, and I think you’ll love experimenting too!
- Go Nuts! This is the easiest upgrade. While the marshmallow mixture is still warm (right after the cereal is folded in), toss in about a cup of nuts. Toasted pecans are my number one choice because they absorb some of that marshmallow sweetness while keeping their crunch. Chopped walnuts work great too!
- Chocolate Drizzle Time: After you press the bars into the pan and they start to cool, melt down a few ounces of good quality bittersweet chocolate chips. You can drizzle it right over the top in a messy, artistic pattern. If you want to get really decadent, sprinkle a little flaky sea salt over the chocolate drizzle before it sets. If you’re a chocolate fiend, you absolutely have to try my homemade chocolate cake—it’s life-changing!
- Switch Up the Cereal: While classic crispy rice cereal is dependable, swapping out half of it for something else adds amazing texture. Try Cheerios, Chex, or even those corn flakes for a slightly different crunch factor. Just make sure you keep the total cereal amount the same so you don’t mess up the ratios!
- Marshmallow Boost: Sometimes I don’t want nuts or chocolate, but I want it extra gooey. For this, melt in an extra half-cup of miniature marshmallows right at the end. They don’t totally mix in; they leave little pockets of pure, melty goo throughout the bars, which is heavenly when warm.
See? So many ways to riff on this simple base! Honestly, these variations shine because that toasted butter flavor gives everything else a richer foundation to build upon.
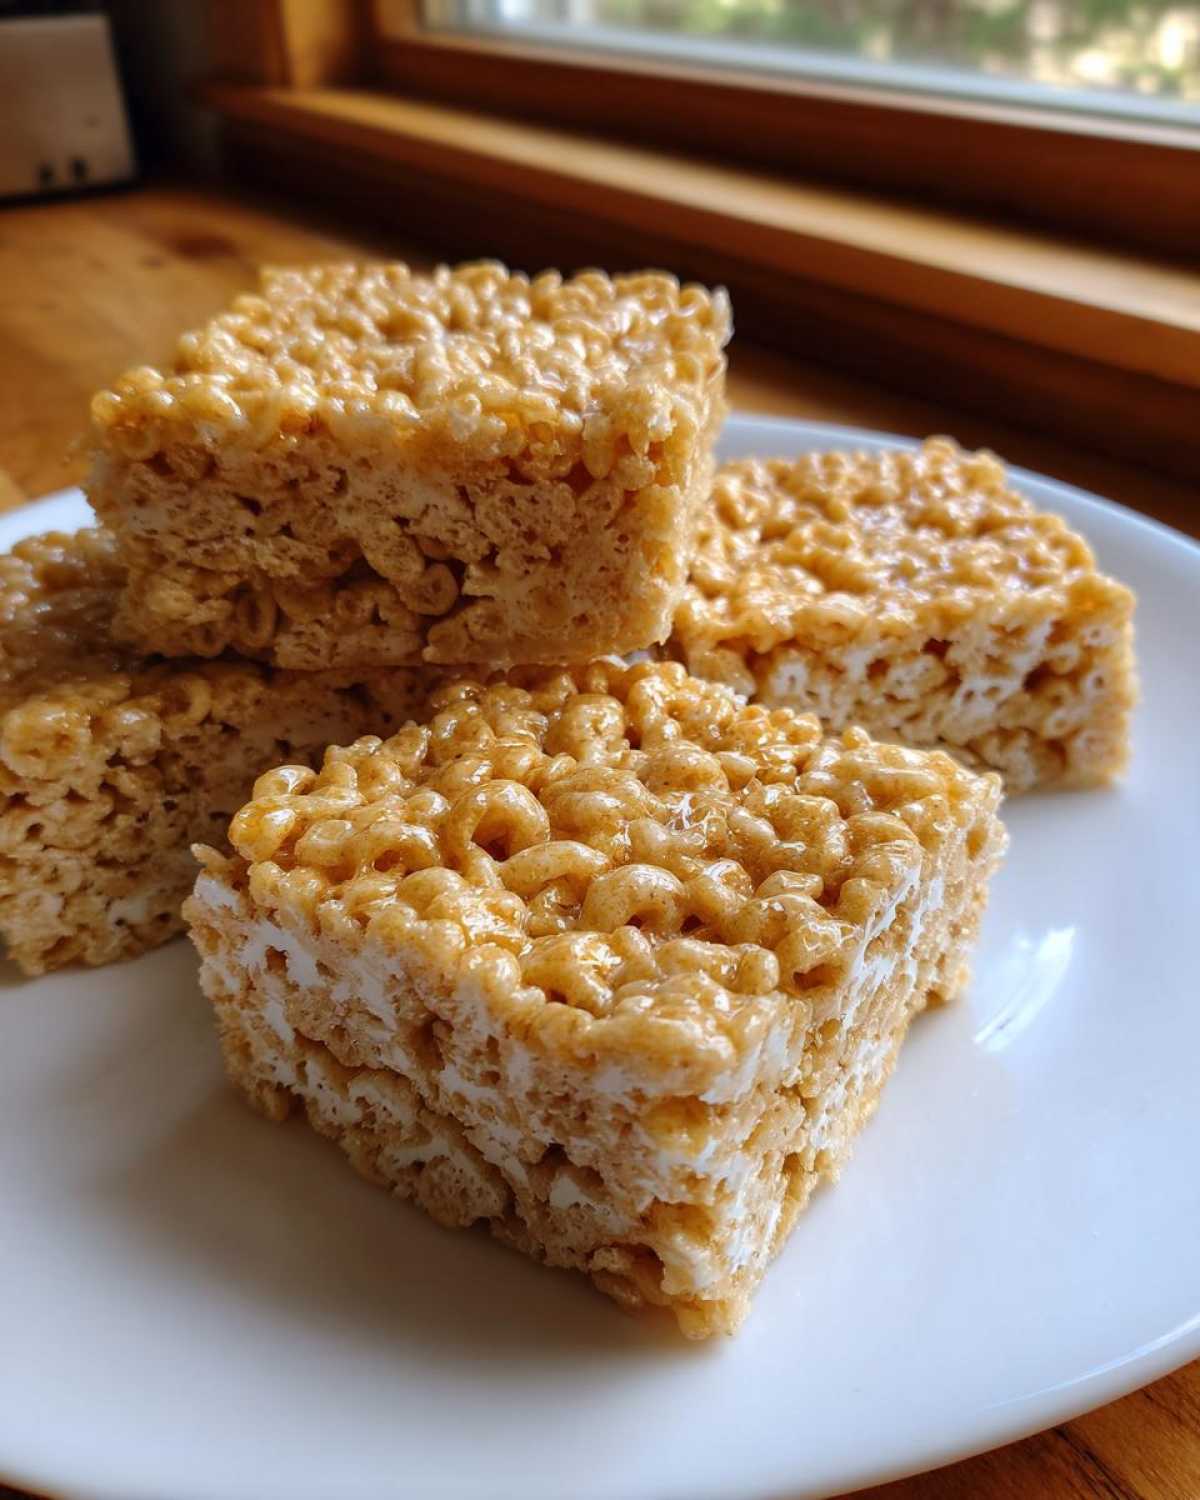
Storage and Reheating Instructions for Brown Butter Rice Krispie Treat Bars
These are best eaten the day you make them, which is never a problem in my house because they disappear so fast! But if—and I mean *if*—you manage to keep any leftovers past the first day, storage is super easy.
Because these are a no-bake treat and they rely on that gooey marshmallow binder, you absolutely want to avoid the refrigerator if you can. Storing them in the fridge is like microwaving them—it turns them hard! The cold temperature sucks all the softness right out of them until they feel like little brittle squares.
Instead, pop them into an airtight container at room temperature. Make sure you lay down a layer of plastic wrap or wax paper on the bottom, stack only one layer of bars, and then put another piece of wrap on top before sealing the lid. This prevents them from sticking to each other or to the container walls.
If wrapped well, they should stay perfectly fresh and chewy for about three to four days. If you happen to have a very hot kitchen, you might notice they get a little too soft after day two, but that just means you need to eat them faster! If you’re looking for ways to preserve flavor long term, I’ve got my recipe for easy homemade apple butter that freezes beautifully.
Reheating? Don’t worry about it! These are designed to be served at room temperature. If they somehow got a little compressed in storage and you want to soften them up just a hair, you can microwave a single square for about five to seven seconds. Any longer than that, and you risk melting the marshmallow entirely, which, again, is not what we want in a crisp treat!
Frequently Asked Questions About Brown Butter Rice Krispie Treats
When you dive into making something as classic as these treats but with an upgrade like brown butter, I totally get why questions pop up! I’ve tried just about every pitfall, so let me save you some time.
The main thing to remember about the Brown Butter Rice Krispie Treat Bars is that the butter is for flavor, not structure. The marshmallow does all the holding together, so focus on the heat control and gentle mixing!
How does brown butter affect the chewiness of the bars?
This is a great question! The flavor of the brown butter is much richer and deeper—it adds this amazing caramelized note. However, in terms of chewiness, the brown butter itself shouldn’t make them any harder or softer than the original recipe, assuming you use the proper ratio we laid out. The real texture changer is how hard you press them into the pan. If you press them down like you’re setting tile, they get hard. If you gently pat them down, they stay perfectly chewy!
Can I substitute margarine or oil for butter in this recipe?
Oh, please don’t! I mean, you *could*, but then why bother making these specific Brown Butter Rice Krispie Treat Bars? The whole point is that beautiful, nutty flavor that only happens when the milk solids in real butter toast up. Margarine or oil just won’t brown correctly; they’ll burn faster or just stay liquid without developing that incredible toasted aroma. Stick to the unsalted butter; it’s the flavor foundation!
If you’re looking for more foolproof home cooking tips, I share loads of little secrets in my guide on making Greek yogurt banana bread!
Nutritional Estimates for This Simple Elevated Dessert Recipe
I know some of you folks are tracking macros or just curious about what’s in your favorite treats! While I am definitely more focused on the deliciousness factor, I always run the numbers through a calculator just so we have a ballpark idea of what we’re getting into with these treats.
Keep in mind that because we’re using specific ingredients like brown butter (which has a slightly different fat composition than plain butter) and depending on the brand of crispy cereal you choose, these numbers are just estimates for one single bar cut from a 9×13 pan. Think of this as a helpful guideline, not gospel, okay?
If you want to dive into some other reliably nutritious treats, I share a lot of easy swaps over on my Greek yogurt banana bread post that keeps things lighter!
Here are the approximate numbers per serving (1 bar):
- Serving Size: 1 bar
- Calories: 180
- Fat: 6g
- Carbohydrates: 30g
- Protein: 2g
- Sugar: 15g
- Sodium: 120mg
You can see that the sugar content is definitely there—we are using marshmallows, after all! But honestly? I think the trade-off for that deep, nutty flavor is totally worth a little indulgence now and then. Just enjoy it!
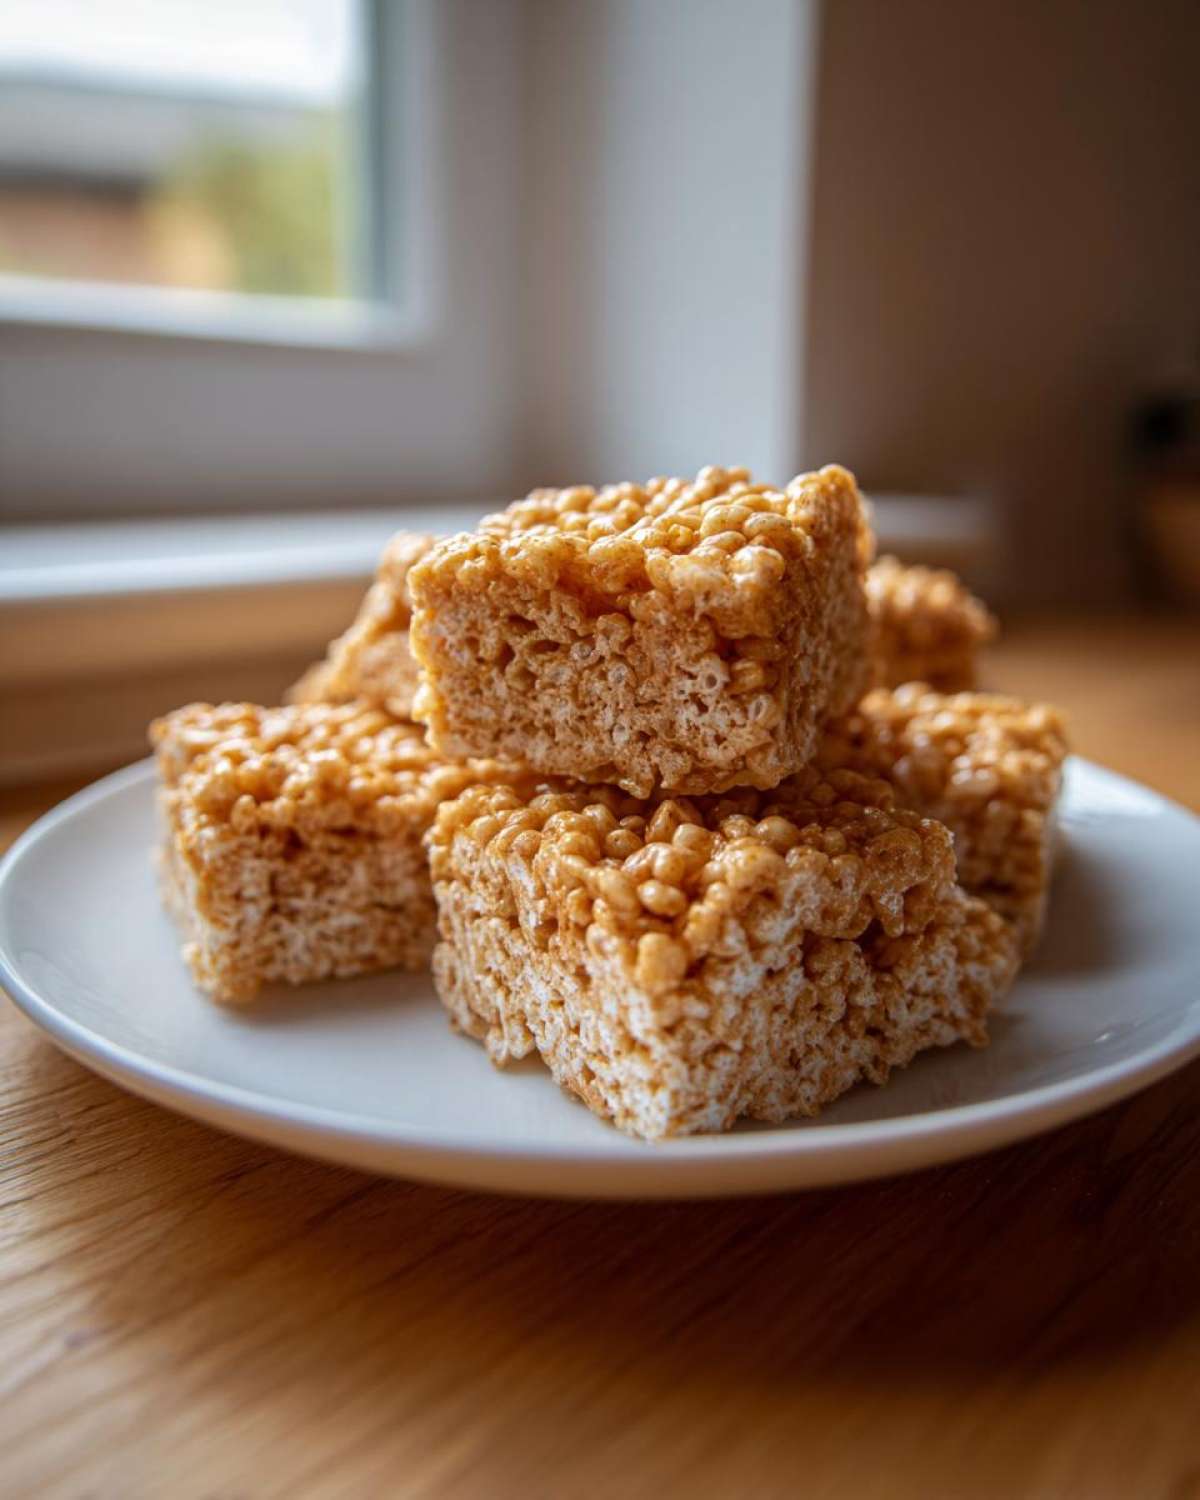
Brown Butter Rice Krispie Treat Bars
Make classic Rice Krispie Treats with the added depth of nutty, brown butter flavor.
- Prep Time: 10 min
- Cook Time: 10 min
- Total Time: 70 min
- Yield: 12 servings
- Category: Dessert
- Method: No Bake
- Cuisine: American
- Diet: Vegetarian
Ingredients
- 6 tablespoons unsalted butter
- 1 (10 ounce) package marshmallows, or about 4 cups miniature marshmallows
- 1 teaspoon vanilla extract
- 6 cups crispy rice cereal
- 1/2 teaspoon flaky sea salt (optional)
Instructions
- Lightly grease a 9×13 inch baking pan or line it with parchment paper, leaving an overhang for easy removal.
- Place the butter in a large saucepan over medium heat. Melt the butter completely.
- Continue cooking the melted butter, swirling the pan occasionally. The butter will foam, then the foam will subside, and brown bits will form at the bottom. You will smell a nutty aroma. This takes about 5 to 7 minutes. Watch carefully to prevent burning.
- Remove the pan from the heat immediately once the milk solids turn golden brown. Do not let it get dark brown or black.
- Stir in the vanilla extract.
- Add the marshmallows to the saucepan with the brown butter. Stir constantly until the marshmallows are completely melted and smooth.
- Remove the pan from the heat. Stir in the sea salt, if using.
- Add the crispy rice cereal to the marshmallow mixture. Fold gently until the cereal is evenly coated.
- Transfer the mixture to the prepared pan. Lightly press the mixture into an even layer using a piece of wax paper or lightly buttered spatula. Do not press too firmly, as this makes the bars hard.
- Let the bars cool and set completely at room temperature for at least 1 hour before cutting into squares.
Notes
- Browning the butter adds a rich, toasted flavor that complements the sweetness of the marshmallows.
- For an extra layer of flavor, sprinkle a little flaky sea salt on top immediately after pressing the mixture into the pan.
- If you want a chewier bar, use miniature marshmallows.
Nutrition
- Serving Size: 1 bar
- Calories: 180
- Sugar: 15
- Sodium: 120
- Fat: 6
- Saturated Fat: 3.5
- Unsaturated Fat: 2.5
- Trans Fat: 0
- Carbohydrates: 30
- Fiber: 0.5
- Protein: 2
- Cholesterol: 10