

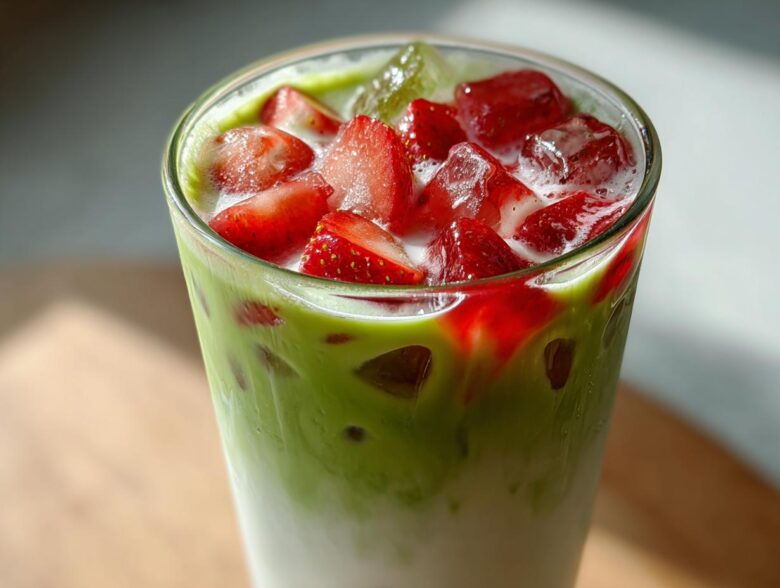
Oh my goodness, when the weather gets warm, you know I immediately ditch my hot drinks for something cold, bright, and totally Instagrammable! And honestly, nothing beats the trendiest drink on the block right now, which is why you simply must master making the Iced Strawberry Matcha Latte right in your own kitchen. Forget those long cafe lines!
I spent way too many afternoons trying to figure out how to nail this perfectly. The secret, trust me, is getting the balance right between that sweet, almost candy-like strawberry flavor and the earthy, robust taste of real matcha. Seriously, when you get that ratio perfect, it feels like you’ve unlocked a culinary superpower. We’re going to focus on making a gorgeous layered drink where the green and the pink stay separated just long enough for you to snap that perfect picture before diving in. I’ve got all the messy details and shortcuts right here for you!
You can check out my recipe for Watermelon Smoothie if you need another ultra-refreshing option, but today is all about that glorious green color contrasting with the vibrant red syrup. Let’s get whisking!
Why This Layered Iced Strawberry Matcha Latte Recipe Works
Okay, so why should you bother making this version instead of grabbing one out? Well, I’ve fine-tuned this recipe for maximum impact, flavor, and convenience. It’s about respecting the ingredients while making the process super fast!
This recipe guarantees you get exactly what you want out of a cafe-style treat:
- The most gorgeous presentation, making perfect Watermelon Mint Lemonade look basic next to it! We nail the visual layering every single time.
- Flavor that pops! Making our own strawberry component means the fruit tastes fresh and bright, not artificial.
- That luxurious, creamy iced matcha latte texture we all crave, especially when using the right milk.
- It’s surprisingly fast—we are talking minutes, not half an hour, before you’re sipping that gorgeous drink.
It’s all about those little details that take a good drink and make it fantastic!
Ingredients for Your Iced Strawberry Matcha Latte
Okay, gather your supplies! Seriously, having everything measured out before you start is half the battle, especially since we have a couple of small pre-steps. Don’t worry if you’ve never made a simple fruit syrup before; it’s ridiculously easy, and it’s what makes this Iced Strawberry Matcha Latte taste like it came straight from that fancy spot downtown. You’ll notice I keep the ingredients separate because that really helps keep everything organized!
Before we get assembling, I highly recommend checking out my recipe for Peach Iced Tea with Fresh Peach Syrup—it uses the same super-simple syrup method we are about to use here, so you’ll feel like a pro!
For the Homemade Strawberry Syrup
This component is the star of the bottom of your glass. It needs to cook down a tiny bit, so make this first and let it chill while you do the matcha part later!
- 1/2 cup fresh or frozen strawberries (if they’re frozen, no need to thaw first!)
- 2 tablespoons granulated sugar (this helps it thicken nicely)
- 1 tablespoon water (just enough for cooking)
For the Matcha and Assembly
For the creamy iced matcha latte vibe, if you can grab oat milk, do it! It’s just magic with the slight earthiness of the green tea. Make sure your matcha is sifted!
- 1 teaspoon high-quality matcha powder (sifted!)
- 2 tablespoons hot water (we need it around 175°F—don’t use boiling, or it gets bitter!)
- 1 teaspoon sweetener (honey works wonders here, or simple syrup/agave)
- 1 cup milk or milk alternative (oat milk is my favorite for texture)
- Ice cubes (use lots of them!)
That’s it! We’re cooking down the fruit, and then whisking that vibrant green powder. See? Nothing scary about these ingredients at all!
Step-by-Step Guide: How to Make Strawberry Puree for Drinks
This is where we create the bright, sweet foundation for your layered drink. You absolutely have to pay attention to this syrup part if you want that cafe style strawberry matcha look and taste. Don’t just mash the berries; we need a smooth liquid that won’t weigh down the matcha layer!
Grab a tiny saucepan and toss in your strawberries, sugar, and just a tablespoon of water. Set it over medium heat. You’ll see the berries start to weep and soften almost immediately. Stir it gently every now and then, maybe for about five to seven minutes. As they break down, feel free to use your spoon to smash any stubborn chunks—we want them cooked through.
Now, here comes my pro tip for a truly professional result: straining! You need to pour that cooked mixture through a fine-mesh sieve into a clean bowl. Use the back of a spoon or a spatula to really press down on those cooked strawberry solids. This extracts all the beautiful juice and thick syrup while leaving behind the seeds and any mushy bits. That strained liquid is pure gold for your Iced Strawberry Matcha Latte!
Discard the solids, and set that rich, red syrup aside. It must be completely cool before you use it in assembly, so pop it in the fridge for a few minutes. If you want to practice more simple syrup making, check out my recipe for Easy Homemade Apple Butter—the sauce element is similar and so rewarding!
Mastering the Matcha: Preparing the Iced Strawberry Matcha Latte Base
Alright, now for the main event—the gorgeous green layer! This is where people go wrong, so listen closely because we are making sure your matcha isn’t bitter or clumpy. Remember that high-quality, ceremonial or near-ceremonial grade matcha is worth the splurge here. It mixes smoother and tastes cleaner!
First things first: you absolutely *must* sift your matcha powder into a small bowl. I know, I know, it feels fussy, but those little green clumps will haunt you later when you’re trying to drink a smooth latte. Once it’s sifted, add your two tablespoons of hot water. And I stress hot, not boiling! Water that’s too hot will scorch the delicate powder, making it taste harsh.
Now, get that whisk going, whether you use a little bamboo whisk or just a tiny milk frother. Whisk it fast and hard in a quick ‘W’ or ‘M’ pattern until you see a layer of fine, beautiful froth on top. It should look creamy, not fizzy. Once it’s perfectly smooth, stir in your chosen sweetener—I find a little maple cinnamon latte sweetness base works perfectly here. That’s it! Your vibrant matcha base is ready to meet those strawberries.
Assembling Your Vibrant Layered Drink Tutorial
This is the fun part where all our hard work pays off and we finally create that stunning visual contrast! Getting the assembly sequence right ensures we achieve those crisp, beautiful layers that make the Iced Strawberry Matcha Latte such a showstopper. If you follow this order, you absolutely nail the ‘layered matcha strawberry drink’ look every time.
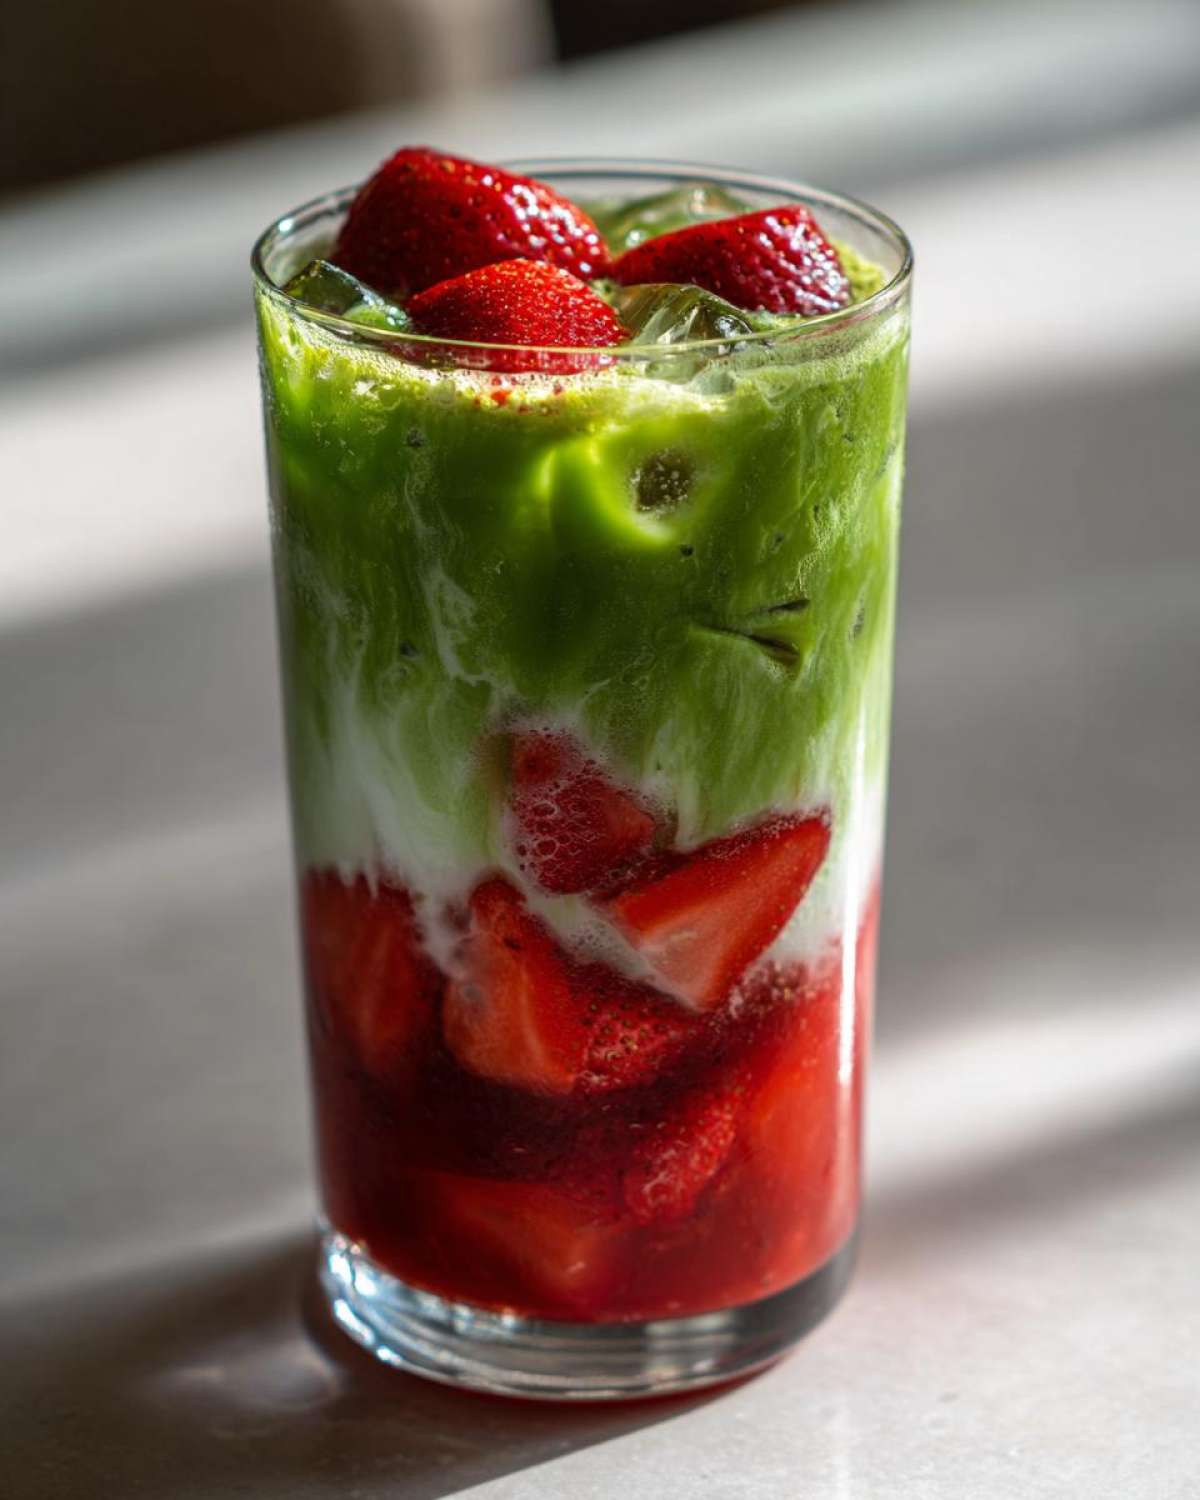
First step: load up a tall, clear glass with ice cubes. You want plenty of ice to help keep the layers distinct as they settle. Next, drizzle in all that beautiful, cooled strawberry syrup you made. It should sink right down and fill the bottom, maybe taking up about a third of the glass space. Don’t stir it in yet!
After the syrup, gently pour in your milk or milk alternative over the ice. If you’re using oat milk, it should sit nicely on top of the syrup—the slight density difference helps keep things separated for now.
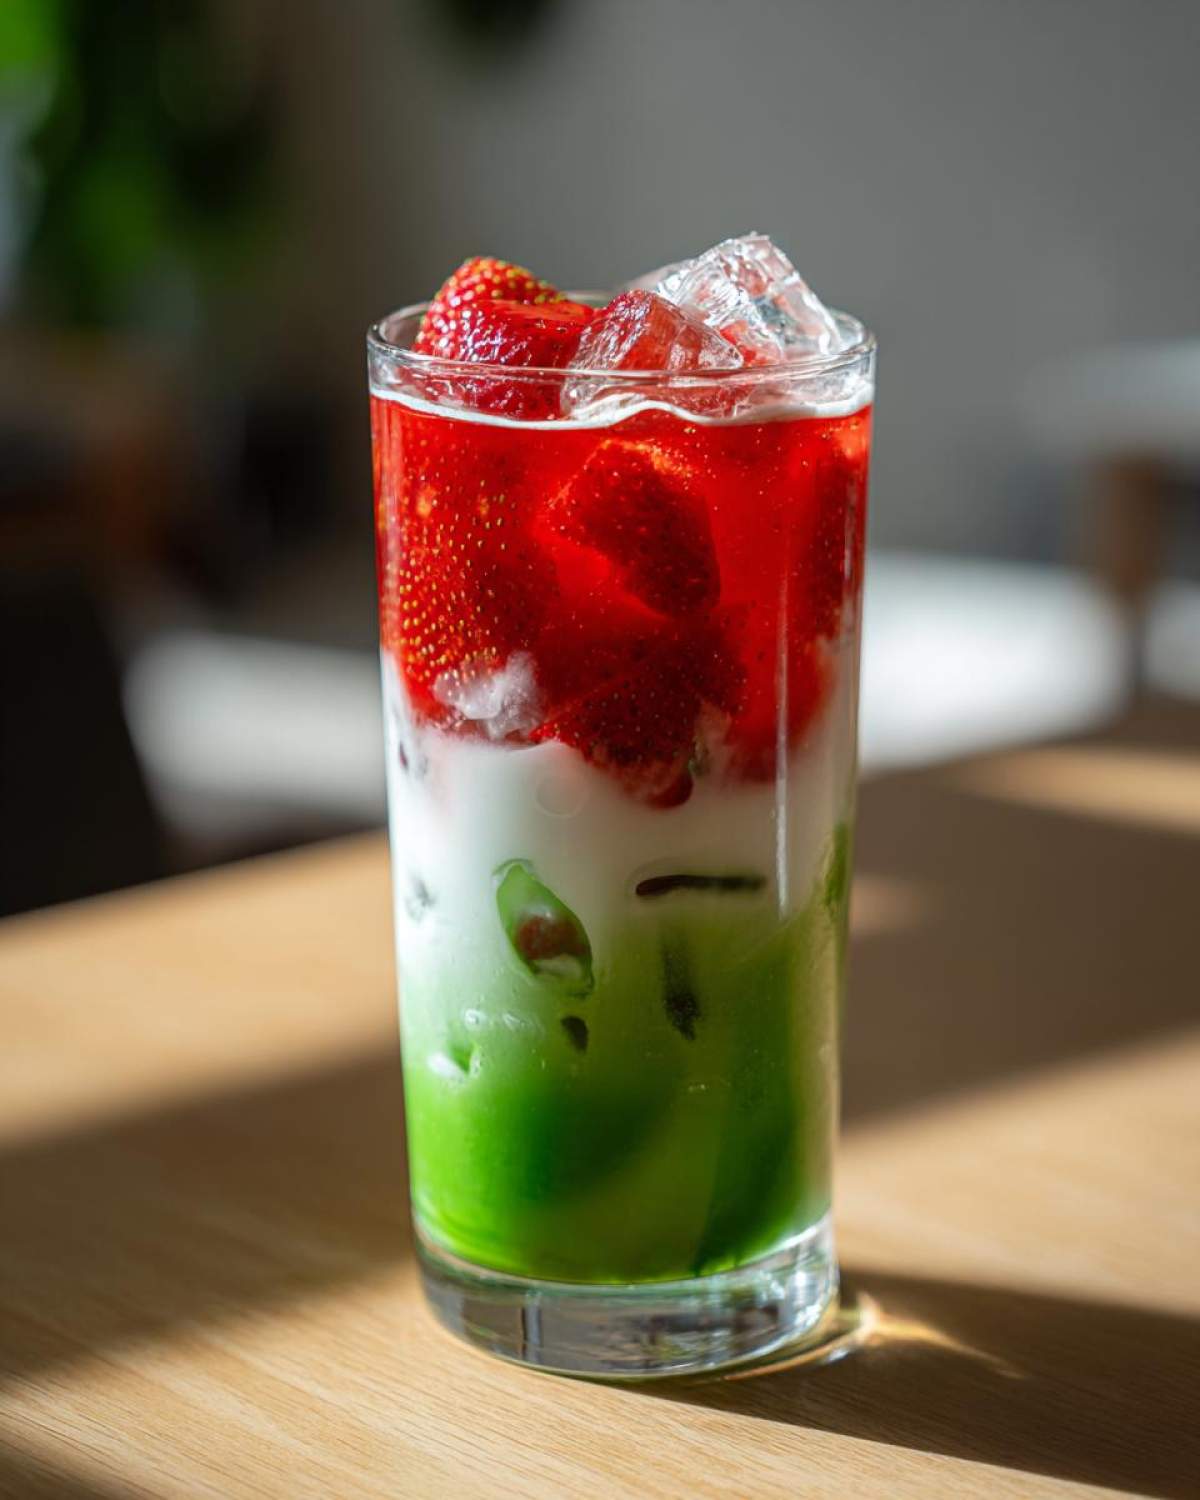
The final touch is pouring that frothy green matcha on top. Here’s the trick for clean layers: don’t just dump it in! Slowly pour the matcha mixture over the back of a spoon held just above the milk’s surface. This diffuses the stream and prevents it from splashing through the milk layer. Watch the magic happen as the green floats beautifully on top of the white and pink. If you want to bake something later, check out my recipe for Homemade Chocolate Cake, but right now, enjoy this cold masterpiece!
Tips for the Best Iced Strawberry Matcha Latte Texture and Flavor
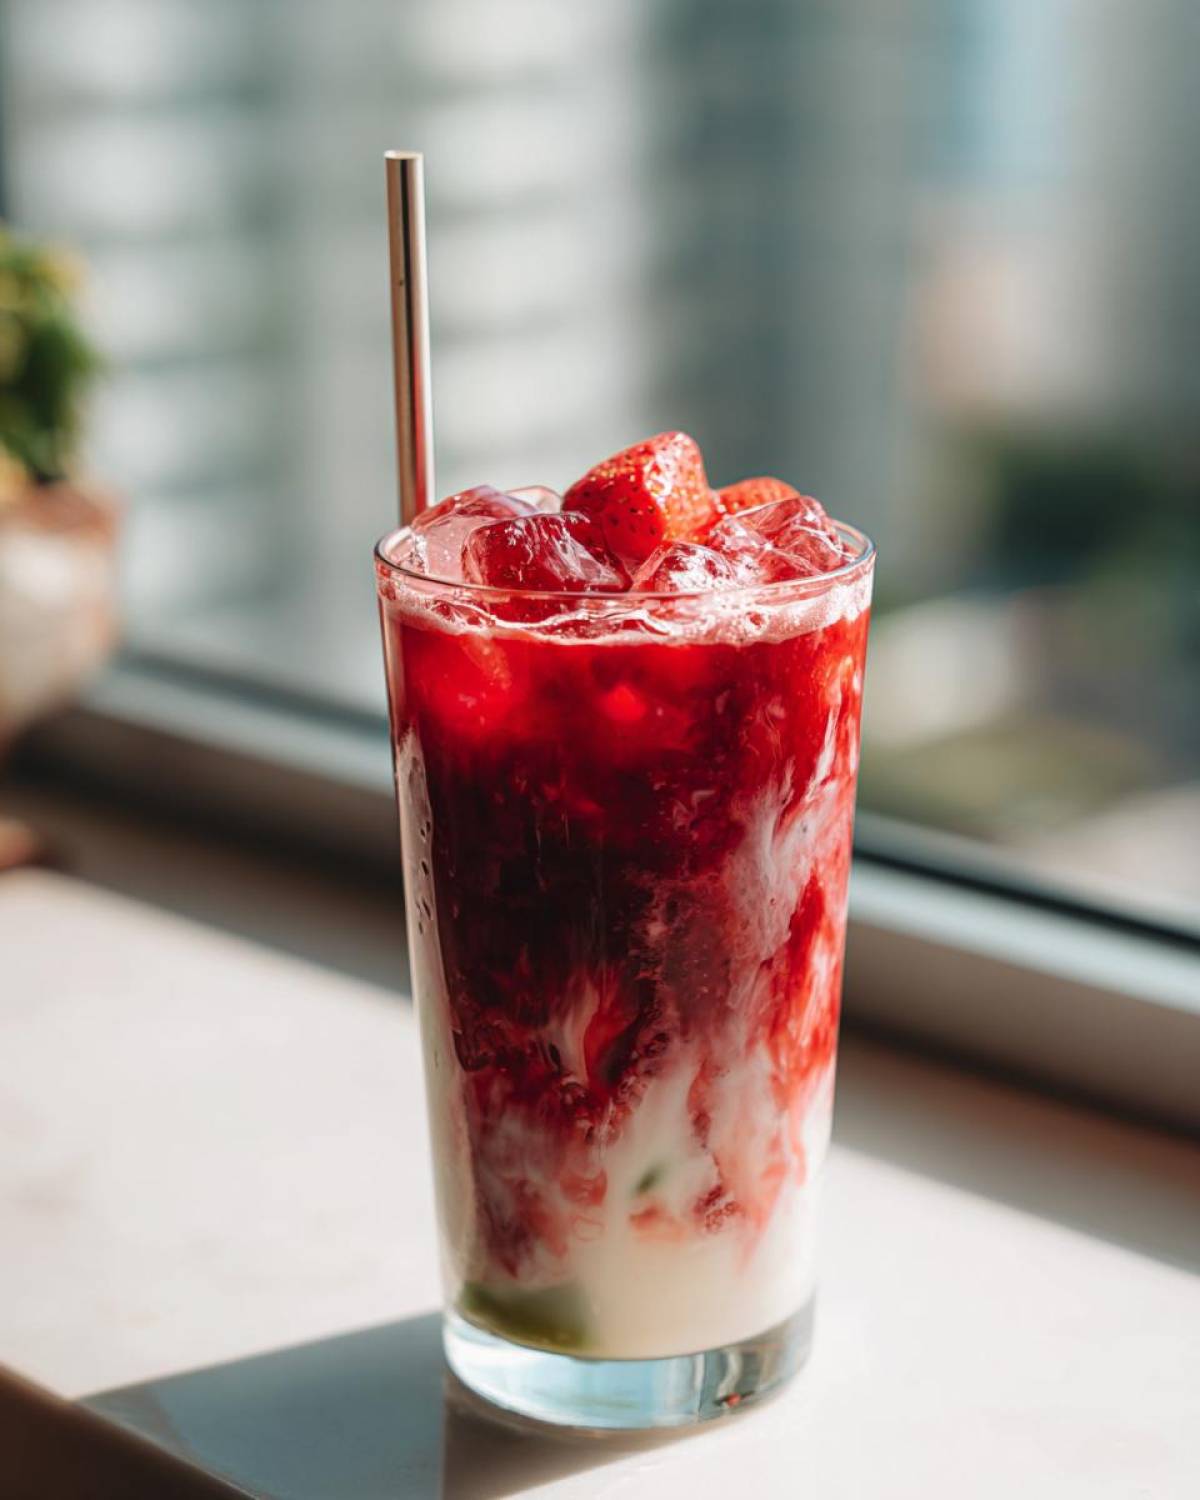
Now that you have the structure down for your Iced Strawberry Matcha Latte, let’s talk about fine-tuning it. Nobody wants a watery, thin latte, right? For the creamiest texture imaginable, I really, truly swear by oat milk. It has this wonderful natural sweetness and body that just blends beautifully with both the fruit and the matcha. Almond milk is fine, but oat milk hits different!
Flavor-wise, you need to taste as you go. Did you use super sweet, in-season strawberries for your syrup? Then maybe you can skip the extra teaspoon of honey in your matcha. Ripe fruit means you can scale back the simple syrup. Remember to taste the syrup *after* it’s cooled but *before* you assemble the final drink!
If you want to keep those layers looking perfect while you run to grab your phone for a picture, try this: when you pour the matcha on last, pour it incredibly slowly over a spoon, just like we talked about. If you want it to stay layered even longer, make sure the milk layer is super cold. If you’re interested in other creamy recipes, you might enjoy my tips for Easy Creamy Zucchini Soup!
Variations on the Matcha Latte with Fruit
Once you nail the basic Iced Strawberry Matcha Latte, why stop there? That homemade syrup base is so adaptable, and honestly, you should be experimenting! If strawberries aren’t your absolute favorite, swapping them out for frozen raspberries creates an amazing tart, electric-pink layer instead. Just follow my syrup steps from earlier!
Another thing I do when I want a little zing is to add a tiny sprinkle of orange zest right into the strawberry mixture while it’s cooking. It brightens up the whole thing, cutting through the richness of the milk. It’s a game-changer for a genuinely refreshing summer matcha recipe.
And look, sometimes you’re just too hot or too impatient for layering. If you are craving an immediate caffeine boost, just throw everything—syrup, matcha, milk, and a cup of ice—into a blender! A quick pulse turns this into a fantastic blended strawberry matcha latte. If you’re looking for something warm later, you can always try my Chocolate Chip Banana Bread Recipe!
Storing and Reheating Your Iced Strawberry Matcha Latte
Now, if you’re making a big batch for entertaining, definitely don’t assemble the whole thing! That melted ice water ruins the texture instantly. For the best experience with this Iced Strawberry Matcha Latte, store your components separately. That homemade strawberry syrup? It lasts beautifully in an airtight jar in the fridge for about a week. Seriously, it’s great over yogurt too!
Keep your prepared matcha powder dry, or if you whisked it, store the liquid matcha in a very small, sealed container in the fridge for up to a day. Only mix the layers right before you serve them over fresh ice. If you want to practice making more fruit sauces later, check out the fantastic storage tips in my guide for Easy Homemade Apple Butter!
Frequently Asked Questions About Making This Drink
I get so many questions about this drink because everyone wants that perfect cafe style strawberry matcha version at home, and that’s totally fair! It seems tricky, but mostly it’s just knowing a few insider secrets. Here are my usual answers for anyone trying to nail the Iced Strawberry Matcha Latte!
What type of matcha powder yields the best color for the Iced Strawberry Matcha Latte?
This is crucial for that vibrant layered drink aesthetic! If you use a really low-quality, basic culinary grade matcha, it often looks dull or brownish-yellow when mixed with water. For the brightest green, you need ceremonial grade matcha or at least a high-grade culinary matcha. This is usually much finer, sifts beautifully (which we already talked about!), and has a smoother, naturally sweeter flavor profile that won’t fight with your strawberry syrup. Don’t skimp here if color is important to you!
Can I use sweetened strawberry jam instead of homemade syrup?
You totally can, but I have to warn you: the texture won’t be nearly as good for a truly layered drink. Jam is thick and often has a more cooked, deep flavor. If you use jam, you absolutely must thin it out with a little bit of hot water first, or it will sit like a solid brick at the bottom of the glass and won’t mix well when you go to drink it later. Our homemade puree lets us strain out seeds and solids, giving you that beautifully smooth base for your Iced Strawberry Matcha Latte.
If you’re just making a quick batch and don’t want layers, yes, use the jam straight from the jar, about two tablespoons, and mix it with the milk first, then pour the matcha on top.
How do I make this drink less sweet?
The sweetness comes from two places: the strawberry syrup and any added sweetener in the matcha. To cut the sweetness down, use very tart strawberries when making your syrup, and be more generous with the water when you cook it down. Then, when preparing your matcha, skip the extra honey or simple syrup entirely. Matchas are slightly bitter on their own, so balancing that bitterness against the natural sugar in the fruit is the real goal here.
What is the best milk for a creamy iced matcha latte experience?
Hands down, oat milk will give you the best creamy iced matcha latte texture. Barista blends of oat milk are even better because they are stabilized to resist separating when they hit liquid that might be slightly acidic, like our strawberry syrup. Almond milk is thinner, and regular dairy milk is fine, but oat milk just mimics the richness of a whole milk latte without masking the delicate matcha flavor.
If I shake my matcha instead of whisking, will it still work?
Yes, shaking works okay, but you won’t get that perfect micro-foam on top that a good whisking provides! If you use a cocktail shaker, make sure you sift the matcha into the shaker *before* adding the water. Shake it really hard for a full 30 seconds. Shaking tends to trap air bubbles that pop faster than the creamy microfoam you get from a ‘W’ whisk motion, so your top layer might disappear faster.
PrintLayered Iced Strawberry Matcha Latte

Follow these steps to create a visually appealing and flavorful layered iced strawberry matcha latte using homemade strawberry syrup.
- Prep Time: 15 min
- Cook Time: 7 min
- Total Time: 22 min
- Yield: 1 serving
- Category: Beverage
- Method: Stovetop and Whisking
- Cuisine: Fusion
- Diet: Vegetarian
Ingredients
- 1/2 cup fresh or frozen strawberries
- 2 tablespoons granulated sugar (for syrup)
- 1 tablespoon water (for syrup)
- 1 teaspoon high-quality matcha powder
- 2 tablespoons hot water (175°F / 80°C)
- 1 teaspoon sweetener (honey, simple syrup, or agave, adjust to taste)
- 1 cup milk or milk alternative (oat milk recommended)
- Ice cubes
Instructions
- Make the strawberry syrup: Combine strawberries, sugar, and 1 tablespoon of water in a small saucepan. Heat over medium heat, stirring occasionally, until the strawberries break down and the mixture thickens slightly (about 5-7 minutes). Mash the berries as they cook. Strain the mixture through a fine-mesh sieve, pressing down on the solids to extract the syrup. Discard solids. Let the syrup cool completely.
- Prepare the matcha: Sift the matcha powder into a small bowl or matcha bowl to remove clumps. Add 2 tablespoons of hot water. Whisk vigorously in a ‘W’ or ‘M’ motion until the mixture is smooth and frothy with no visible clumps. Stir in your chosen sweetener (honey, simple syrup, or agave).
- Assemble the drink: Place ice cubes into a tall glass. Pour the cooled strawberry syrup over the ice, filling the bottom third of the glass.
- Gently pour the milk or milk alternative over the syrup and ice.
- Slowly pour the prepared matcha mixture over the top of the milk. Pouring slowly over the back of a spoon helps create distinct layers.
- Serve immediately with a straw.
Notes
- Use ceremonial or high-grade matcha for the best color and least bitterness in lattes.
- Oat milk provides the creamiest texture that complements the matcha well.
- If you prefer a blended drink, combine all ingredients (except ice) in a blender and pulse until smooth, then pour over ice.
- Adjust the amount of sweetener in the strawberry syrup based on the sweetness of your strawberries.
Nutrition
- Serving Size: 1 latte
- Calories: 250
- Sugar: 25
- Sodium: 50
- Fat: 8
- Saturated Fat: 1
- Unsaturated Fat: 7
- Trans Fat: 0
- Carbohydrates: 40
- Fiber: 3
- Protein: 6
- Cholesterol: 0