

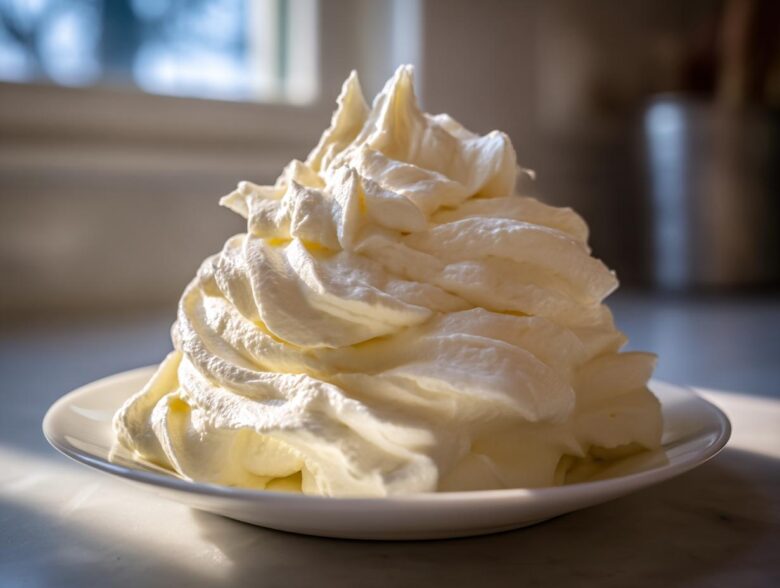
Okay, let’s be honest: a cake is only as good as the frosting that sits on top of it! I’ve ruined entire weekends by rushing the icing part. That’s why I guard the secrets to this Best Classic, Fluffy Cream Cheese Frosting Recipe fiercely. If you’ve ever had your Cream Cheese Frosting turn into soup right when you needed it firm for piping, this is the recipe that will save you.
This isn’t some light, airy buttercream imitation; this is the real deal—rich, tangy, and perfectly spreadable. Trust me, once you nail this, you won’t look back. I used this batch last month when my sister’s perfectly good carrot cake needed emergency topping, and it whipped up beautifully in ten minutes flat! If you want to see what it’s going on, check out my recipe for moist carrot cake that it pairs with so well.
Why You Will Love This Easy Cream Cheese Frosting Recipe
I’ve made dozens of batches of this topping over the years, and I keep coming back to this exact ratio. It just works! Here’s why this stands out from every other recipe you might have tried:
- It’s genuinely an Easy Cream Cheese Frosting Recipe—you don’t need to chill your ingredients to the bone or have a fancy stand mixer to get a great result.
- The texture is spot-on: it’s super Fluffy Cream Cheese Icing when you beat it, but it sets up enough to hold its shape beautifully on cake layers.
- That perfect, essential tang! It strikes the right balance between sweet powdered sugar and sharp cream cheese. It’s not overly sweet, which I hate.
- It’s incredibly versatile. This formula works for covering sheets, frosting layer cakes, or stuffing into cookies.
- With just a quick chill, it becomes firm enough for serious piping work—no strange stabilizers required!
- It comes together faster than it takes to clean up the mixing bowl. Seriously, ten minutes, max!
Essential Ingredients for Perfect Cream Cheese Frosting
Look, you only need five ingredients for this recipe, which is part of why it’s the best! But just because there are only five doesn’t mean you can grab whatever is hiding in your fridge. The quality of these few things really dictates how amazing your final Cream Cheese Frosting tastes and holds up.
We’re aiming for about 3 cups of frosting total from this batch, which is usually perfect for a two-layer 8-inch cake. Make sure you listen closely to what I say about the temperature here—it’s more important than anything!
- 8 ounces full-fat cream cheese, softened to room temperature
- 1/2 cup (that’s one full stick) unsalted butter, also softened perfectly
- 4 cups powdered sugar, and this absolutely *must* be sifted beforehand
- 1 teaspoon pure vanilla extract (Don’t skimp here!)
- 1/4 teaspoon salt to keep the sweetness from tasting flat
If you want to try a really rich, dark contrast, you might be interested in checking out my recipe for moist spice cake with brown butter frosting—it uses a different technique, but the emphasis on quality fats is the same!
Ingredient Notes and Substitutions for Cream Cheese Frosting
Let’s talk about the twin stars of the show: the butter and the cream cheese. You need them both to be full-fat. I know you probably have that low-fat cream cheese kicking around, but please don’t use it! It has way too much water, and your frosting will turn into sweet, dairy-flavored soup almost immediately.
Also, I insist on using unsalted butter here. Since we are adding salt as a separate ingredient later, controlling that flavor burst is crucial. If you only have salted butter, cut back on the added salt in the recipe until you taste it at the very end. And please, ditch the idea of using shortening! Shortening gives you stability, sure, but it tastes like nothing, and the whole point of this amazing Homemade Cream Cheese Frosting is that sharp, tangy flavor that only quality butter and cream cheese can give you.
How to Make Cream Cheese Frosting From Scratch: Step-by-Step Guide
This process moves fast, so have your ingredients ready to go—this is where you beat the clock! The key to a beautiful, lump-free, Perfect Cream Cheese Frosting for Cakes is patience, especially when mixing in that heavy powdered sugar. Don’t try to do this all in one go, or you’ll have a sugar cloud taking over your kitchen, trust me on this one!
If you’re interested in seeing this topping shine on something chocolatey, I have a great recipe for homemade chocolate cake that desperately needs a tangy topping like this one!
Mixing Technique for Fluffy Cream Cheese Frosting
First things first, make sure that butter and cream cheese are soft, not melted! I use my electric mixer on medium speed for the first step. You need to beat those two together until they look totally seamless—smooth, pale, and creamy, with zero streaks of butter showing.
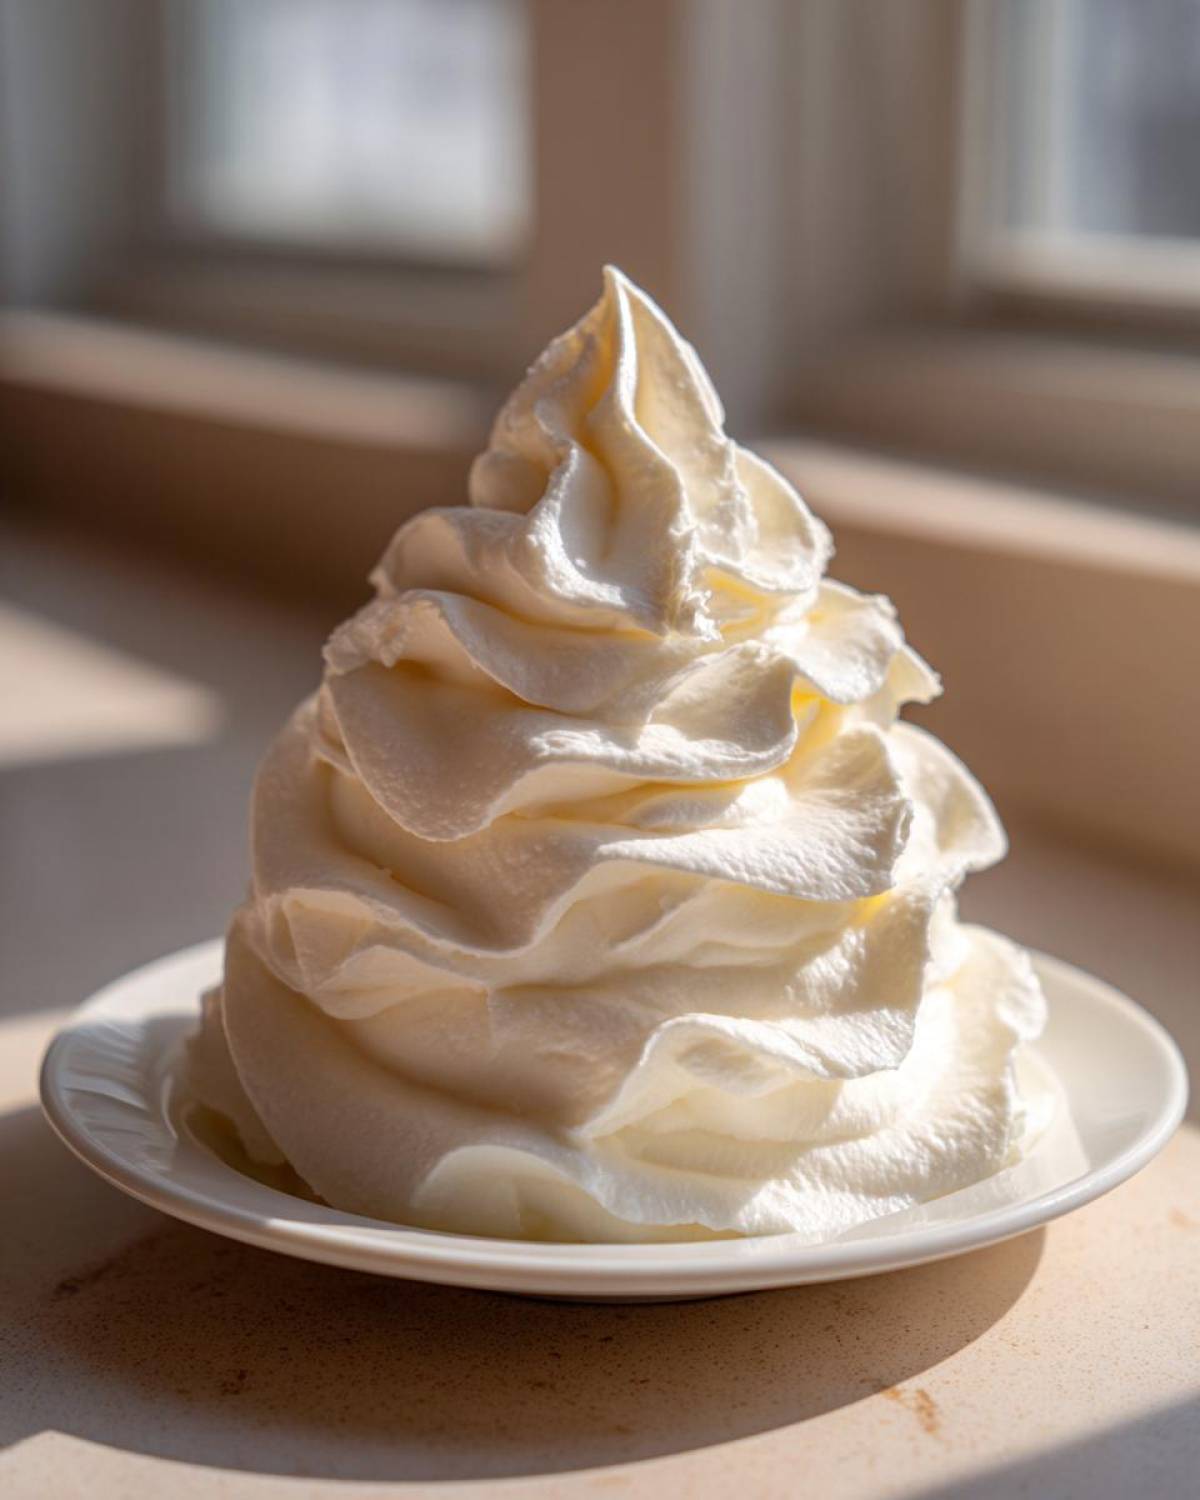
Pro Tip Alert! Stop the mixer about halfway through beating the fats and scrape down the sides and the bottom *really* well. I mean it—get every last bit. Then, once those are perfectly smooth, start adding the sifted powdered sugar. Only add it one cup at a time, keeping the mixer on low speed. Once a full cup is mixed in, *then* you can bring the speed up a bit until it’s incorporated. Finish it off by adding the vanilla and salt, and beat for another minute or two until you see it go light and airy. That’s how you get that beautiful loft!
Achieving the Perfect Consistency in Your Cream Cheese Frosting
This is the stage where people panic, but don’t you dare reach for that watery milk bottle too quickly! If your finished frosting seems a little too soft for spreading, especially if your kitchen is warm, just pop the whole bowl into the fridge. I usually let it chill for about 15 to 30 minutes. It will firm right up.
On the flip side, if you over-beat it slightly and it looks stiff—or maybe your cream cheese wasn’t quite soft enough when you started—you can save it easily. Add liquid, but do it slowly! Add just one teaspoon of milk or heavy cream at a time, mix it in until it’s smooth, and check the texture. Stop adding liquid the second it starts looking spreadable again. This control keeps your Simple Cream Cheese Buttercream from becoming runny!
Tips for Piping Cream Cheese Frosting Like a Professional
If you’re planning on using this gorgeous Cream Cheese Frosting to frost a fancy cake or make those perfect swirls on top of cupcakes, you need it to be sturdy. Nobody wants a beautiful piped rose that melts into a puddle five minutes after you finish it!
The absolute secret to getting that professional look is temperature control. Right after you finish mixing, if you look at it and think, “Hmm, that’s maybe a little too soft for my piping bag,” stop! Don’t crank the speed up hoping friction will help—it won’t.
Instead, cover the bowl securely and pop the whole thing into the refrigerator. You’re looking for about 20 to 30 minutes of chilling time. This firms up the butter and cream cheese just enough so the frosting holds those sharp edges you want. It becomes much more resilient!
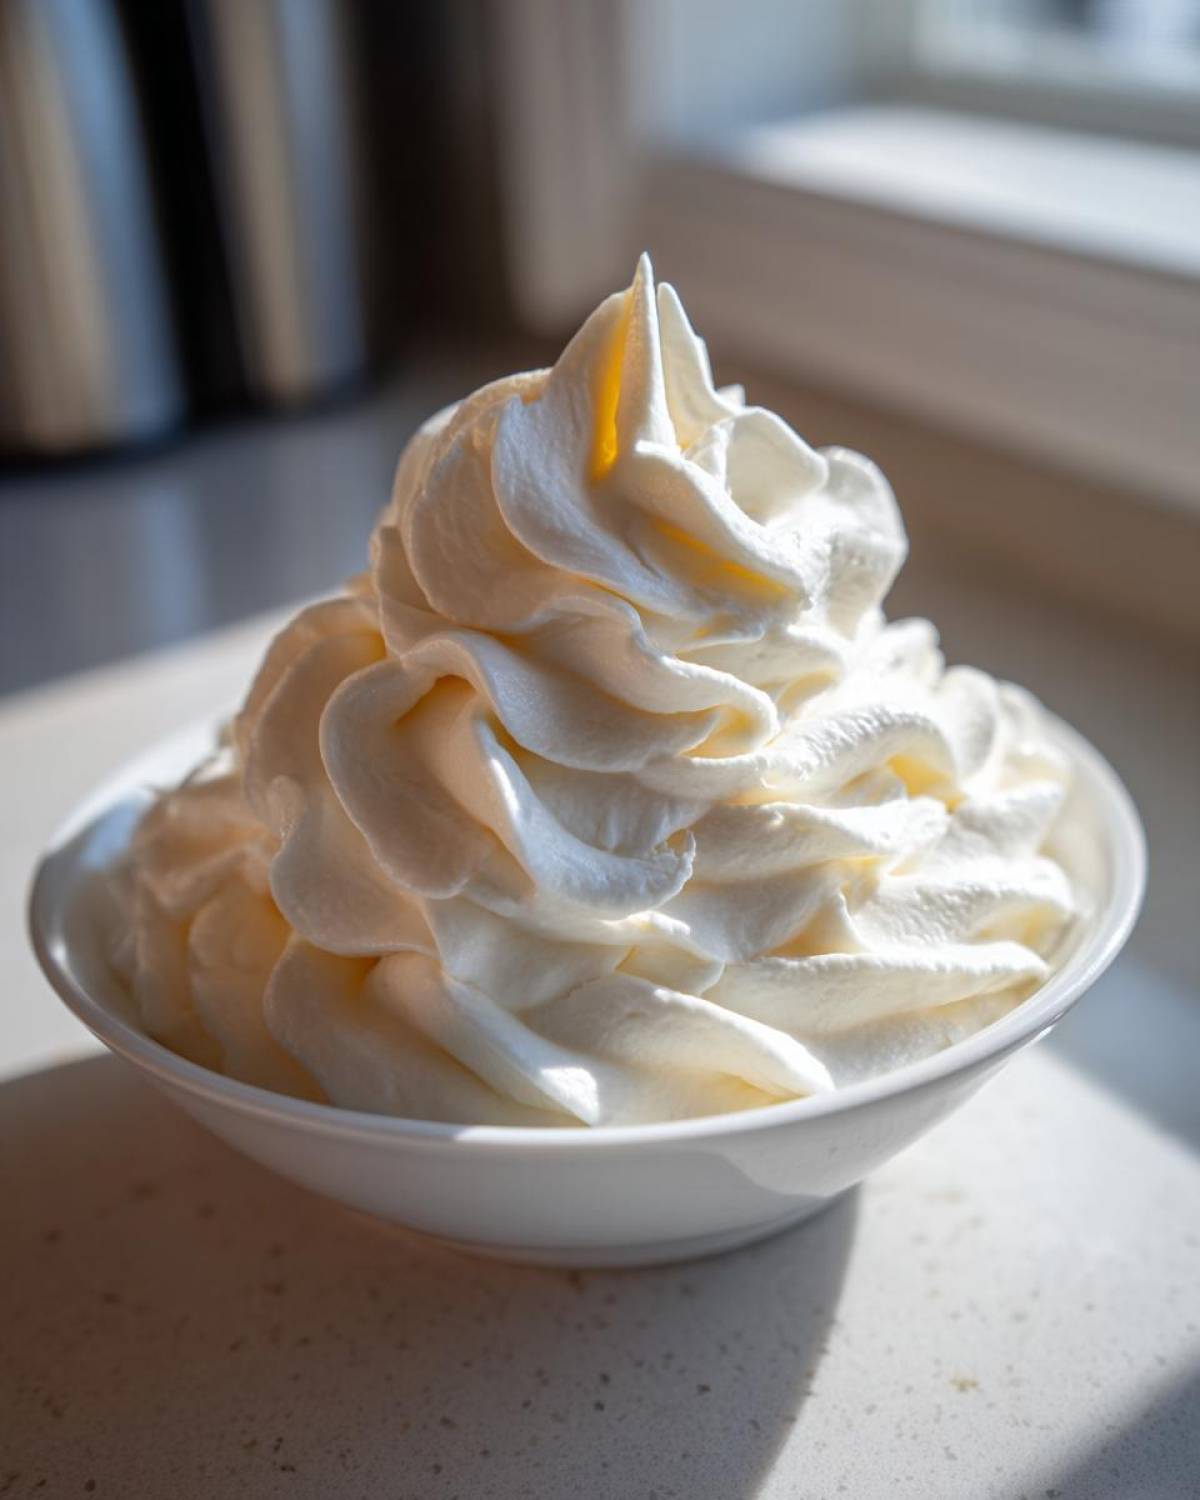
When you bring it out, give it one quick, short whip with the mixer just to loosen it up again so it feeds smoothly through the tip. For sheer elegance, I love using a large star tip—a #1M or even a big closed star tip—for those lovely ridges on top of cupcakes or around the edge of a layer cake. It masks any small imperfections underneath while looking totally professional. If you’re making beautiful swirls, chilling this batch of frosting is a non-negotiable step for me!
Pairing Your Cream Cheese Frosting: Best Cakes and Desserts
Now that you have whipped up the best Cream Cheese Frosting imaginable, the real question is: what magnificent thing are you going to put it on? This tangy, rich topping is famous for a reason—it has the flavor complexity to stand up to bold spices and rich chocolate.
Of course, you absolutely cannot talk about this frosting without mentioning its classic partners. If you are making a towering spice cake, this is the only way to go. The zing cuts through the sweetness perfectly. I’m completely obsessed with using this Cream Cheese Frosting for Red Velvet Cake; it just brightens up the whole cocoa flavor profile.
But don’t limit yourself! If you are looking for ways to use up any extra batch, try these ideas:
- Carrot Cake: My number one, the pairing that inspired this whole recipe! The warm spices just sing when covered in this tangy topping. I have a great recipe for easy carrot cake muffins that are perfect for test batches.
- Chocolate Desserts: Spread a thick layer over rich chocolate brownies or use this as the filling between dark chocolate cookies!
- Cinnamon Rolls: Forget that thin sugar glaze; smothering warm cinnamon rolls in this lets them cool down just to the perfect gooey-yet-firm state.
- Unexpected Treat: Try spreading it thinly on pumpkin bread! It makes a great breakfast treat that feels like dessert. Check out my favorite dough for red velvet cookies—it’s surprisingly good with this icing!
Personally, if I have to pick just one favorite, it has to be pairing this frosting with a simple, dense spice cake. The contrast between the cake’s earthiness and the frosting’s bright tang? Perfection. It’s the kind of dessert that makes everyone ask for the recipe.
Troubleshooting Common Cream Cheese Frosting Issues
Sometimes, even when we follow the steps perfectly, baking throws us a curveball. Don’t panic if your beautiful dream of Cream Cheese Frosting looks a little… wonky. These are common issues, and almost always, they are fixable with a quick adjustment. This is where knowing the chemistry helps you save the batch!
The biggest culprits are usually ingredient temperature and mixing speed. If you tried to rush the butter and cream cheese, you might run into a few surprises. Let’s look at the top three problems I used to face when I first started whipping this up.
My Frosting is Too Thin or Runny!
Ah, the dreaded soup effect. This nearly always means your cream cheese or butter was too warm, or maybe you added too much milk trying to loosen it up earlier. The fix is simple: STOP mixing! Put the bowl in the refrigerator immediately (uncovered, so condensation doesn’t drip in) for about 20 minutes.
As those fats chill and firm up, the mixture will stabilize its structure. Once it’s cold, put it *back* on the mixer, but just a quick 30-second whip on medium speed brings back the body. If it’s *still* too soft, you can add just half a cup of extra sifted powdered sugar, which should firm it up right away without making the texture grainy.
My Frosting Curdled or Looks Grainy
If you see streaks or little grainy chunks, it means a few things might have happened. Maybe your butter and cream cheese weren’t mixed smoothly enough before the sugar went in. Or, maybe your powdered sugar wasn’t sifted, and those little dense clumps are refusing to dissolve.
If it’s curdled, it means the emulsion broke—the fat has separated slightly from the dairy solids. Add just one single teaspoon of very cold heavy cream, turn the mixer on the absolute lowest setting, and beat *just* until it comes back together. Do not let it run fast! If it’s grainy, the only fix is more mixing and perhaps adding a tablespoon of milk to help dissolve those sugar granules before chilling again. Patience is key here; constant, higher-speed mixing is the enemy of a smooth finish.
My Cream Cheese Frosting is Too Sweet
This happens if you usually prefer less sugar in your baked goods, or if you grabbed a brand of powdered sugar that was finer than usual. Remember that pinch of salt we added? That helps, but if it’s still hitting your teeth too hard as pure sugar, you need to bring back the tang.
The best way to cut sweetness is with acid. Add about 1/4 teaspoon of fresh lemon juice—just a tiny bit at a time. Don’t use vinegar, obviously! The lemon brightens the flavor and balances the sugar beautifully without changing the texture much. Taste after every half teaspoon; you want brightness, not lemon flavor.
Storing Homemade Cream Cheese Frosting Safely
I always try to make my frosting the day I need it, but sometimes, life happens, or maybe you just made a giant batch because you know you’ll want extra for snacking later (don’t judge me!). Luckily, this Cream Cheese Frosting is quite resilient, but because it uses actual dairy—butter and cream cheese—we have to treat it properly.
The most important thing to remember for Storing Homemade Cream Cheese Frosting is that you absolutely must keep it cold. Leaving it out on the counter for hours is just asking for trouble, especially if you used full-fat ingredients as I recommended!
Refrigeration Guidelines
For the short term, the refrigerator is your best friend. You should store any leftover frosting in an airtight container. I use sturdy Tupperware because I worry less about it getting squished. In the fridge, this frosting will last up to one week. It’s going to firm up rock hard in there, which is normal!
When you want to use it again—maybe you need to frost the top of that leftover carrot cake tomorrow—you can’t just start beating it straight from the fridge. Take it out about an hour before you plan to use it. Once it softens up a bit, give it a quick, light whip with your mixer on medium speed, maybe 30 seconds. This brings the air back into the fat structure and makes it perfectly spreadable again. It looks just as gorgeous as when you first made it!
Can You Freeze Cream Cheese Frosting?
Yes, you totally can freeze it! If you know you won’t use it within the week, tuck that airtight container into the freezer. It holds up really well for up to three months, which is great for holiday baking prepping. Just make sure the container is truly sealed to prevent any weird fridge smells from creeping in!
The thawing process needs a gentle hand. Move the container from the freezer to the refrigerator overnight to thaw slowly. Once it’s completely thawed, let it sit on the counter for an hour until it’s just soft enough to touch. Then, bring out the electric mixer for that final revitalization whip, just like we do for the refrigerated batch. If it seems a little watery right after thawing, add that single teaspoon of milk or cream and whip until smooth. It’s like magic how well leftovers keep their flavor!
Estimated Nutritional Data for This Cream Cheese Frosting
I always tell people that if you’re going to eat something this delicious, you should at least know what you’re getting into! This fantastic Cream Cheese Frosting is definitely a treat, not an everyday topping, thanks to all that wonderful butter and sugar.
Keep in mind that these numbers are just an estimate based on standard grocery store ingredients and our recipe proportions. If you use a different brand of cream cheese or measure your sugar a bit differently, your numbers will shift slightly, but this gives you a very good baseline for what you’re looking at per serving.
We calculated this based on a yield of about 3 cups, sliced into 16 servings for the nutrition breakdown, so one serving size is about 1/4 cup.
- Calories: 320
- Total Fat: 18g (with 11g saturated fat—remember, that’s the wonderful butter and cream cheese!)
- Carbohydrates: 41g (most of that is sugar)
- Protein: 2g
- Sodium: 120mg
So, yes, it’s rich! But when you spread this luxurious topping over a slice of spice cake, knowing it’s packed with that pure butter flavor reminds you why it’s worth every single bite. It’s totally worth it for special occasions!
Share Your Perfect Cream Cheese Frosting Results
That’s it! You’ve done it! You’ve made my absolute favorite, most reliable, brilliantly tangy Cream Cheese Frosting. Honestly, I feel like we’re best friends now, sharing secrets straight from my kitchen to yours. It’s the happiest moment for me when I know someone else has succeeded where maybe they struggled before!
I’m dying to know how it turned out on your dessert! Did you try it on red velvet? Did it hold up to your fancy piping tip? Don’t just leave me hanging here!
Please take a minute to jump down to the comments section below and leave a rating for the recipe. Tell me what you thought—did it whip up easily? Was the texture perfect for you?
And if you took a sneaky photo of the final cake or cupcakes looking all beautiful under that gorgeous white icing, please share it! Tag me on social media—I love seeing these creations come to life. It just makes my day to see your baking success. You can also browse some other fun kitchen adventures over at my main blog page. Happy baking, friends!
PrintClassic Fluffy Cream Cheese Frosting
A standard recipe for making smooth, fluffy cream cheese frosting suitable for cakes and cupcakes.
- Prep Time: 10 min
- Cook Time: 0 min
- Total Time: 10 min
- Yield: About 3 cups
- Category: Dessert Topping
- Method: Mixing
- Cuisine: American
- Diet: Vegetarian
Ingredients
- 8 ounces cream cheese, softened
- 1/2 cup (1 stick) unsalted butter, softened
- 4 cups powdered sugar, sifted
- 1 teaspoon vanilla extract
- 1/4 teaspoon salt
Instructions
- Beat the softened cream cheese and butter together in a large bowl using an electric mixer until the mixture is smooth and creamy. Scrape down the sides of the bowl as needed.
- Gradually add the sifted powdered sugar, one cup at a time, mixing on low speed until incorporated. Increase the speed to medium and beat until smooth.
- Add the vanilla extract and salt. Beat on medium speed for 1 to 2 minutes until the frosting is light and fluffy. Do not overmix once fully combined.
- If the frosting is too soft, chill it for 15 to 30 minutes before using. If it is too stiff, add a teaspoon of milk or heavy cream until the desired consistency is reached.
Notes
- Use full-fat cream cheese and butter for the best texture. Ensure both are at room temperature before starting.
- For piping, chill the finished frosting for 30 minutes to firm it up slightly.
- Store leftover frosting in an airtight container in the refrigerator for up to one week. Bring to room temperature and briefly beat before reusing.
Nutrition
- Serving Size: 1/4 cup
- Calories: 320
- Sugar: 40
- Sodium: 120
- Fat: 18
- Saturated Fat: 11
- Unsaturated Fat: 7
- Trans Fat: 0.5
- Carbohydrates: 41
- Fiber: 0
- Protein: 2
- Cholesterol: 55