

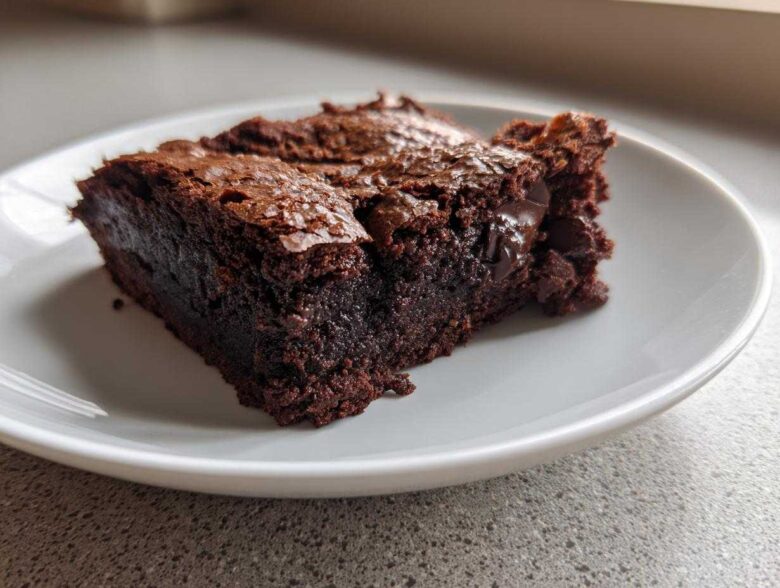
Forget those dry, crumbly boxes you find in the grocery aisle! If you, like me, believe a brownie should be practically wet in the middle—rich, dense, and deeply chocolatey—then you’ve landed in the right spot. I spent years chasing that perfect texture, until I cracked the code for the ultimate ultra-fudgy brownies. Trust me, these are the real deal. We’re talking about thick, decadent squares that defy gravity just a little bit, and you can even check out my other obsession with fudgy Oreo brownies if you want something extra! I promise you’ll never go back to a cakey version again after seeing what melted chocolate can do!
Why This is the Best Fudgy Brownies Recipe Ever
So, what makes these brownies the absolute best? It all boils down to ditching any notion of a light, airy texture. We are going for sheer, concentrated chocolate goodness here! You see, the biggest secret to achieving those dense chocolate brownies we crave is skipping heavy reliance on cocoa powder. Cocoa powder absorbs liquid and makes things cakey, which we absolutely forbid in this house!
- We use a huge amount of actual chopped bittersweet chocolate. Melting that down gives us incredible richness and that signature chewiness that every great chewy brownie recipe needs.
- The fat content is intentionally high—that’s where the marvelous moisture lives!
- This formula is specifically designed to minimize gluten development, ensuring you get thick fudgy squares every single time.
Achieving Gooey Center Brownies
The magic trick for that perfectly gooey center involves the sugars. We use both white and brown sugar, but the brown sugar adds moisture thanks to its molasses content. This combination, paired with less flour than you’d expect, locks in wetness. It’s all about the ratio to stop the brownies from ever looking fluffy. I really learned this technique baking cookies, which you can check out some tips for over here: here. It’s all about managing moisture!
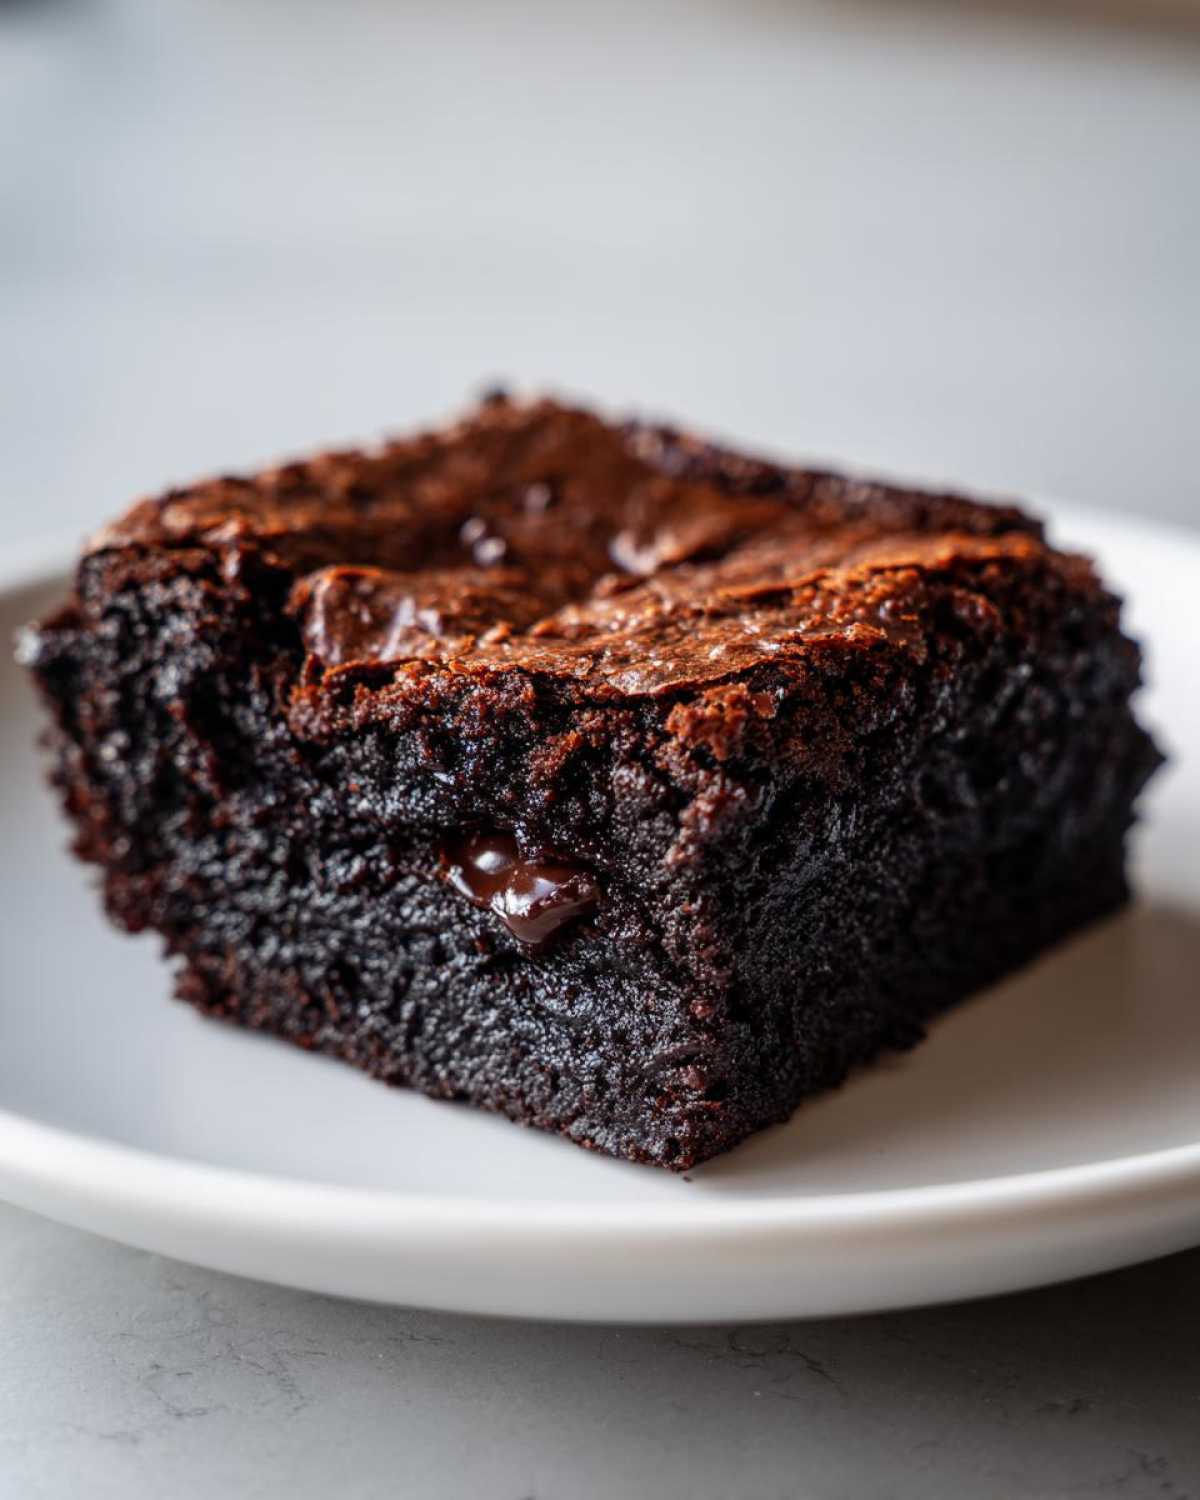
Gathering Ingredients for Ultra-Fudgy Brownies
Listen, when you are making real, from scratch brownies this decadent, the quality of your ingredients matters. It really does! We can’t hide behind cheap substitutes when we are trying to achieve that deep chocolate flavor. Grab your notebook because these proportions are what make them so spectacularly dense. You’ll need exactly one whole cup of unsalted butter, which we melt down with twelve ounces of bittersweet chocolate—and I mean *bittersweet*, like 60% cacao or higher!
Next up, we need two kinds of sugar: granulated and packed light brown sugar. That brown sugar is key for chewiness, don’t skip it! We’re using four large eggs; they *must* be at room temperature—seriously, don’t try warming them up quickly, they need that temperature stability. Then we mix in just one cup of flour along with some cocoa powder and salt. If you want extra gooey center brownies, toss in a cup of semi-sweet chips at the very end, but that part is optional!
Ingredient Notes and Substitutions
Let’s talk chocolate for a second, because if you use anything less than great, you won’t get the texture you’re after in these fudgy brownies. Bittersweet chocolate gives you that richer, deeper chocolate flavor we’re aiming for, thanks to the higher cocoa butter content. Don’t swap it all for milk chocolate, or you’ll end up with something way too sweet and soft.
Also, those eggs? They have to be room temperature. When you add cool eggs to melted chocolate, it can seize up or firm too fast, which throws off the whole structure we spent so long building. Room temperature eggs incorporate smoothly into the warm chocolate mixture, giving you that glossy batter that promises those famous crackly tops later on. Patience with the eggs pays off immensely for these rich dark chocolate brownies.
Essential Equipment for Baking Perfect Fudgy Brownies
You don’t need fancy gadgets for these babies, but preparation is half the battle when you’re aiming for perfectly fudgy brownies. Trust me, fighting with a cake stuck in a pan ruins the whole experience!
First thing’s first: you absolutely need a 9×13 inch baking pan. This size ensures our batter is spread thin enough to bake quickly without turning into a cake. Nobody wants cakey brownies when they are craving dense chocolate brownies, right?
The non-stick magic relies on parchment paper. You’re going to line that pan completely, leaving generous overhangs on the long sides. These overhangs are your handles later—they let you lift the entire cooled slab out like a cake. It’s the secret to getting clean cuts, or what I like to call perfect thick fudgy squares.
You’ll also need a heatproof bowl—the kind you can safely set over simmering water for that double boiler effect. And definitely grab your best rubber spatula for gently folding everything; we want to keep all those precious air bubbles we developed in the sugar, which you can read more about in my easy cracker recipe section, because mixing technique is important everywhere!
Step-by-Step Instructions for Rich Dark Chocolate Brownies
Alright, now for the fun part! We’re going to assemble these incredible brownies. The order of operations here is what guarantees we bake the best fudgy brownies, so follow along exactly. First, get that oven going—350°F (175°C) is our sweet spot. Then prepare that 9×13 pan exactly as I described: paper liner with lots of overhang so we can lift the whole thing out later. If you want to see how I handle the batter for my full chocolate cake, the mixing principles are similar, but here we are far more gentle!
Once your oven is humming, we jump right into the chocolate foundation. This is where we build the density.
Melting Chocolate and Creating the Base for Fudgy Brownies
Grab your butter and that gorgeous chopped bittersweet chocolate. You need to melt them together until they are soup smooth. My go-to is setting a heatproof bowl over a pot of gently simmering water—just make sure the bottom of your bowl isn’t touching the water, or you’ll scorch it! If you are in a real rush, you can zap it in the microwave, but watch it closely in 30-second bursts.
After it’s perfectly melted and glossy, take the bowl off the heat. This next bit is crucial: let it cool for five full minutes. If it’s too hot when the eggs hit it, guess what? Scrambled eggs! Once it’s slightly cooled, whisk in both your sugars until you see everything incorporate nicely. Then, add the eggs one at a time, whisking hard after each one until the whole batter looks thick and unbelievably glossy. That gloss is going to become your signature crackly top layer!
Mixing Batter to Avoid Cakey Brownies
Now we switch to a rubber spatula because we need to be gentle! We don’t want to work this batter too hard, or we’ll develop gluten and make cakey nightmares. In a tiny separate bowl, just whisk your flour, the cocoa powder, and the salt together. Nothing fancy there.
You’re going to fold those dry ingredients into the glorious wet chocolate mixture. Add the dry stuff chunk by chunk, folding just until everything is *just* combined. I mean it—if you still see a few little white streaks of flour, stop mixing! Seriously, those streaks will disappear once they hit the heat, and stopping short keeps these from becoming fluffy imposters. If you put in those optional chocolate chips, fold them in quickly and then you’re done. Get that batter into the pan immediately!
Baking Perfect Fudgy Brownies: Timing and Testing
Okay, the batter is spread evenly, and your kitchen likely smells like heaven already, but hang tight! This is where so many people mess up their attempts at true fudgy brownies. We put the pan into that preheated 350°F (175°C) oven. Don’t go opening that door every two minutes, please! We need the heat to stay consistent.
The baking time is usually 28 to 35 minutes for a 9×13 pan, but you need to watch for the signs of doneness rather than just the clock. For the best, chewiest brownie experience, we are aiming slightly underbaked. This is essential for those gooey center brownies!
When you test them, forget the clean toothpick test. If a toothpick comes out completely clean, you’ve gone too far and you’ve got a cake on your hands! For these ultra-fudgy brownies, you want to pull that toothpick out and see moist, dark crumbs stuck to it. They should be clinging, not dripping wet sludge, but definitely not clean!
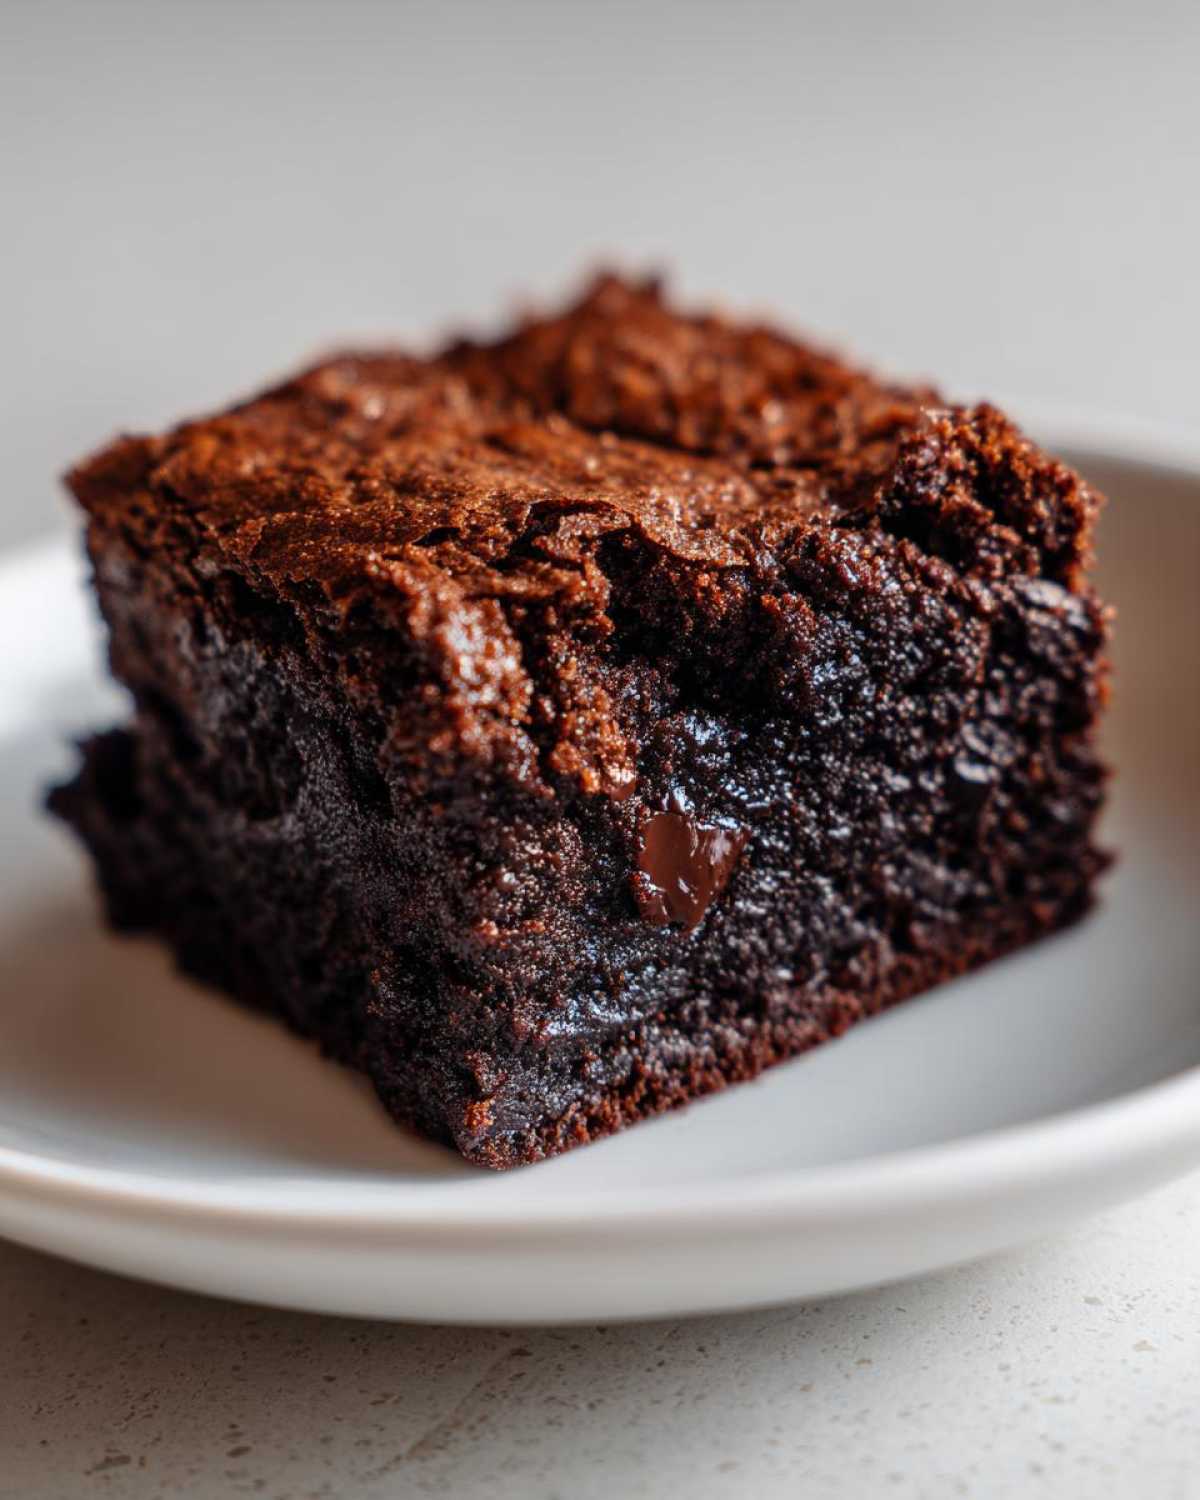
One final, major tip, which is seriously the hardest part: You *must* let them cool completely. I know, waiting is torture when you’ve made the best brownie recipe ever, but if you cut them warm, they fall apart and lose that dense structure we worked so hard for. Seriously, wait until they are totally cooled down on the rack—sometimes I even chill mine for an hour—before you carefully use the parchment overhang to lift the slab out. That cooling process solidifies the melted chocolate, giving you those perfect, thick fudgy squares. You can check out some of my tips for banana bread, which also requires patience with cooling, here!
Brownie Baking Tips for the Ultimate Fudgy Brownies Experience
Now that you know the core mixing and timing, let me share a few extra pieces of advice that my testing taught me. These are the little tweaks that elevate these from just good brownies to the absolute best fudge bombs you’ve ever pulled out of your kitchen. Remember, sharing family secrets is my favorite part of having this little blog!
First off, I can’t stress enough the importance of using high-quality chocolate. Since we are melting it down and using it as the main structure builder, if you use waxy or poor quality bars, the final texture of your fudgy brownies won’t be as smooth. Go for something that’s 60% cacao or higher for that deep chocolate flavor. You can always balance the bitterness with the sugars!
Now, if you saw me whisking those eggs and sugars earlier—that vigorous churning step? That’s the direct path to getting that beautiful, crackly top that makes every piece look professionally made. Whisk until the mixture is pale and looks like ribbon candy when you lift the whisk. That emulsification traps tiny bits of air which bake into that shiny shell!
Another super important brownie baking tip is *no substitutions* for leavening agents. If you read the recipe, you’ll see I explicitly say not to add baking powder or baking soda. Those things are designed to make things rise and be light. We want density! We want them heavy! Keeping the leavening low is the absolute secret to fudgy brownies that stay thick fudgy squares. If you want something less dense but still chocolatey, check out my easy fudge recipe; that one is designed to be softer, but these brownies need structure!
Finally, for an extra gooey center, try pulling them a minute or two sooner than the toothpick test suggests. If that toothpick comes out with just a tiny bit of wet goo clinging on, trust me, it will set up perfectly once it cools in that pan. Overbaking is the number one killer of fudgy texture!
Storage and Reheating Instructions for Fudgy Brownies
I get it; sometimes you make a giant batch of these beautiful, dense chocolate brownies and you just can’t eat them all in one day. Which is great news, because these keep incredibly well—better than most cakes, actually!
The number one rule for keeping that perfect texture is air exposure. You need to keep them sealed up tight once they are completely cool. Store them in an airtight container at room temperature. If you pile them on top of each other, definitely put parchment paper or wax paper between the layers. This stops them from sticking together and keeps the tops from getting gummy.
They last great at room temperature for about three or four days. If you’re looking at a longer commitment, freezing is fantastic! Wrap individual squares tightly in plastic wrap, then pop them into a freezer bag. They freeze beautifully for up to three months. When you want one, just pull it out and let it thaw on the counter for about an hour. That dense, fudgy texture holds up perfectly.
If you happen to freeze them, sometimes they lose a tiny bit of that immediate fresh-from-the-oven warmth. If you want to reheat one slightly, microwave it for just 10 to 15 seconds. It’ll get all soft and gooey again, perfect for eating plain or topping with a scoop of vanilla. Speaking of pairings, check out my recipe for apple butter if you want a fun twist to put on top!
Frequently Asked Questions About Making Fudgy Brownies
I know you’ve got questions, because when you’re trying to bake the *best* fudgy brownies recipe, trial and error can be frustrating! I’ve fielded tons of emails about common hiccups, so let’s clear up any confusion about achieving those perfect thick fudgy squares.
Can I substitute butter with oil in this fudgy brownies recipe?
Oh, I get why you’d ask! Oil is easy, but for these specific brownies, I really vote against it. Butter provides structure because of its solid state when cool and its water content; it traps air when you cream it with the sugar, which contributes to volume and chewiness, even if minimal. If you swap it all out for oil, you skip that crucial step and end up with something much greasier and denser—maybe too dense, bordering on a chocolate brick! It changes the whole marriage of fat and chocolate needed for true fudgy brownies.
How do I get that shiny, crackly top on my brownies?
This is the million-dollar question, right? This shiny top is the hallmark of a successful recipe! Remember when I told you to whisk the eggs and sugars really vigorously after adding the vanilla, until the mixture was thick and glossy? That’s the secret to fudgy brownies! You are essentially creating a meringue-like layer on the surface of the batter. As the mixture bakes, that glossy sugar layer dries out just enough to form that beautiful, paper-thin shatter on top of your thick fudgy squares. Keep whisking that egg/sugar combo until you think you’ve whisked too long—then whisk for five more seconds!
If you’re working on other baked goods and need some healthy recipe ideas, you can check out my creamy zucchini soup just over here: there!
Serving Suggestions for Deep Chocolate Flavor Brownies
Now that you’ve successfully navigated the tricky process of baking the best fudgy brownies recipe—and you’ve waited the agonizing full cooling time, good job!—it’s time to talk about how to enjoy these rich dark chocolate beasts.
Honestly, these brownies are so intensely flavored and perfect on their own that they hardly need anything else. I mean, a good, thick fudgy square served plain with a cold glass of milk is pure nostalgia. But if you’re serving them to guests or just feeling fancy, you have to dress them up a little!
My absolute ride-or-die recommendation is a scoop of good quality vanilla bean ice cream. The contrast between the almost cold, dense brownie and the melting cold ice cream is just divine. You get that deep chocolate flavor punching through the creamy vanilla—it’s perfection. If you’re feeling a little more adventurous, a sprinkle of coarse sea salt on top right before serving really brings out the bittersweet notes.
For a slightly lighter touch, fresh raspberries or strawberries are wonderful; their tartness cuts through how rich these are. And if you’re drinking coffee, honestly, just eat the brownie on the side! But if you enjoy richer dipping options, I have a surprisingly delicious recipe for white chicken lasagna soup, which sounds weird to mention here, but trust me, a tiny dollop of that savory richness balances out the sugar rush if you’re feeling bold!
However you choose to serve them, make sure you cut them cleanly once they are completely chilled. These aren’t meant to be neat, dainty treats; they are meant to be satisfying, messy slabs of pure chocolate goodness!
PrintUltimate Ultra-Fudgy Brownies
This recipe produces extremely dense, moist, and rich chocolate brownies with a signature fudgy texture, avoiding a cakey result.
- Prep Time: 15 min
- Cook Time: 35 min
- Total Time: 50 min
- Yield: 16 squares
- Category: Dessert
- Method: Baking
- Cuisine: American
- Diet: Vegetarian
Ingredients
- 1 cup (2 sticks or 226g) unsalted butter
- 12 ounces (340g) bittersweet chocolate (at least 60% cacao), chopped
- 1 3/4 cups (350g) granulated sugar
- 3/4 cup (150g) packed light brown sugar
- 4 large eggs, room temperature
- 1 tablespoon vanilla extract
- 1 cup (120g) all-purpose flour
- 1/2 cup (45g) unsweetened cocoa powder, natural or Dutch-process
- 1 teaspoon salt
- 1 cup (170g) semi-sweet chocolate chips (optional, for mixing in)
Instructions
- Preheat your oven to 350°F (175°C). Line a 9×13 inch metal baking pan with parchment paper, leaving an overhang on the long sides for easy removal. Lightly grease the paper.
- In a medium, heatproof bowl set over a saucepan of simmering water (or in a microwave in 30-second intervals), melt the butter and the chopped bittersweet chocolate together. Stir until completely smooth. Remove from heat and let cool for 5 minutes.
- Whisk the granulated sugar and brown sugar into the slightly cooled chocolate mixture until fully incorporated.
- Add the eggs one at a time, whisking well after each addition until the batter is thick and glossy. Stir in the vanilla extract.
- In a separate small bowl, whisk together the flour, cocoa powder, and salt.
- Gently fold the dry ingredients into the wet ingredients using a rubber spatula until just combined. Do not overmix; a few streaks of flour are acceptable.
- Fold in the optional chocolate chips, if using.
- Spread the batter evenly into the prepared pan.
- Bake for 28 to 35 minutes. The edges should look set, and a toothpick inserted near the center should come out with moist, fudgy crumbs attached, not wet batter.
- Let the brownies cool completely in the pan on a wire rack before lifting them out using the parchment paper overhang and cutting them into squares. Cooling fully is key to achieving the dense, fudgy texture.
Notes
- For the fudgiest texture, use high-quality chocolate with a higher cocoa butter content.
- Do not substitute baking powder or soda; this recipe relies on minimal leavening for density.
- For extra gooey centers, slightly underbake by 1-2 minutes.
- If you prefer a shiny, crackly top, whisk the eggs and sugars vigorously for one minute before adding the melted chocolate.
Nutrition
- Serving Size: 1 square
- Calories: 305
- Sugar: 30
- Sodium: 150
- Fat: 19
- Saturated Fat: 11
- Unsaturated Fat: 8
- Trans Fat: 0.2
- Carbohydrates: 33
- Fiber: 2
- Protein: 4
- Cholesterol: 85