

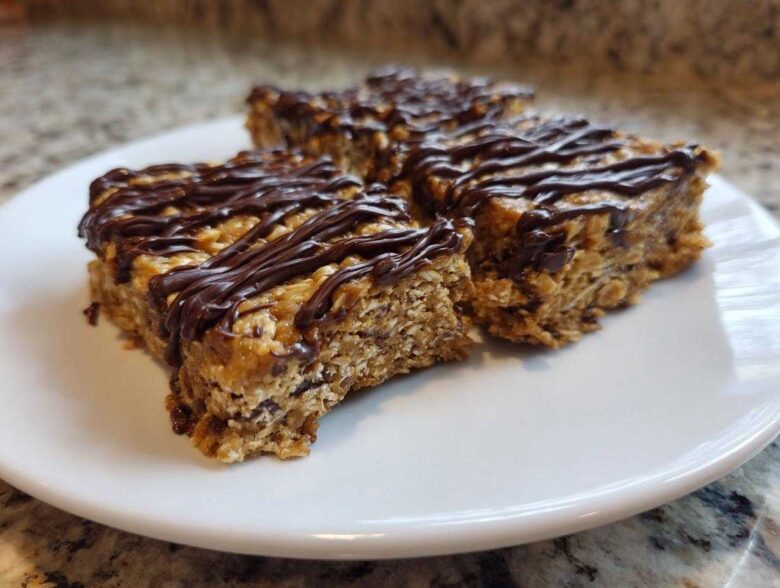
Oh my goodness, are you tired of reaching for that sad, chalky store-bought snack bar and wondering where all your money goes? I totally get it. Between trying to run a chaotic household and actually remembering to feed the dog, finding a good, quick snack that doesn’t taste like sweetened cardboard is tough work. That’s where Leo and I always step in with our motto: it’s about the fun, not the perfect execution! I’m Sofia, and believe me, I’ve perfected this recipe out of sheer necessity for busy days. You can even peek behind the curtain at our story if you want to see how messy our kitchen usually is!
Forget complicated baking; we’re talking about the easiest, fudgiest, can-I-believe-this-is-healthy protein bars you’ll ever meet. Seriously, these Peanut Butter Protein Bars are no-bake, use only five core ingredients, and taste a million times better than the stuff wrapped in plastic at the checkout line. If you’re ready to stop stressing over fancy kitchen gadgets and just mix something amazing together, pull up a stool. This is the Cookify Me way—delicious food, made while dancing to loud music!
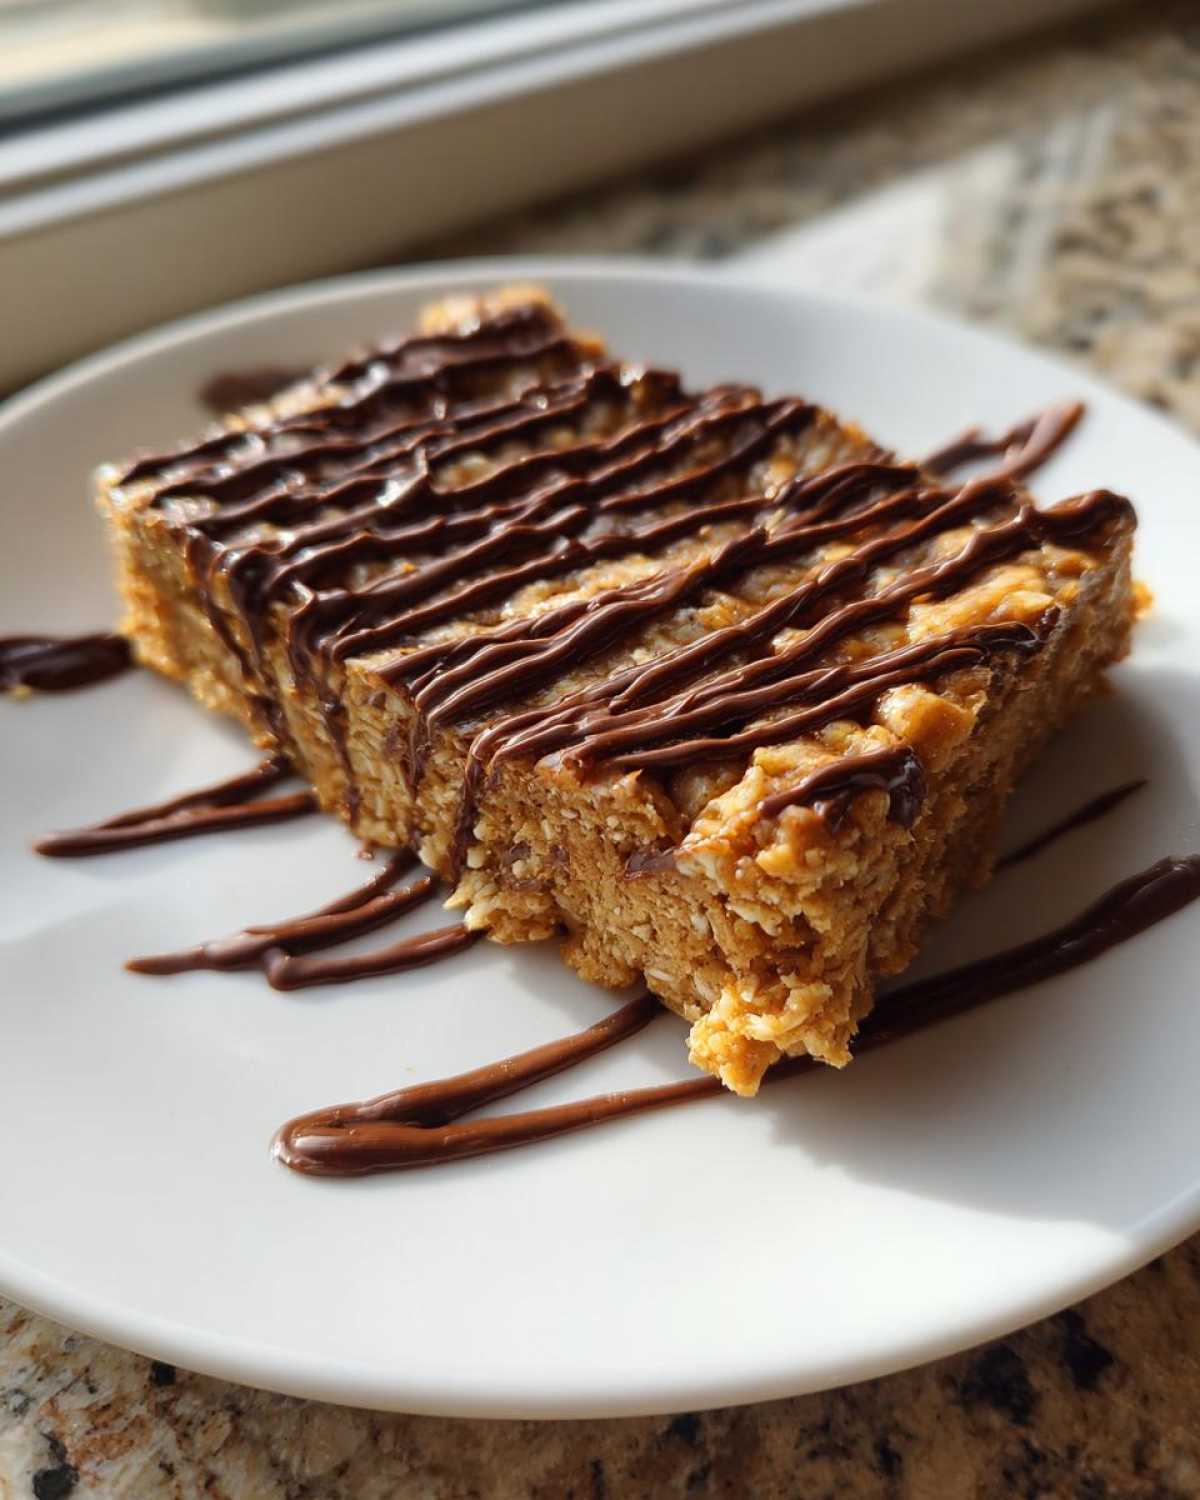
Why You Need These Easy No-Bake Protein Bars in Your Life
When I say easy, I mean effortlessly easy. We all have those days where you need fuel, like, five minutes ago, and this recipe is my go-to save. These aren’t just snacks; they are game-changers for your daily hustle. Trust me, once you try these, you’ll be making them weekly!
- They hit that perfect spot between sweet dessert and actual nutrition. No weird aftertaste here!
- They are built for speed, which means less time in the kitchen and more time living (or maybe doing dishes, haha!).
- You can toss them straight into your gym bag or lunchbox—seriously reliable **meal prep bars**.
Quick Preparation for Busy Schedules
The best part? We skipped the oven entirely! This is a true **no bake protein bars** situation. You literally mix it, smoosh it into a pan, and done. If you’ve never made a snack bar before, this is where you start. These are fantastic **protein bars for beginners** because there is zero chance of burning anything.
Flavor Focus: The Best Tasting Protein Bars
Let’s talk taste. We use good quality peanut butter because these are meant to be the **best tasting protein bars** out there. That combo of salty peanut butter, sweet binder, and a little bit of chocolate? It just works! They are chewy, satisfying, and honestly taste like a slightly healthier peanut butter cup.
If you’ve had good luck with my muffins, you’ll love how dependable these **homemade protein bars** are!
Gathering Ingredients for Your 5-Ingredient Protein Bars
Okay, this is the best part of using an **easy protein bar recipe**: there are only five main things you actually need! You don’t need a million specialty items gathering dust in your pantry. This simplicity is why these are such reliable **high protein recipes** when you’re rushing around. We keep the ingredient list tight so you can whip these up anytime, trust me.
Essential Components for Chewy Protein Bars
For these super satisfying **chewy protein bars**, here is exactly what you need to round up before you start mixing. Remember, the quality of your peanut butter really shines through here, so grab one that’s natural—the kind that needs a little stir because the oil separates? That’s the good stuff!
- One cup of good old rolled oats.
- Half a cup of creamy, natural peanut butter.
- Half a cup of vanilla or unflavored protein powder.
- A quarter cup of your sticky binder: honey or maple syrup.
- Just two tablespoons of dark chocolate, melted for the drizzle on top.
That’s it! Five main players making these fantastic homemade **protein bars**!
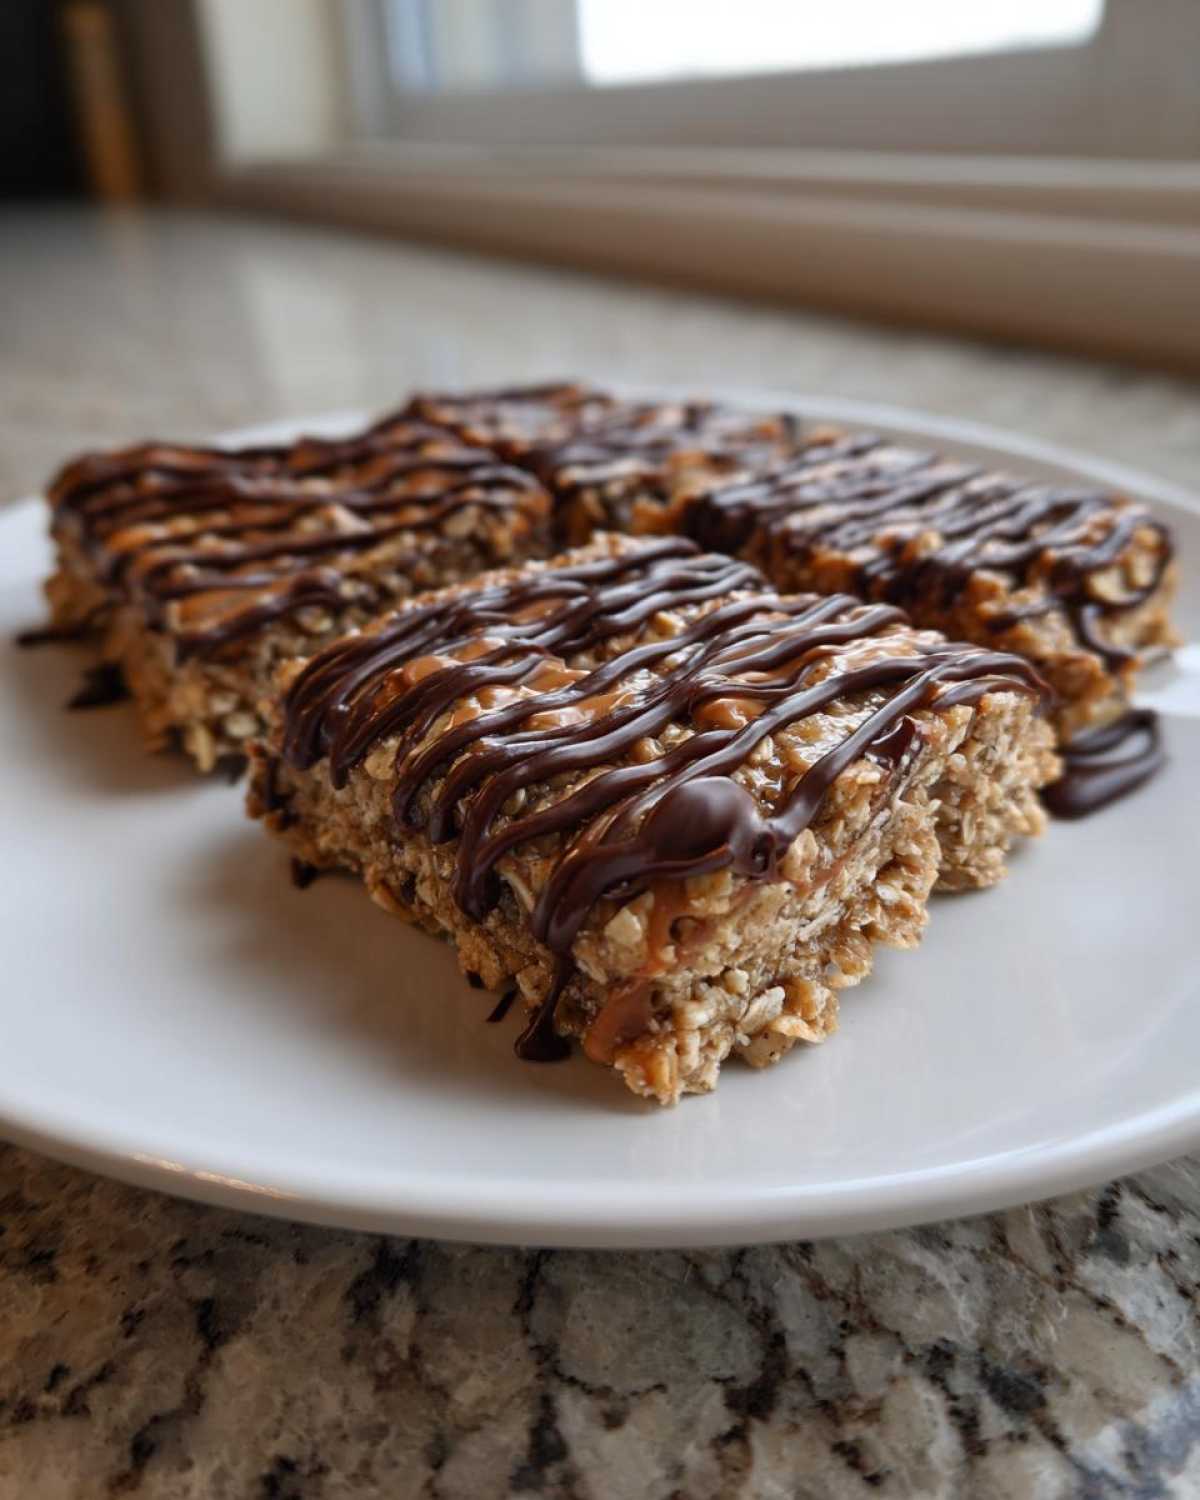
Ingredient Notes and Substitutions for Homemade Protein Bars
Because we want everyone to enjoy these, let’s talk tweaks. To make these fit a **vegan protein bars recipe**, just swap the honey for maple syrup—easy peasy! Also, if you’re trying to keep the sugar low, you can cut back on the honey slightly; just be ready to add a tiny splash of water or milk substitute when you mix, or they might get a little too crumbly.
If you want to experiment with different nuts, you can swap peanut butter for almond butter no problem, but maybe check out my notes on using different nut butters first just to gauge the stickiness!
Step-by-Step Method for No Bake Protein Bars
Alright, let’s get down to business! This is the fun part because there’s no waiting around for an oven to heat up. We are making **no bake protein bars**, so the only waiting we have to do is for the fridge to do its chilling magic. Following these steps exactly ensures you get that perfectly dense, chewy bar everyone loves, not just a crumbly mess. If you want the full rundown on quick techniques, you can check out some of our other simple ideas, like this apple butter guide!
Preparing the Pan and Mixing the Base
First things first, grab that 8×8 pan and line it! This is a non-negotiable step for me, especially with sticky things like these bars. You want lots of parchment paper hanging over the sides—it acts like built-in handles so you can lift the whole block out later. Trust me, trying to pry bars out of a pan is a recipe for disaster!
Next, toss your oats, peanut butter, protein powder, and sweetener into a big bowl. Now, mix! You need to stir this until it all comes together into one unified, heavy dough. Seriously work through it with a spoon or even just your clean hands until there are no dry pockets left. If it seems stiff—and it should be pretty stiff—add liquid just a teaspoon at a time until you can mash it into a solid ball. We are aiming for that thick, uniform dough texture mentioned over at this great resource on 4-ingredient recipes.
Pressing and Chilling Your Protein Bars
Once everything is combined, dump that super thick dough into your prepared pan. Now comes the muscle work! Use the bottom of a measuring cup or a flat spatula to press that mixture down as firmly as you possibly can. We want these to be firm **chewy protein bars**, so really pack it in there. The tighter you pack it now, the less likely they are to crumble later.
After you’ve pressed it flat, melt that dark chocolate. Don’t forget to drizzle it generously on top! It adds just enough sweetness and looks so professional. Pop the whole thing into the fridge—this is critical! You need at least one full hour in the cold for these **homemade protein bars** to set up properly. Don’t cheat the chilling time, or you’ll end up with a gooey mess when you try to cut them.
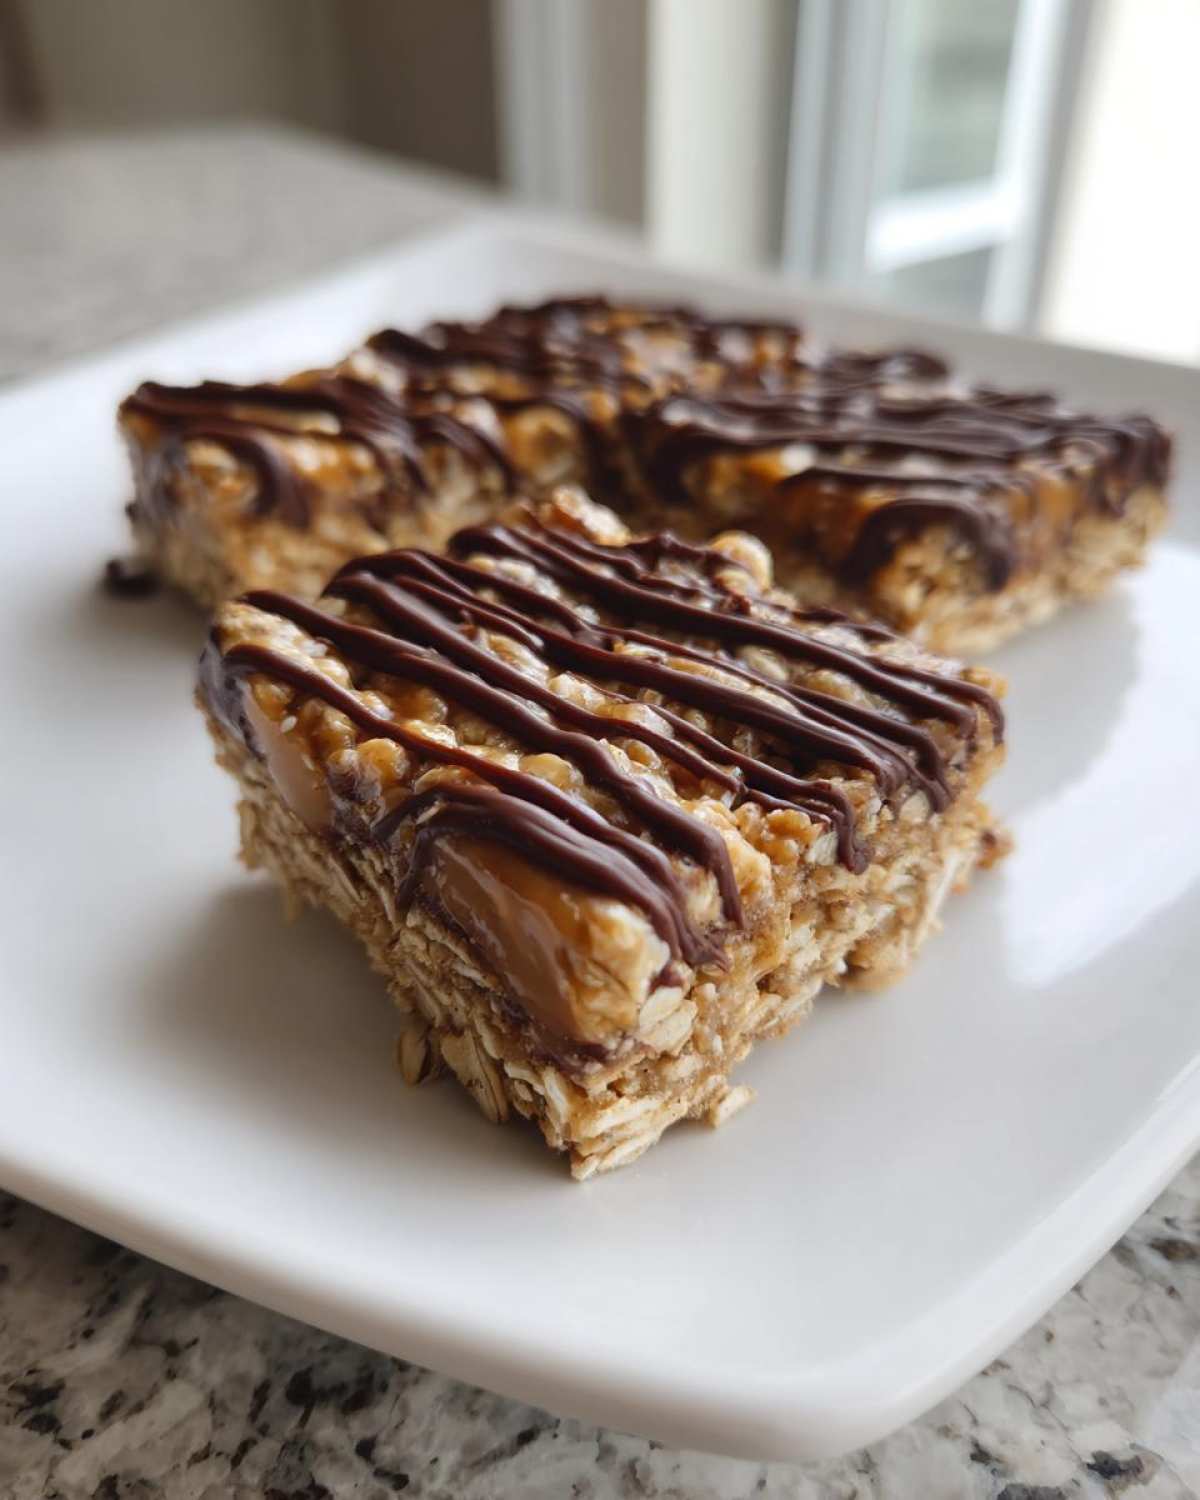
Expert Tips for Perfect Peanut Butter Protein Bars Every Time
Look, even with an **easy protein bar recipe** like this, things can occasionally go sideways, right? Leo and I have definitely been there. Our first few batches of these **peanut butter protein bars** were sadly leaning more toward ‘crumbly dust’ than ‘chewy stack.’ We figured out that the initial mixing stage is where most people rush things, and you just can’t rush the binding!
We learned to treat the dough like a very thick mud—it needs to be truly uniform before it even thinks about hitting the pan. For great texture, remember our old kitchen mishap featured over on the blossom cookie post? Same lesson applies here: slow down during the mix!
Troubleshooting Dry or Crumbly Protein Bars
If your mixture feels way too dry when you’re trying to combine it—we’re talking ‘sandcastle building’ dry instead of ‘play-dough thick’—you need a rescue agent! Never dump in a whole tablespoon of water; that will turn your beautiful **high protein recipes** into soup. Instead, add liquid one teaspoon at a time. A little splash of unsweetened almond milk or even just plain water works wonders to get that sticky dough quality. Mix it really, really well after each splash. You’ll be shocked how little liquid it takes to save the batch.
Achieving the Best Chocolate Drizzle Finish
That chocolate drizzle is what takes these from a functional snack to a must-have treat. When melting the dark chocolate, I always warn people: microwaves are sneaky! Use short bursts—no more than 15 or 20 seconds—and stir vigorously between each burst. If you use high heat, you risk seizing the chocolate, and nobody wants that gritty texture on their beautiful **chocolate protein bars no bake**! If you’re nervous, melt it in a small bowl set over a pot of barely simmering water. Slow and steady wins the chocolate race, promise!
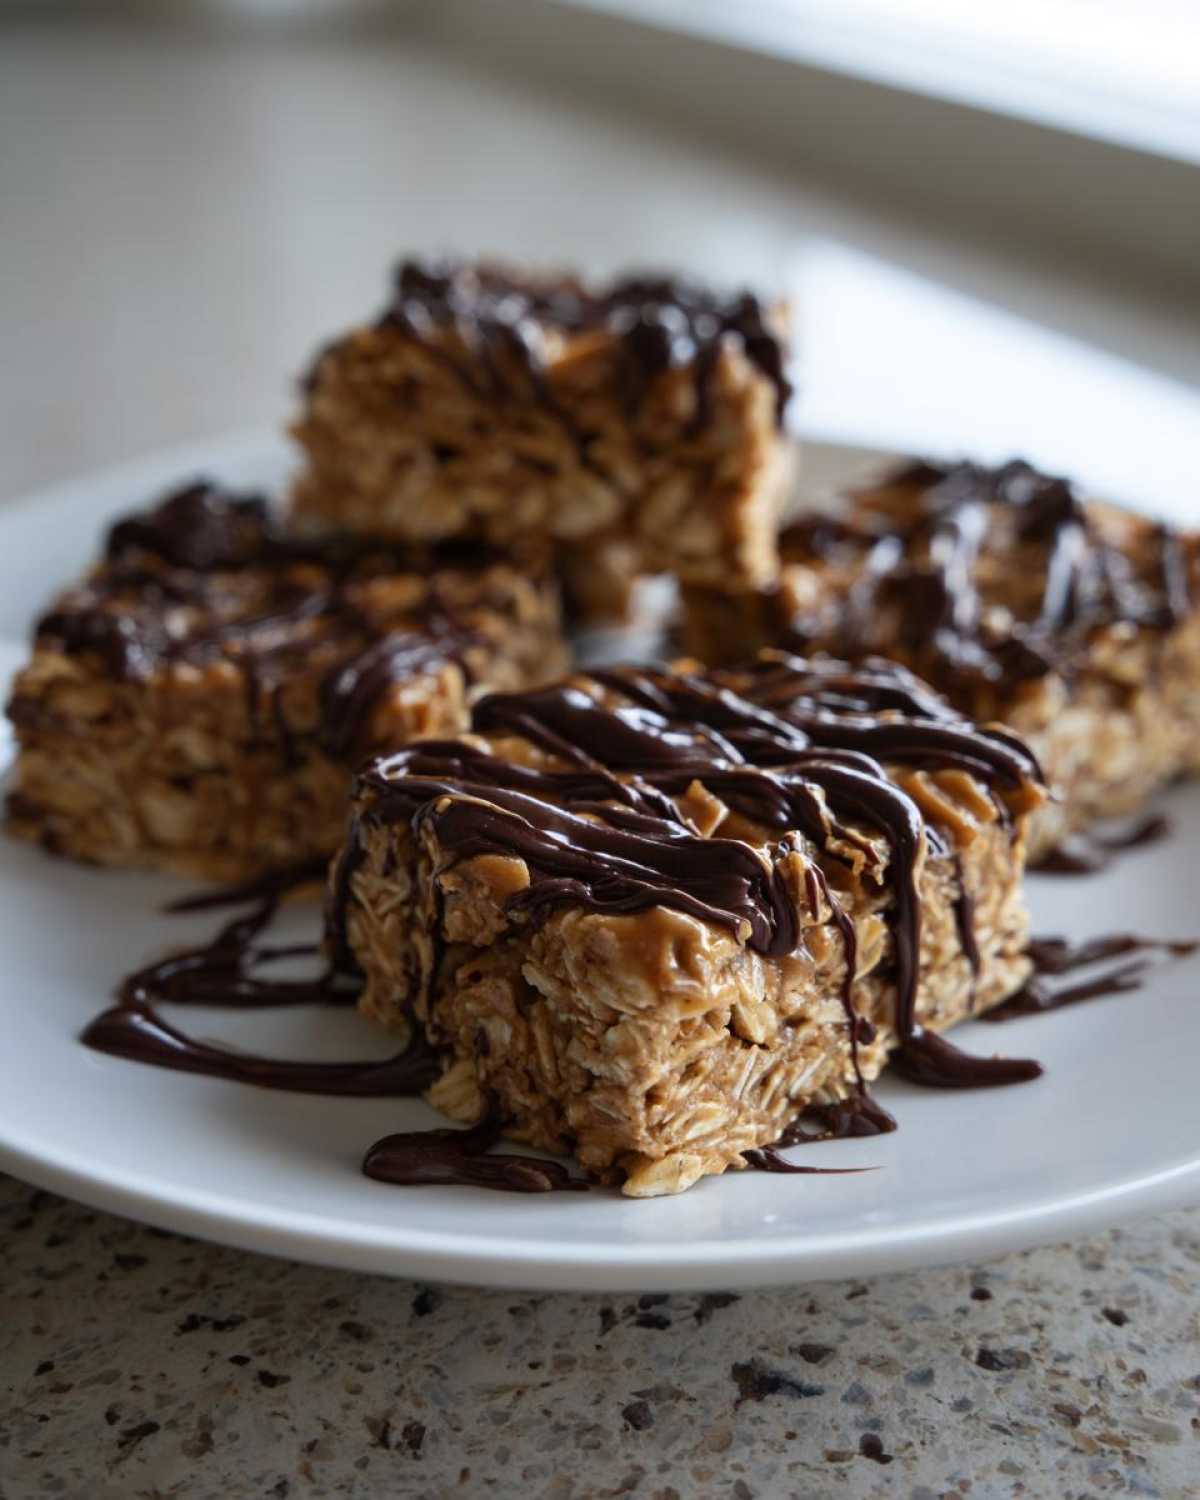
If you’re looking for more inspiration on getting store-bought quality at home, check out these tips here: Why these homemade bars are so good.
Making Ahead Protein Snacks: Storage for Your Protein Bars
You’ve done the mixing, you’ve done the chilling, and now you want these beauties to last, right? Absolutely! These **homemade protein bars** are truly designed for meal prep. Since we skipped the baking process, they do best when stored cold. This keeps that chocolate drizzle nice and firm and maintains that perfect chewiness.
The number one rule is an airtight container. I usually just use the same 8×8 pan, cut the bars, and then lay parchment paper between the layers before popping the whole stack into the fridge. They’ll happily hang out in there for a good week, sometimes longer! They’re fantastic straight from the cold, but if you wait too long, they might start to dry out a bit around day eight. For super long-term storage, you can freeze them! They freeze beautifully, and they thaw out perfectly after just 15 minutes on the counter. For more freezer tips on making things ahead of time, check out this post. They are truly the best **make ahead protein snacks** I know!
If you want to see how others keep their **no bake protein bars** firm, this article gives some great storage secrets: Check it out here!
Variations on Simple Homemade Snacks
The five-ingredient structure in these **protein bars** is amazing because it gives you a totally reliable base to start experimenting! I love making a huge batch of the peanut butter version, and then, instead of making a whole new recipe for variety, I just switch up the mix-ins.
Think of this as your jumping-off point for endless **protein bar ingredient ideas**! Because everything has to bind together without heat, you just have to make sure whatever you add isn’t going to make the mixture too runny or too dry.
If you want to change up the nut butter, swapping that peanut butter for almond butter or sunflower seed butter (if you have nut allergies) works perfectly well. Just remember, some nut butters are naturally runnier than others, so if you use a thinner one, you might need an extra tablespoon of protein powder to keep everything firm!
For texture boosts—which I totally recommend because texture is everything in a snack bar—try blending in some extra nutrition!
- Toss in one tablespoon of chia seeds or ground flaxseed when you mix your base. They absorb moisture beautifully and pack a healthy punch.
- If you want to make these seem a little more decadent, try swapping the rolled oats for Puffed Rice Cereal—though those might end up being more like rice krispie treats in texture than dense bars, they are still delicious!
- Cinnamon lovers, listen up! A teaspoon of cinnamon mixed in with the protein powder elevates the entire peanut butter flavor profile, making them taste richer without adding any extra sugar.
Have fun with it! The beauty of these **simple homemade snacks** is that if they end up a little messy, you just eat them with a fork straight from the pan. No one has to know!
Serving Suggestions for High Protein Recipes
So, you’ve got your stash of perfect, chilled **meal prep bars** ready to go. What’s the move? Because these babies are already packed with peanut butter and oats, they honestly stand up perfectly well all on their own for a quick desk snack. But if you’re grabbing one post-workout or need a little something extra to round out breakfast, I have a couple of ideas!
If you’re looking for a light, refreshing balance to that salty peanut butter, blend up one of my super simple watermelon smoothies! The bright, watery fruit is an amazing contrast to the chewiness of the bar. Or, if you’re eating this as an energy boost before a workout, just grab the bar and eat it standing by the door—no time for fuss! These **high protein recipes** are designed for maximum efficiency!
Frequently Asked Questions About Homemade Protein Bars
I knew these protein bars would generate some questions! That’s the beauty of making your own snacks; you get to fine-tune every little detail to exactly what you need. Since we designed these to be super flexible—whether you need **vegan protein bars recipe** friendly options or something lighter on the sweet stuff—here are the things I hear most often from readers trying out this easy protein bar recipe!
Are these protein bars suitable for a gluten free diet?
This one is super important, and the answer depends on your oats! The recipe calls for rolled oats, which naturally don’t contain gluten. However, if you have a serious intolerance or Celiac disease, you *must* make sure you buy oats that are specifically labeled as certified gluten-free because of cross-contamination risks in processing. If you use certified GF oats, then yes, these become perfect **gluten free protein bars**!
How do I make these low sugar protein bars?
We already touch on this, but for those aiming for truly **low sugar protein bars**, just feel free to reduce the honey—maybe use three tablespoons instead of a quarter cup. The key: If you cut back too much sweetener, the mixture gets dry fast! If you try replacing the sweetener entirely with a zero-calorie alternative like stevia, you need to compensate for the missing liquid volume. Add a teaspoon of water or unsweetened almond milk slowly until the dough binds. These tips are great, especially if you are looking at options like those discussed for diabetic-friendly energy!
What is the best protein powder to use for these easy protein bar recipe?
Honestly, whatever you like best! I usually lean toward vanilla whey because it mixes so smoothly. But if you use plant-based powders—like pea or soy protein—they tend to be a bit drier and absorb moisture faster. If you use plant-based protein, you might need that extra splash of milk substitute we mentioned earlier to keep the dough pliable. Keep in mind that really fine powders can sometimes make the final bar a little less chewy, so just watch that consistency!
If you’re looking for more vegan options in general, I have a bunch of great recipes, like my vegan banana bread!
Estimating Nutrition for Your Homemade Protein Bars
Okay, so now that you know how unbelievably easy these are to make, let’s talk numbers. Because we’re using whole ingredients and controlling the sugar (unlike those mystery bars in the store!), the nutrition facts are pretty fantastic. Remember, since these are **homemade protein bars**, these numbers are estimates based on the specific ingredients listed in the recipe above—like using natural peanut butter and a standard vanilla powder! Your exact values might shift slightly depending on what brand of honey you use, but this gives you a really solid baseline.
We are looking at some serious fuel here, especially the protein count! Here’s the breakdown for one bar, yielding 10 bars total:
- Serving Size: 1 bar
- Calories: 220
- Protein: 15g (Yes, fifteen solid grams!)
- Sugar: 7g
- Fat: 12g
- Carbohydrates: 22g
- Fiber: 3g
See? That protein punch is exactly what you need for those busy days or after you crush a workout. Knowing exactly how much sugar is in your snack is such a huge peace of mind detail when it comes to healthy eating. We’ve got your back on the trust factor here!
PrintEasy No-Bake 5-Ingredient Peanut Butter Protein Bars
You can make these simple, chewy peanut butter protein bars at home with just five ingredients. They require no baking and are perfect for quick meal prep or a satisfying, high-protein snack.
- Prep Time: 10 min
- Cook Time: 0 min
- Total Time: 70 min
- Yield: 10 servings
- Category: Snack
- Method: No-Bake
- Cuisine: American
- Diet: Vegetarian
Ingredients
- 1 cup rolled oats
- 1/2 cup natural peanut butter
- 1/2 cup vanilla or unflavored protein powder
- 1/4 cup honey or maple syrup
- 2 tablespoons melted dark chocolate (for drizzle)
Instructions
- Line an 8×8 inch baking pan with parchment paper, leaving an overhang on the sides for easy removal.
- In a large bowl, combine the rolled oats, peanut butter, protein powder, and honey or maple syrup.
- Mix the ingredients thoroughly with a sturdy spoon or your hands until a thick, uniform dough forms. If the mixture seems too dry, add a teaspoon of water or milk substitute until it holds together.
- Press the mixture evenly into the prepared pan. Use the back of a measuring cup to pack it down firmly.
- Melt the dark chocolate in a microwave-safe bowl in 30-second intervals, stirring until smooth. Drizzle the melted chocolate over the top of the bar mixture.
- Place the pan in the refrigerator and chill for at least 1 hour, or until the bars are firm.
- Use the parchment paper overhang to lift the block of bars out of the pan. Cut into 10 even bars. Store leftovers in an airtight container in the refrigerator.
Notes
- For a vegan option, use maple syrup instead of honey and ensure your protein powder is plant-based.
- If you want a lower sugar protein bar, reduce the honey slightly and add a splash of unsweetened almond milk to maintain consistency.
- These homemade protein bars taste best when kept cold. They are great for make ahead protein snacks.
Nutrition
- Serving Size: 1 bar
- Calories: 220
- Sugar: 7
- Sodium: 110
- Fat: 12
- Saturated Fat: 3
- Unsaturated Fat: 9
- Trans Fat: 0
- Carbohydrates: 22
- Fiber: 3
- Protein: 15
- Cholesterol: 0