

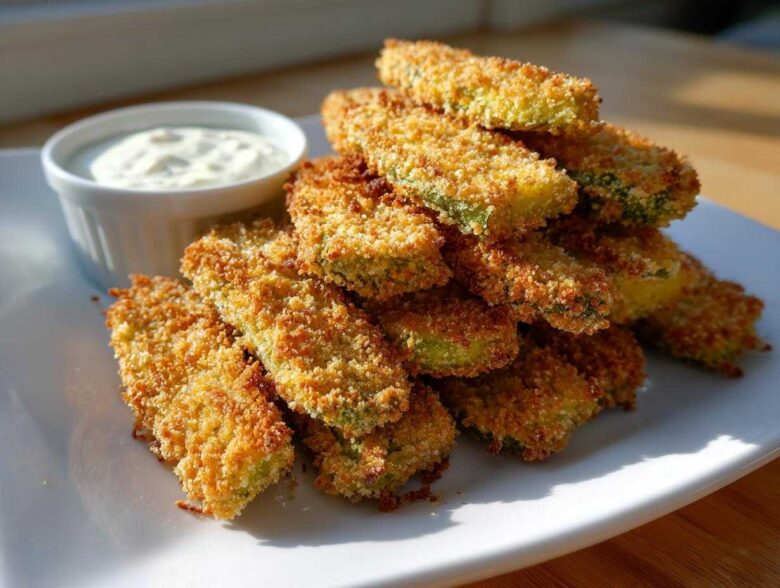
Hands up if you’re currently staring longingly at the appetizer section of a pub menu! My weakness, and probably yours too, is that glorious, tangy crunch you only get from perfectly cooked **Fried Pickles**. Sofia and I were determined to crack this code because, let’s be honest, those restaurant versions can be hit or miss. After many chaotic, oil-splattering kitchen attempts—and yes, we even set off the smoke alarm once achieving the best **Crispy Fried Pickles** before—we finally harnessed the secret. This isn’t just one recipe; it’s two winners in one guide: the classic, deeply golden, restaurant-style batch, and a surprisingly light version we whip up in the air fryer when we need a quick **Tangy Pickle Snack** fix. If you still have a craving for cheesy snacks later, you absolutely have to check out our easy homemade cheese crackers recipe!
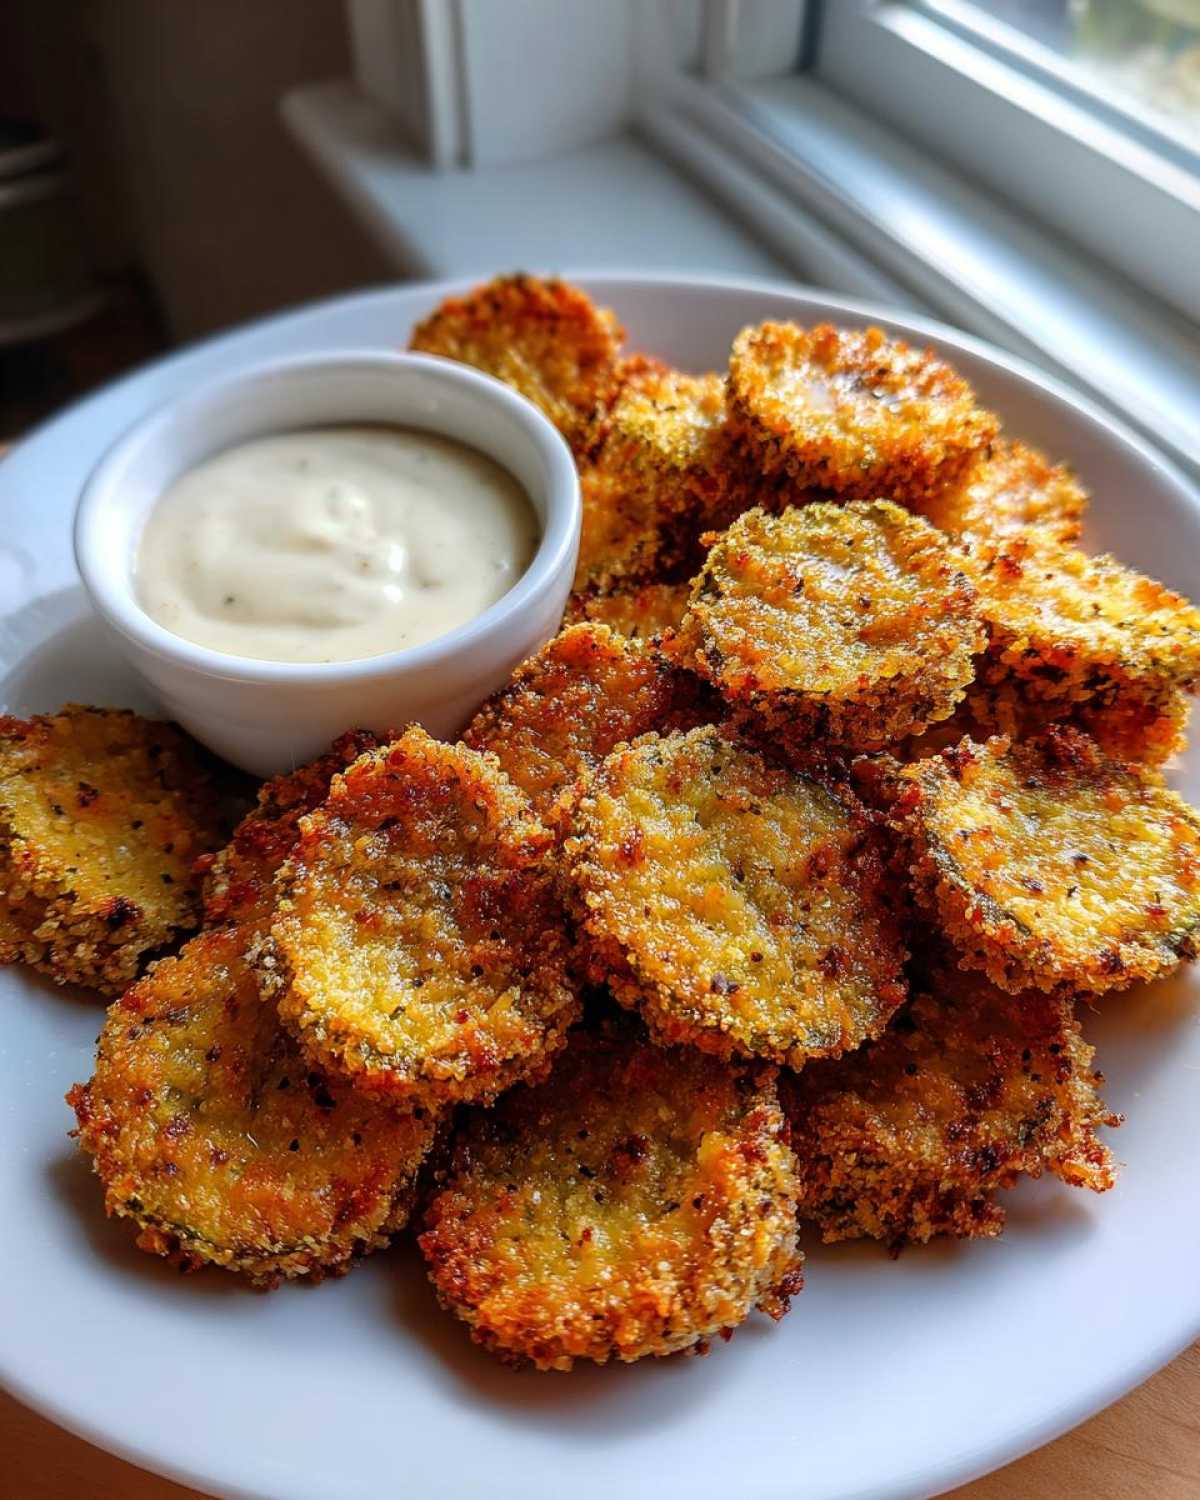
Why This Homemade Fried Pickles Recipe Works Every Time
Honestly, getting that intense, satisfying crunch with **Fried Pickles** feels like mastering a magic trick. It’s all about respecting science, folks! We’ve figured out the non-negotiables that keep these from turning into soggy disappointments. The core of this **Easy Fried Pickle Recipe**—whether deep-fried or air-fried—is cutting moisture before it ever touches the oil or the heating element. We need that coating to adhere tightly and crisp up instantly, not steam itself soggy.
I remember the time Sofia yelled “CRUNCH!” so loudly the dog jumped off the couch. That was the day we switched from regular breadcrumbs to Panko and committed fully to step one. Since then, our **Crispy Fried Pickles** have been legendary at every single party. It’s proof that technique beats guesswork every time. If you’re looking for more simple wins, check out our easy fried pickle recipe guide for extra tips!
Achieving the Ultimate Crunch: Key Secrets for Perfect Fried Pickles
If you skip the drying step, you’re cheating yourself out of true satisfaction. We swear by pressing the drained pickles between several layers of paper towels—really push down! Then, we double-coat them using a distinct three-step dredge: flour first (to help the egg stick), wet batter, and finally, that glorious Panko breadcrumb coating. The Panko is what gives you that irresistible, airy crunch you’re looking for in a perfect **Dill Pickle Appetizer**.
Ingredients for the Best Fried Pickles Appetizer
See? I told you we’d get to the good part! Looking at a list of ingredients always makes me feel organized, which is my default state when I’m following a recipe exactly—which we absolutely need to do for this coating to stick! This list covers everything for the **Fried Pickles** themselves and the creamy sauce that makes them irresistible. Don’t forget to grab some extra paper towels because drying the pickles is non-negotiable! If you’re looking for another dip inspiration, my whipped goat cheese recipe is amazing too: Whipped Goat Cheese Recipe.
For the pickles and the coating, gather these items. We’re using Panko breadcrumbs specifically because they create those large, airy shards of crunch that you just can’t get any other way.
- 1 (16-ounce) jar dill pickle chips, drained and patted very dry—seriously, make them look like they’ve been sunbathing on a towel!
- 1 cup all-purpose flour
- 1 teaspoon salt
- 1 teaspoon black pepper
- 1 teaspoon garlic powder
- 1 teaspoon onion powder
- 1 teaspoon paprika
- 1/2 teaspoon cayenne pepper (optional, only if you want a little fire!)
- 2 large eggs
- 1/2 cup milk
- 1 cup panko breadcrumbs (Our secret weapon for that perfect crunch!)
- Vegetable oil, for deep frying (If you skip frying, just have cooking spray ready for the air fryer!)
Ingredients for the Zesty Fried Pickle Dipping Sauce
This sauce is what takes our **Golden Fried Pickles** from great to ‘I need a whole bowl of just the sauce.’ It’s creamy, it’s got a little kick, and it tames the brine from the pickles perfectly. Mix everything together and then taste it! Seriously, that’s your call. Maybe you need more hot sauce, or maybe you’re a Worcestershire fiend like Leo—adjust it until it sings to you!
- 1/2 cup mayonnaise
- 1/4 cup sour cream
- 1 tablespoon hot sauce (Your favorite kind works here!)
- 1 teaspoon Worcestershire sauce
- 1/2 teaspoon garlic powder
Step-by-Step Instructions for Crispy Fried Pickles
Okay, buckle up, because this is where the magic happens! We need efficiency here, especially if you are planning a big **Game Day Fried Pickles** spread. Don’t try to coat all your pickles at once; you’ll end up with a sticky mountain of sadness. We work in small, manageable batches. If you need an idea for a comforting side dish to go along with these, you simply must try my easy creamy zucchini soup recipe!
Preparing the Pickles and Dredging Stations
First, your pickles have to be desert-dry. That means pressing those chips between paper towels until you feel like you’ve squeezed every last drop of brine out. Next, set up your three bowls lined up like little soldiers. Bowl one gets your seasoned flour—this is where most of the flavor lives! Bowl two is your egg and milk wash. Bowl three? That’s the fluffy Panko breadcrumbs, waiting to give the final, gorgeous crunch. Remember, if you want these to be truly **Crunchy Pickle Chips**, this set-up is essential.
Deep Fried Pickles Cooking Method
If you’re going old-school with the deep fryer, you need your oil screaming hot—aim for 375°F (190°C). Use a heavy pot—safety first! Drop your coated pickles in gently, just enough so they aren’t touching. They cook lightning fast—seriously, 1 to 2 minutes per side is all they need to turn that perfect golden color. Pull them out with a slotted spoon immediately, drain them on a wire rack (not paper towels directly, that traps steam!), and salt them right away while they’re sizzling hot.
Air Fryer Fried Pickles Cooking Method
For everyone trying to keep things a little lighter, the air fryer is your best friend for **Air Fryer Fried Pickles**. Preheat that basket to 380°F (195°C). Spread the coated pickles in a single layer—no overcrowding, or they steam! Give the tops a nice, even spray with cooking oil. Set the timer for 8 to 10 minutes, but set a reminder to toss or flip them halfway through. That flip is crucial to getting that deeply **Golden Fried Pickles** color on both sides!
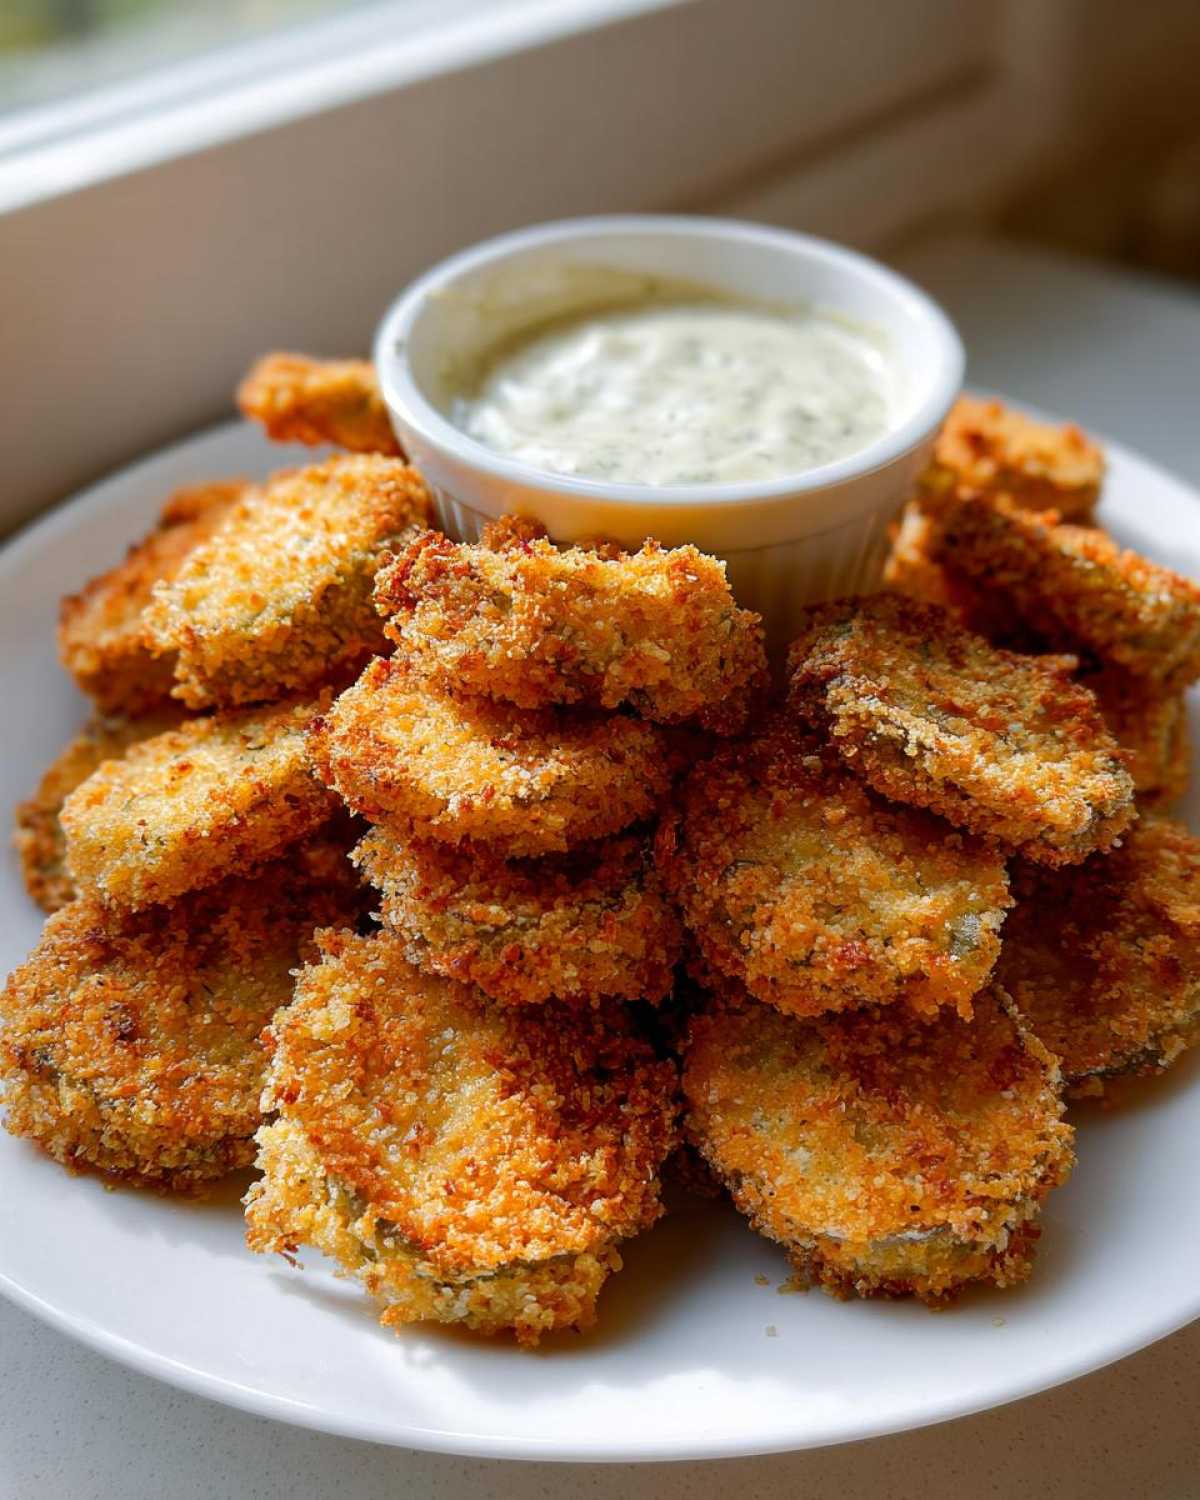
Making Texas Roadhouse Fried Pickles Copycat Seasoning Adjustments
Now, I know a lot of you are scrolling down here just hoping to recreate that specific roadside magic, right? If you’re after that famous **Texas Roadhouse Fried Pickles Copycat** flavor, we’ve got a couple of easy tweaks you can make to our seasoning blend that pushes it right into that territory. It’s all about adding just a tiny bit more earthy depth to the standard coating we started with.
We found that dialing up the paprika slightly gives you that deep, warm hue they achieve. But the real game-changer? Throwing in just the slightest pinch of dried oregano into your flour mix. It’s almost undetectable, but it brings that signature savory note that screams “pub style” treat! If you make a batch, I’d love for you to see how our version compares; check out another recipe for reference here. Honestly, once mine are coated and frying, I usually sneak a bite before they even make it to the rack—they are THAT good. If you have leftover spice mix, you can totally use it next time you make our easy homemade apple butter, just kidding! But seriously, this adjustment makes them amazing.
Tips for Making Healthy Fried Pickles Alternatives
Look, I love deep-fried food. I really do. But sometimes I want that great flavor without needing an industrial vat of oil—and I know you’re right there with me chasing those **Healthy Fried Pickles**!
The absolute best way we’ve found to scratch that itch without the guilt is leaning hard into the air fryer method we already talked about. It cuts down on the oil dramatically while still giving you that fantastic, satisfying crunch. Think about it: you’re using maybe a teaspoon of spray oil instead of gallons for deep frying. That’s a win-win immediately!
If you’re feeling super dedicated to reducing fat even further, you can definitely try baking them, but I have to be real with you—it takes patience. When baking, you need to make sure the pickles are resting on a wire rack set inside your baking sheet. This lets air circulate underneath, which is the only way to encourage crispness when you aren’t dropping them into screaming hot oil. I actually find the air fryer technique is much faster and gives a more reliable result for that ‘fried’ mouthfeel we’re aiming for. If you want to see how other people nail lighter recipes, check out this great read on air fryer fried pickles.
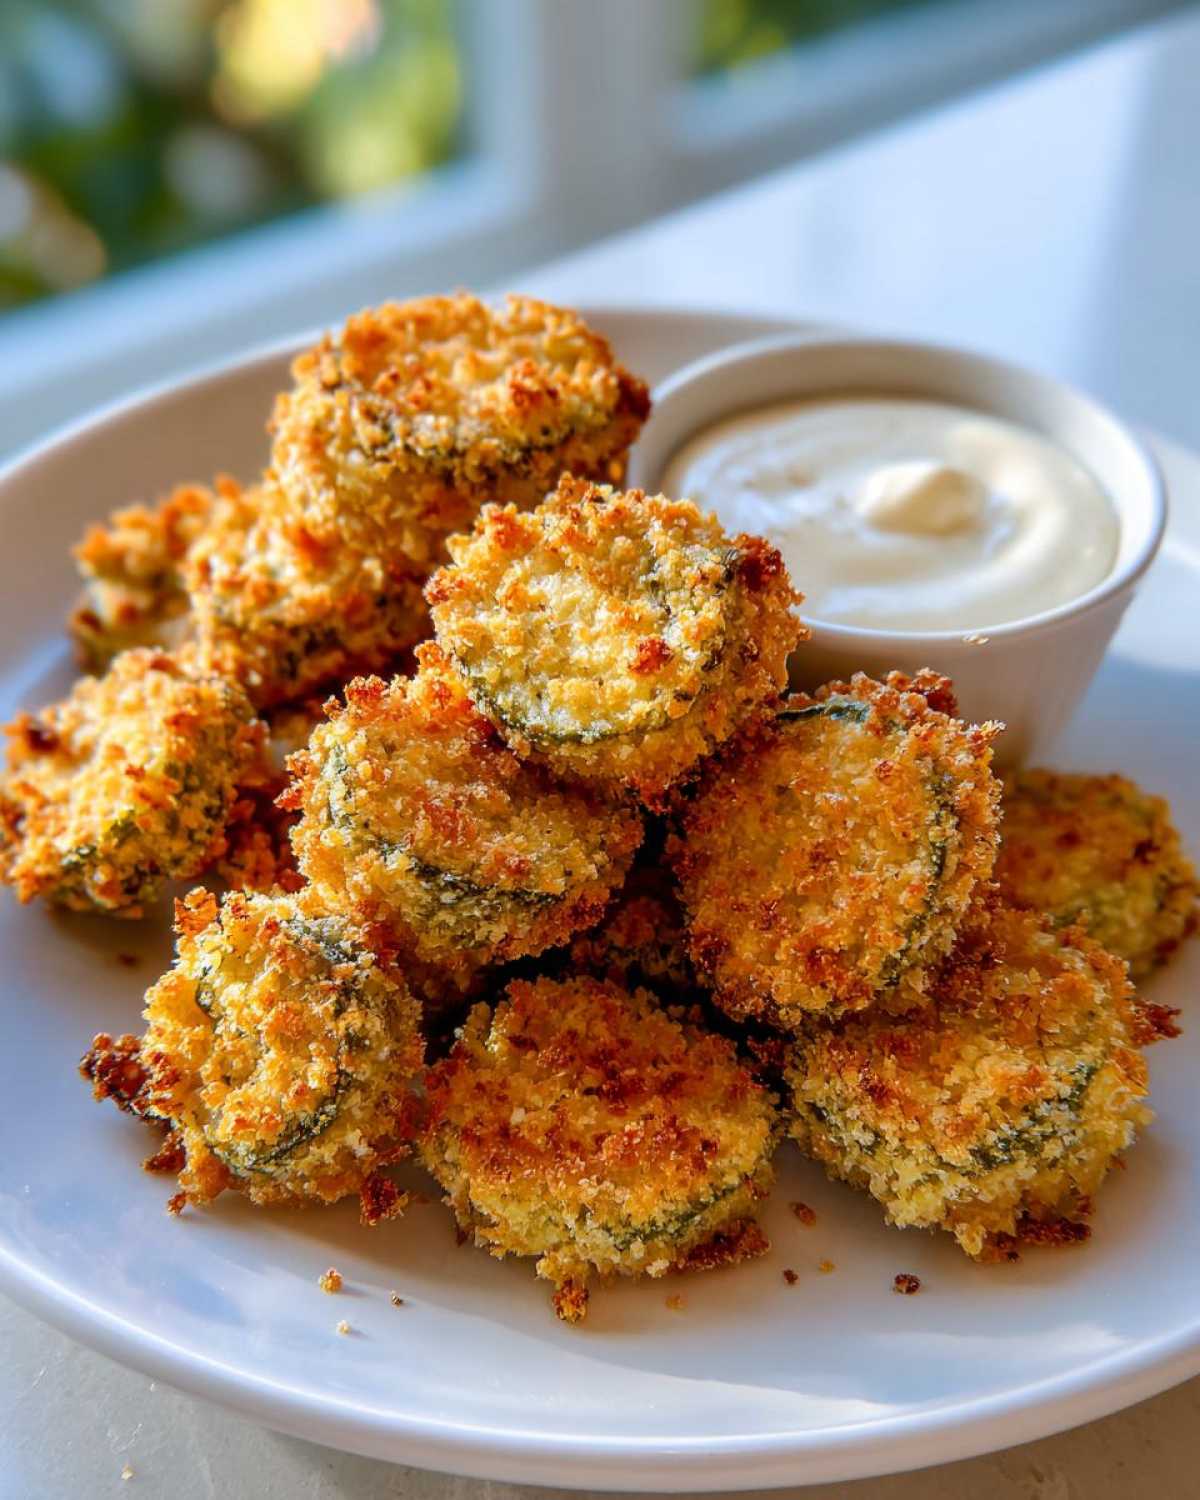
For coating when you’re optimizing for health, Panko is still your best friend because it creates better structure. However, sometimes we swap out half the flour for a lighter option. Have you ever tried baking with coconut flour? It’s great for a keto-friendly snack, and you can use similar seasoning ideas with it! You can find our favorite light pancake recipe here if you want to see how we handle coconut flour.
Serving Suggestions for Your Fried Pickles
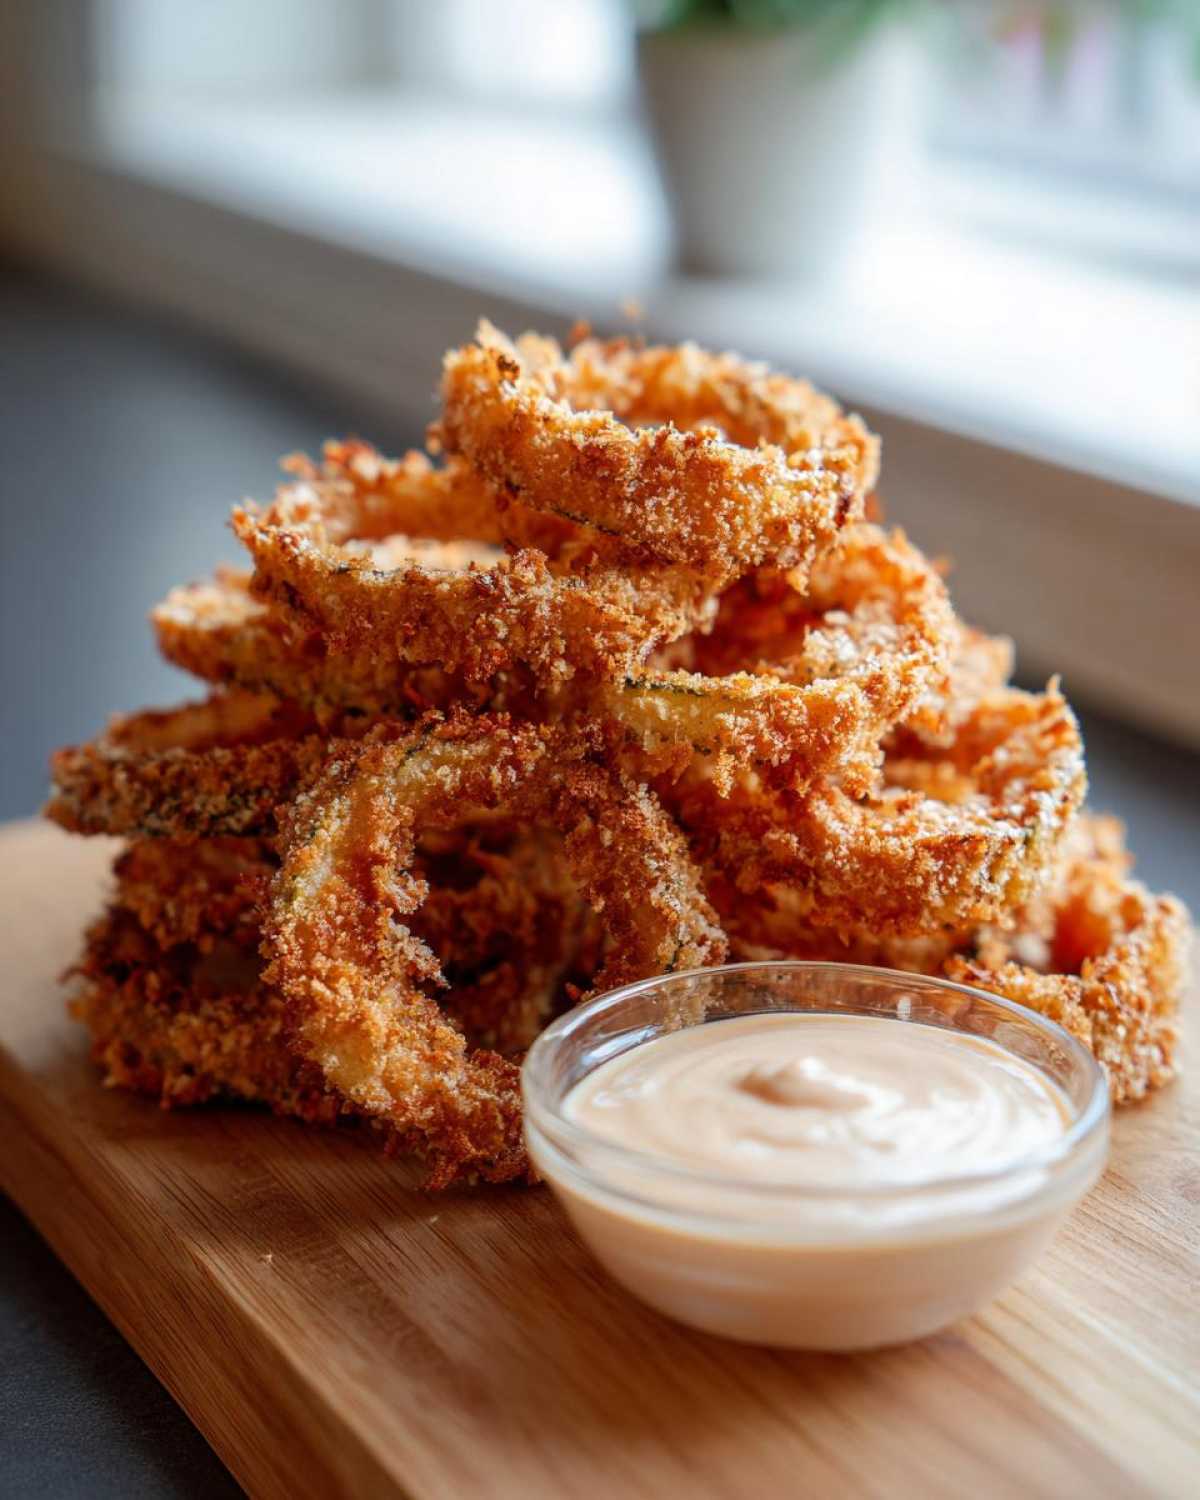
Okay, you’ve got a pile of piping hot, **Crispy Fried Pickles**. Now what? Truly, the party starts here! You absolutely must try them first with that zesty dipping sauce we whipped up—it’s specifically designed to cut through the fat and brine. That sauce is the main event, but if you want variety, you know I always have a backup plan!
If you have ranch dressing on hand, smothering these crunchy bites in a classic **Fried Pickle With Ranch** dip is pure Southern comfort. If you’re feeling spicy, a spoonful of my smash burger sauce mixed with a bit of sriracha makes an unbelievably good spicy mayo for dipping. Serve them immediately; that’s the only real rule for the **Fried Pickle Dipping Sauce**!
Storing and Reheating Leftover Fried Pickles
Let’s be real: **Fried Pickles** are almost always best enjoyed the second they come out of the oil or the air fryer basket. Like most battered and fried foods, they really don’t like to hang around! If you’ve somehow managed to have leftovers (which, honestly, in Leo’s world, is a miracle), you need to handle them carefully to maintain that coating we worked so hard on.
For short-term storage, put them in an airtight container, but no more than a day! If you try to keep them for too long, that steam they release while cooling will just turn them sad and soft. So, plan accordingly—these are meant to be **Quick Snack Recipes**, not leftovers for Tuesday!
Now, for the crucial part: reheating. Please, please, please spare us all and do not stick these in the microwave! The microwave is the absolute enemy of crispy foods; it will turn your beautiful coating into a sad, rubbery mess. If you want to revive those **Crunchy Pickle Chips** and bring them back to life, the air fryer is your only way to go.
- Set your air fryer to about 350°F (175°C).
- Lay the pickles in a single layer—don’t overlap!
- Give them 3 to 5 minutes, checking them often. They should crisp right back up.
If you don’t have an air fryer, a quick trip to a 400°F oven on a baking sheet lined with a rack works, but it takes a little longer to get everything hot all the way through. If you use up all your crunchy snacks, sometimes we whip up a quick batch of easy homemade apple butter when we need something sweet instead!
Frequently Asked Questions About Fried Pickles
I always find myself needing a quick cheat sheet for common snags when I’m trying out a new appetizer, so here are the questions I always get peppered with about making the absolute **Best Fried Pickles Appetizer**!
What kind of pickles work best for this recipe? Can I use sweet pickles instead of dill?
Stick to dill pickles, please! The strong tang from the dill variety is crucial because it balances out the rich, fatty coating we put on them. Sweet pickles just don’t cut through the richness the same way. And for the texture, chips work best because they dry out faster and cook more evenly than spears. We actually have an easy recipe for quick refrigerator dill pickles if you want to make your own!
Can I use regular breadcrumbs instead of Panko for the coating?
You totally *can*, but you’ll be missing out on that next-level crunch! Regular breadcrumbs tend to absorb oil faster and give you a denser crust. Panko is lighter, flatter, and lets the coating crisp up airy and unevenly, which is exactly what you want for that perfect pub-style bite. For the best **Crunchy Pickle Chips**, Panko is the answer.
Why did my fried pickles turn out soggy instead of crispy?
Soggy is a tragedy! Nine times out of ten, this happens for two reasons we already covered: either the pickles weren’t patted dry enough, or overcrowding the pot/air fryer basket trapped steam. Remember, if the moisture has nowhere to go during that initial blast of heat, your batter steams instead of fries. Resist the urge to fry a massive batch all at once—work in small layers!
Can I make this an easy game day fried pickles platter?
Absolutely! That’s what they were born for! If you’re trying to feed a crowd, just keep the batches warm in a single layer on a baking sheet placed in a very low oven—say, 200°F (95°C). This keeps them hot and lets any residual steam escape without turning them rubbery while you finish the next round. They’ll be ready to go when kickoff happens!
Share Your Crispy Fried Pickles Creations
Now that you’ve got the secret to perfectly **Fried Pickles**, whether you went with the deep-fried gold medal winner or the lighter air fryer version, I desperately need to know how they turned out! Seriously, tag us in your photos or just drop your favorite memory in the comments below. Did you stick to the classic coating, or did you try that little oregano trick for the **Texas Roadhouse Fried Pickles Copycat** flavor?
I always love hearing which method won your heart—were you team Deep Fry for maximum crunch, or did the air fryer surprise you with how close it got to restaurant quality? Don’t keep those delicious, tangy snacks secret! Leave a rating for the recipe and let us know what you paired them with. We are always looking for new **Fried Pickle Dipping Sauce** ideas for our next game day haul. Get over to the Cookify Me blog soon for Sofia’s latest obsession!
PrintThe Ultimate Crispy Fried Pickles Recipe (Restaurant-Style & Air Fryer Options)
Learn how to make perfectly crispy, tangy fried pickles at home. This guide gives you the classic deep-fried method and a lighter air fryer alternative for the best game day appetizer.
- Prep Time: 15 min
- Cook Time: 10 min
- Total Time: 25 min
- Yield: 4 servings
- Category: Appetizer
- Method: Deep Frying or Air Frying
- Cuisine: American
- Diet: Vegetarian
Ingredients
- 1 (16-ounce) jar dill pickle chips, drained and patted very dry
- 1 cup all-purpose flour
- 1 teaspoon salt
- 1 teaspoon black pepper
- 1 teaspoon garlic powder
- 1 teaspoon onion powder
- 1 teaspoon paprika
- 1/2 teaspoon cayenne pepper (optional, for heat)
- 2 large eggs
- 1/2 cup milk
- 1 cup panko breadcrumbs (for extra crunch)
- Vegetable oil, for deep frying (or cooking spray for air fryer)
- For Dipping Sauce: 1/2 cup mayonnaise, 1/4 cup sour cream, 1 tablespoon hot sauce, 1 teaspoon Worcestershire sauce, 1/2 teaspoon garlic powder
Instructions
- Prepare the pickles: Drain the dill pickle chips well. Lay them on a few layers of paper towels and press down firmly to remove as much moisture as possible. This step is key for crispy results.
- Set up the dredging stations: In one shallow bowl, whisk together the flour, salt, pepper, garlic powder, onion powder, paprika, and cayenne pepper. In a second bowl, whisk the eggs and milk together. In a third bowl, place the panko breadcrumbs.
- Coat the pickles: Working in small batches, dredge the dry pickle chips first in the flour mixture, shaking off any excess. Dip them into the egg mixture, letting the excess drip off. Finally, press them firmly into the panko breadcrumbs until fully coated. Place the coated pickles on a clean, dry baking sheet.
- Prepare the dipping sauce: In a small bowl, combine the mayonnaise, sour cream, hot sauce, Worcestershire sauce, and garlic powder. Mix until smooth. Cover and chill until ready to serve.
- Cook the pickles (Deep Fry Method): Pour about 2 inches of vegetable oil into a heavy-bottomed pot or Dutch oven. Heat the oil to 375°F (190°C). Carefully drop the breaded pickles into the hot oil in a single layer, being careful not to overcrowd the pot. Fry for 1 to 2 minutes per side, until golden brown and crisp. Remove with a slotted spoon and drain on a wire rack set over paper towels.
- Cook the pickles (Air Fryer Method): Preheat your air fryer to 380°F (195°C). Lightly spray the air fryer basket with cooking spray. Arrange the breaded pickles in a single layer in the basket (work in batches). Lightly spray the tops of the pickles with cooking spray. Air fry for 8 to 10 minutes, flipping halfway through, until golden and crunchy.
- Serve immediately with the chilled zesty dipping sauce.
Notes
- Patting the pickles dry is the most important step for achieving that restaurant-style crunch. Do not skip this!
- If you want a Texas Roadhouse copycat flavor, increase the paprika slightly and add a pinch of dried oregano to the flour mixture.
- For the air fryer method, using panko breadcrumbs helps achieve a better texture than standard breadcrumbs.
- If you are making a large batch, keep the finished fried pickles warm on a baking sheet in a 200°F oven while you finish the rest.
Nutrition
- Serving Size: 1/4 of recipe (approx. 12 chips)
- Calories: 280
- Sugar: 3
- Sodium: 750
- Fat: 18
- Saturated Fat: 3
- Unsaturated Fat: 15
- Trans Fat: 0
- Carbohydrates: 22
- Fiber: 1
- Protein: 6
- Cholesterol: 55