

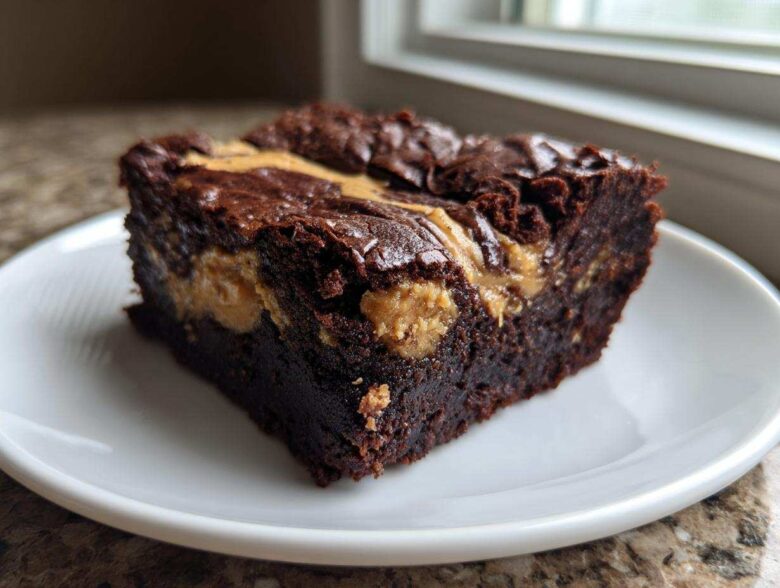
If I told you that you could have the fudgiest, richest brownies known to humankind, but they happen to be totally gluten-free, would you believe me? I used to think that going wheat-free meant sacrificing that perfect crackly top and intensely chewy center. Trust me, I wasted a lot of flour substitutes learning that lesson!
But that all changed when I finally cracked the code for these amazing Gluten-Free Chocolate Peanut Butter Swirl Brownies. Seriously, these are decadent! The way that salty peanut butter cuts through the dark chocolate base? It’s pure magic. You won’t even notice anything is missing—just pure, unadulterated brownie bliss that happens to be safe for my gluten-sensitive friends, too.
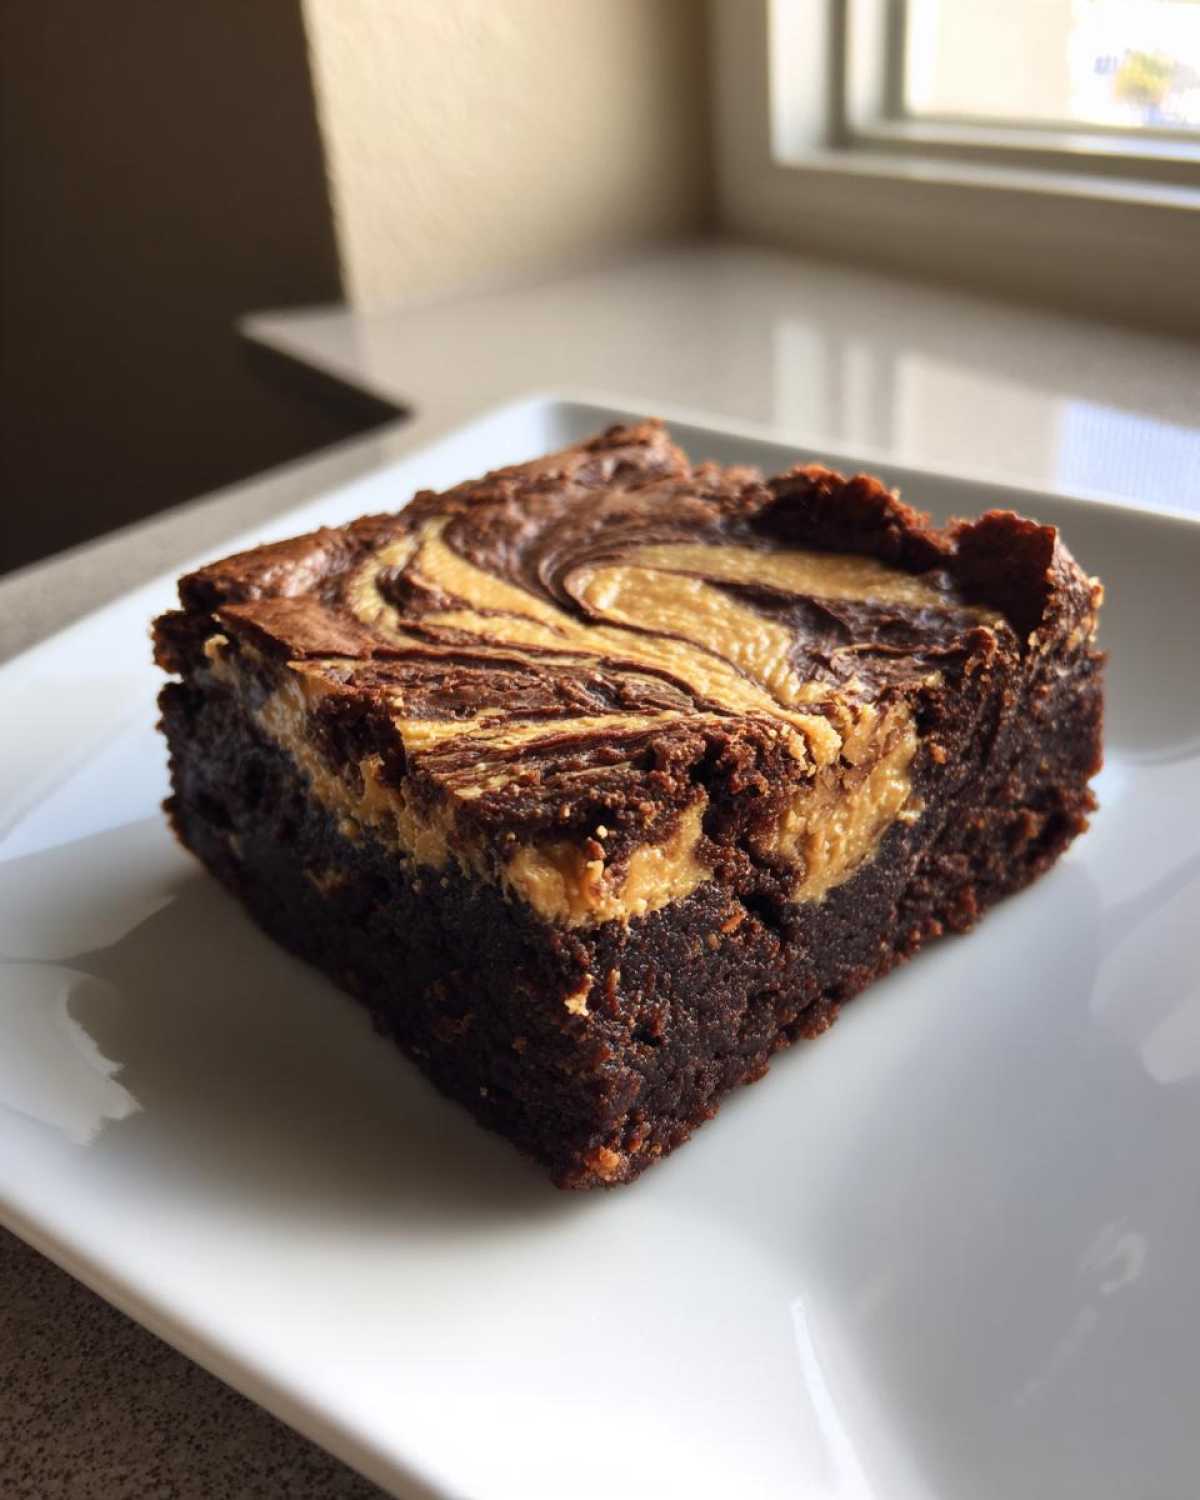
Why You Will Make These Gluten-Free Chocolate Peanut Butter Swirl Brownies Often
I know you’re probably eyeing that flour listed in the ingredients and getting nervous, but stick with me for a second. These aren’t those dry, crumbly GF disasters from years ago! These brownies hit every single requirement for a top-tier dessert, regardless of dietary needs.
- You get that glorious, fudgy texture that means you can barely bear to wait for them to cool. They are seriously chewy!
- The swirl isn’t just for looks; it’s a perfect, flavor explosion where salty peanut butter meets the deepest dark chocolate base. So rich!
- They are genuinely celiac-safe brownies when you use your trusted blend—no more worrying about cross-contamination; these are fantastic allergy-friendly desserts cooked right in your kitchen.
- They come together surprisingly quickly! You mix the batter, whip up the simple swirl, and slide them into the oven. It’s one of the easiest gluten free baking projects you’ll tackle all year.
- Honestly, these are the best GF chocolate swirls I have ever tasted. They look impressive, but they taste like they took all day.
Essential Ingredients for Perfect Gluten-Free Chocolate Peanut Butter Swirl Brownies
Finding the right ingredients is half the battle, especially when you’re focused on gluten-free baking. Trust me, I’ve learned the hard way that one little substitution can turn fudgy dreams into cakey nightmares! But this list? This is the absolute gold standard for rich flavor and structure in these Gluten-Free Chocolate Peanut Butter Swirl Brownies.
For the Rich Chocolate Brownie Base
You need the wet stuff first to get that dense foundation going!
- 1 cup (2 sticks) unsalted butter, melted—don’t skip melting it first!
- 1 3/4 cups granulated sugar
- 3/4 cup packed light brown sugar
- 4 large eggs (room temperature is always best)
- 1 tablespoon vanilla extract
- 1 cup gluten-free all-purpose flour blend (This MUST have xanthan gum included, seriously!)
- 1/2 cup unsweetened cocoa powder
- 1/2 teaspoon salt
- 1/2 cup semi-sweet chocolate chips—because more chocolate never hurts!
For the Creamy Peanut Butter Swirl Mixture
This part comes together super fast, creating that gorgeous contrast against the chocolate.
- 1 cup creamy peanut butter (I like Jif or Skippy myself for the best swirl effect)
- 1/4 cup powdered sugar
- 1 large egg (this is what binds the swirl so it doesn’t just melt away)
Step-by-Step Instructions for Gluten-Free Chocolate Peanut Butter Swirl Brownies
Okay, now for the fun part! You’ve got your ingredients ready, and you’re about to whip up some of the absolute best Gluten-Free Chocolate Peanut Butter Swirl Brownies. Seriously, getting the layering right is what creates that amazing two-tone look. Don’t rush this part!
Preparing the Pan and Dry Ingredients
First things first, get your oven humming at 350°F (175°C). You absolutely must grease and line your 9×13 inch pan with parchment paper, making sure you leave a couple of inches hanging over the sides—that overhang is your handle later!
In one bowl, just whisk together your dry stuff: the gluten-free flour blend, the cocoa powder, and the salt. Keep that separate. In your big mixing bowl (where you mixed your wet ingredients earlier), you’re going to slowly add the dry mix until it’s *just* combined. Fold in those chocolate chips gently. Don’t overmix at all; we need to protect those air bubbles we worked so hard to create!
Creating the Peanut Butter Swirl and Layering
Next, mix up your swirl ingredients—your peanut butter, powdered sugar, and that one extra egg—until it’s wonderfully smooth. Then comes the layering! Spread exactly half of your thick chocolate batter into the prepared pan. Now, take spoonfuls of that peanut butter mixture and drop them all over the top.
After that, you cover those peanut butter blobs with the rest of your chocolate batter. Now, take a butter knife or a skewer and gently drag it through the layers. You only want to make a few passes—think marble effect, not muddy brown chaos! If you overmix here, poof! All your beautiful swirl disappears.
Baking Time and Cooling for Perfect Texture
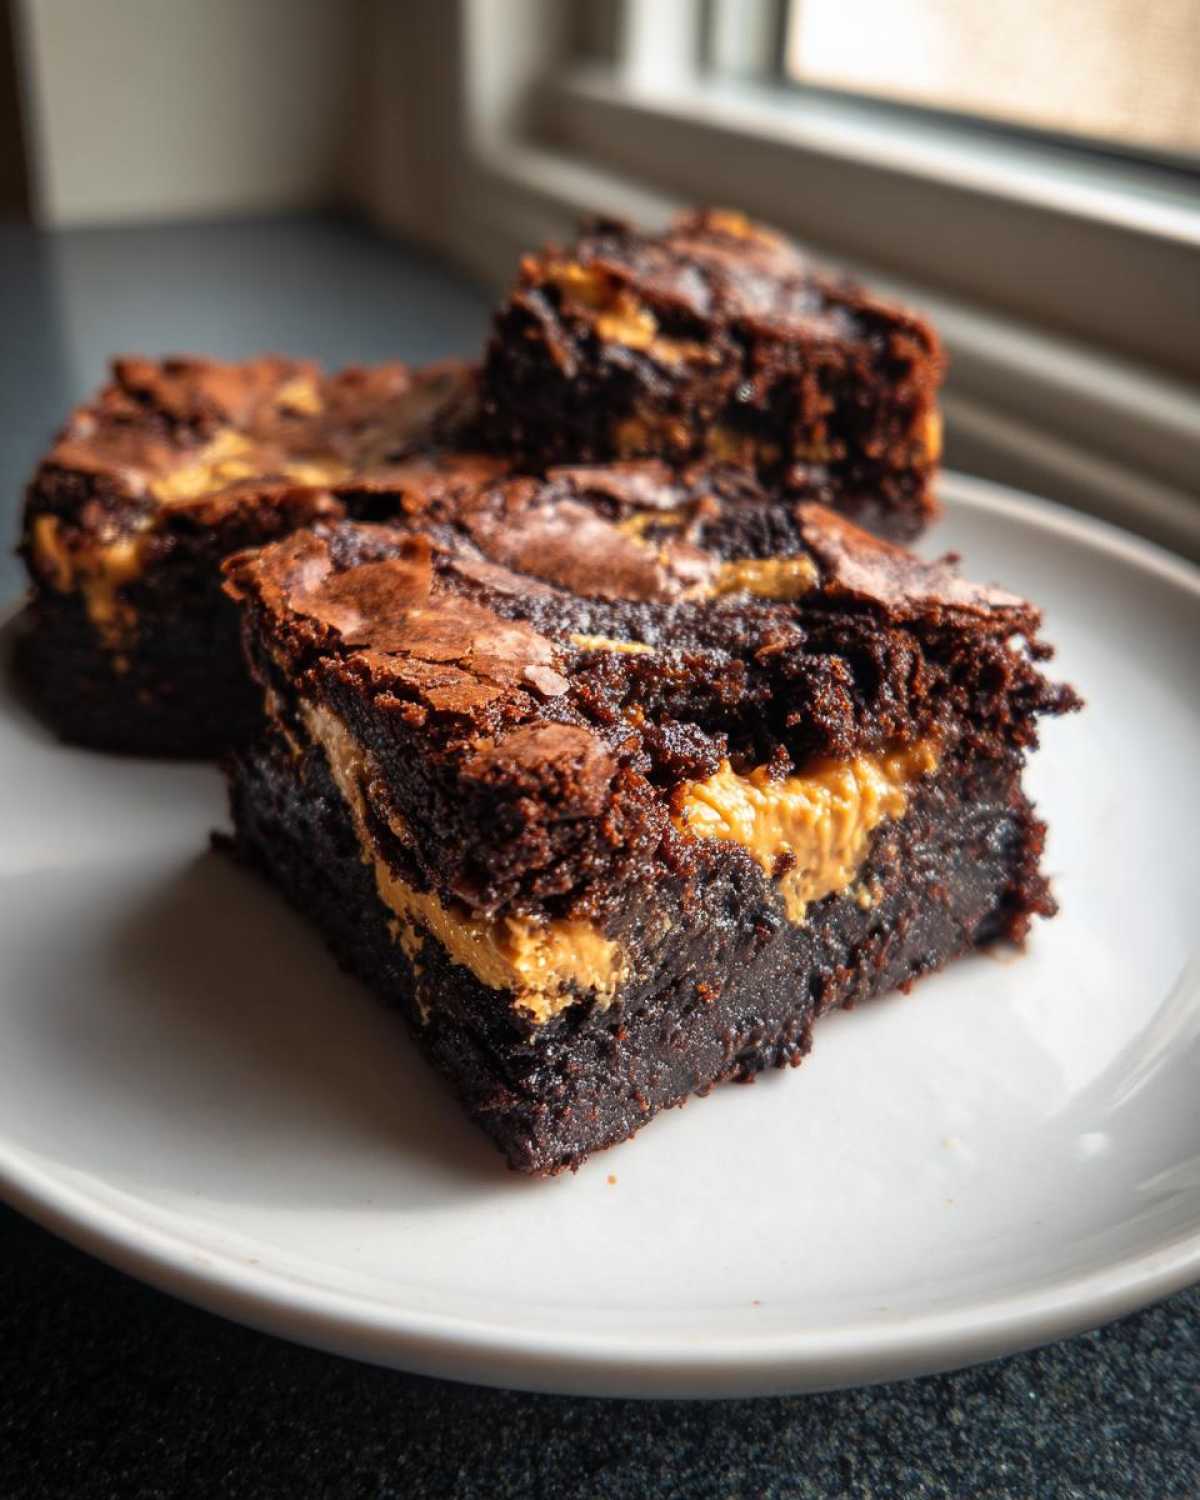
Slide that pan into the oven for about 30 to 35 minutes. Here’s my expert tip for texture: when you test it, you’re looking for moist crumbs clinging to the toothpick, not wet batter. That means it’s done, but still supremely fudgy!
The hardest part of this whole recipe is waiting, but you *must* let these cool completely in the pan before you even *think* about lifting them out with the parchment paper to cut them. If you cut them warm, they’ll crumble on you, and believe me, you want clean squares.
Tips for Success When Making Gluten-Free Chocolate Peanut Butter Swirl Brownies
Even though these are some of the easiest Gluten-Free Chocolate Peanut Butter Swirl Brownies you’ll ever make, there are just a couple of little tricks that take them from good to unbelievably great. Because we’re working without wheat, we have to be smarter about structure, especially when dealing with two different batters!
First, let’s talk about that flour. If your gluten-free blend doesn’t specifically state it has xanthan gum, you need to add it yourself, or your brownies will feel loose and crumbly. I usually add about 1/2 teaspoon per cup of flour blend used. It acts like the glue that wheat flour usually provides, keeping everything perfectly structured.
Next, address the swirl itself! If your peanut butter is one of those super oily, runny types, trust me, it’s going to spread too much and muddy up your beautiful creation. I highly recommend chilling that peanut butter mixture for about 15 minutes before you dollop it onto the brownie batter. It stiffens it up just enough so that when you swirl, you get distinct ribbons of peanut butter and chocolate. It makes such a difference!
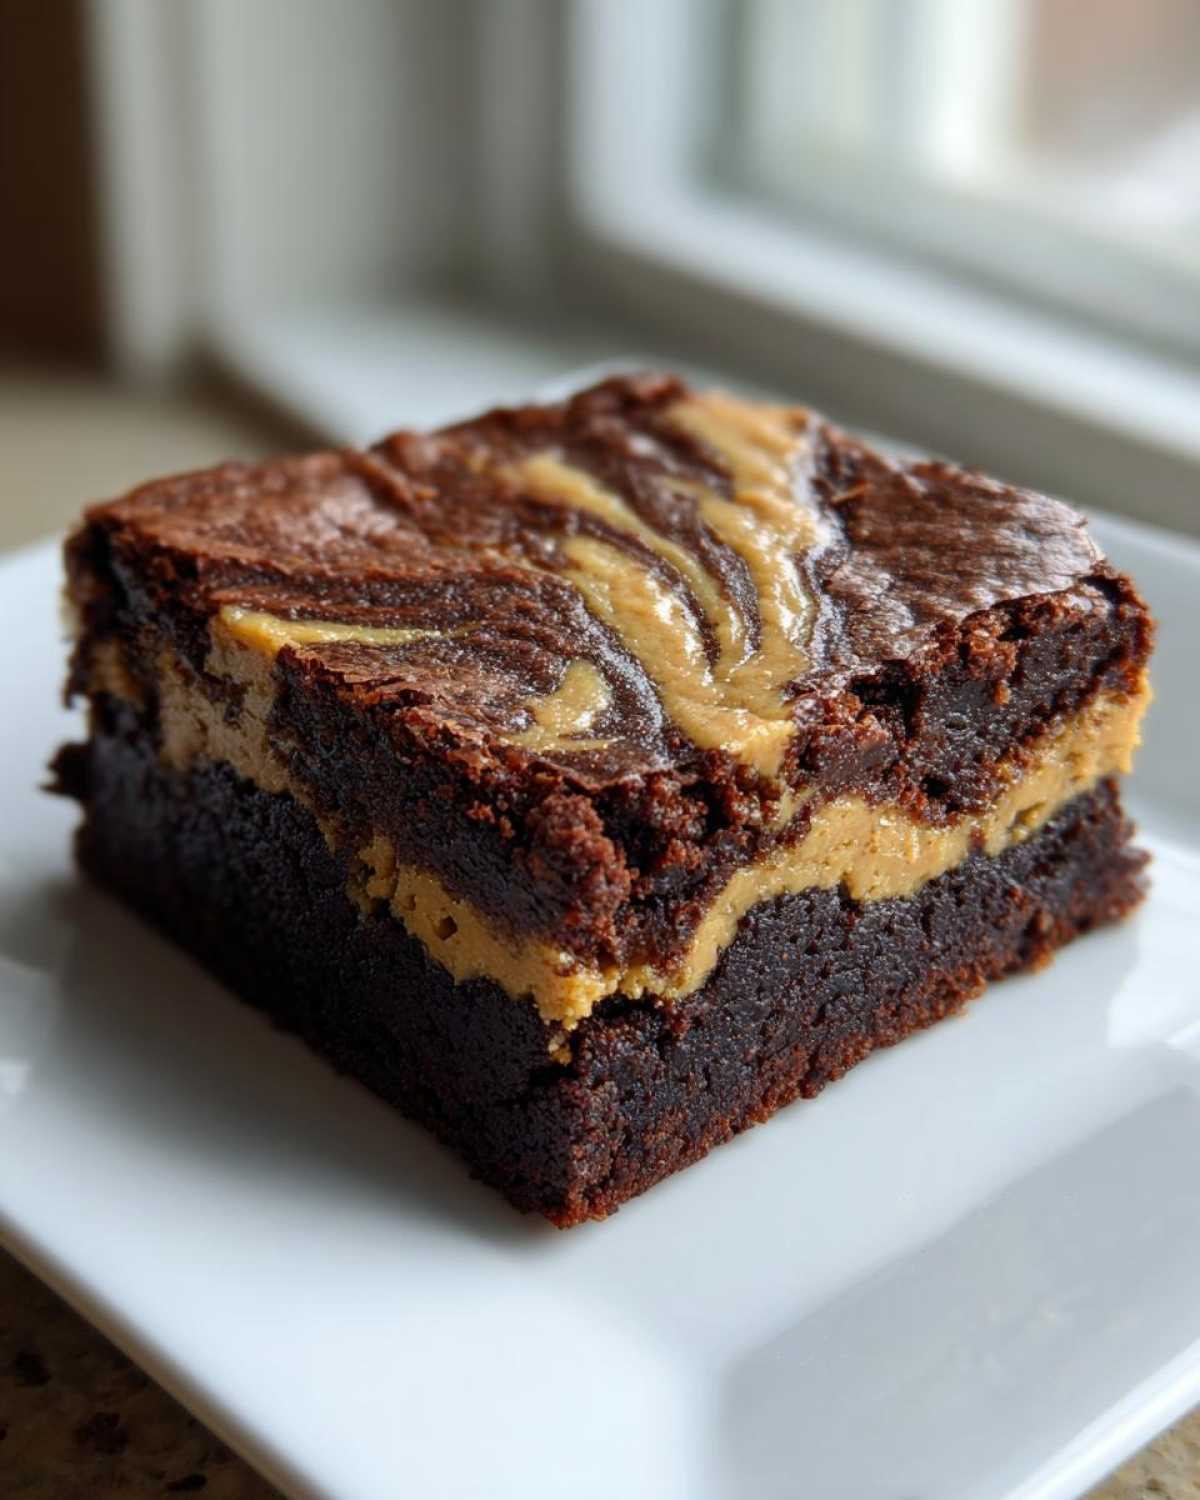
Also, remember how I mentioned not overmixing the chocolate batter? That’s even more critical here because the GF flour blend can get gummy fast. Mix the dry into the wet until you *just* see the last streaks of flour disappear. Then stop! The gentle folding is where the real work happens, not the heavy beating.
Finally, when you’re done baking, resist the urge to slice them warm. I know, I know, the smell is intoxicating, but these rich chocolate peanut butter dessert brownies need that time to set up fully. Cooling completely locks in that fudgy density and ensures you get the cleanest cut possible.
Ingredient Notes and Substitutions for Your Brownies
I always get questions about ingredients when people see ‘gluten-free’ in a recipe title, especially when the final product looks this fudgy! Don’t stress, though, because most of these simple ingredients are pantry staples, even if you aren’t normally a gluten-free baker.
The biggest secret here, and I mentioned it above, is all about the flour. You can’t just swap out regular flour for whatever GF blend you grab; that’s a recipe for disaster, trust me. For these Gluten-Free Chocolate Peanut Butter Swirl Brownies to have that necessary chew, the binder is key.
You absolutely must use a quality all-purpose gluten-free flour blend that already contains xanthan gum. If yours doesn’t? No sweat. Just add about 1/2 teaspoon of plain xanthan gum to the dry ingredients when you measure them out. It helps keep the structure together, especially in a dense bake like a brownie where we aren’t using as much structure-building flour anyway.
Now, let’s talk peanut butter. For the best peanut butter swirl, I strongly favor the standard, processed, jarred peanut butter—the kind that’s just peanuts, oil, and salt (like Jif or Skippy). Why? Because natural peanut butter separates like crazy when baked, and that lovely swirl you want might turn into a greasy puddle.
The processed stuff holds its shape better when incorporated with the powdered sugar and egg, which is exactly what we need to keep those gorgeous ribbons visible after baking. If you *only* have natural peanut butter on hand, you might need to add an extra half tablespoon of powdered sugar to that swirl mix just to firm it up a bit. It takes a little trial and error, but the result is worth the effort!
One last quick note: If you use unsweetened cocoa powder that’s Dutch-processed versus natural, the color will be deeper, but it won’t affect the structure here since we aren’t relying on baking soda for leavening the main batter. Either one works perfectly for these fudgy gluten free treats!
Storage and Reheating Instructions for These Fudgy Gluten Free Treats
Okay, resisting eating all of these fudgy gluten free treats in one sitting is tough, I know! But storing them correctly is key to preserving that amazing texture we worked so hard for. Because they are so rich and fudgy, they actually hold up beautifully!
The best place to keep them for maximum freshness is right on the counter, sealed up tight. I use an airtight container—a Pyrex dish with a good lid works perfectly—and store them at room temperature. They stay wonderfully chewy for about 3 to 4 days this way. If you notice the air getting dry in your house, though, a little trick is to place a slice of white bread or a half an apple in the container with them. It sounds wild, but that moisture gets wicked up by the brownies and keeps them soft!
If you made a massive batch (and let’s be honest, you should have!), you can totally freeze these! Cut the brownies into individual squares *before* freezing—this is crucial. Wrap each square tightly in plastic wrap first, and then slip them all into a heavy-duty freezer bag. They freeze like a dream for up to three months. No ice crystals!
Now, let’s talk reheating. Sometimes, especially in winter, I want that moment of gooey, melty chocolate again. If you grab one straight from the fridge, they’ll be rock hard because of the butter content. Don’t microwave it for too long, or you’ll lose the structure entirely. I zap mine for just 10 to 15 seconds on 50% power. That’s usually enough to warm the chocolate chips slightly and soften that peanut butter swirl just a touch without turning the rest of the brownie cakey. Perfection!
Serving Suggestions for Rich Chocolate Peanut Butter Dessert
You’ve done it! You mastered the homemade chocolate cake texture in a brownie form, and now you have these incredible rich chocolate peanut butter dessert squares. How are you going to dive in? While they are genuinely perfect just straight from the pan (after cooling, remember!), sometimes you have to dress up a masterpiece, right?
For me, the absolute best way to enjoy these brownies is when they are slightly warm—not hot, just gently warmed up so the peanut butter swirl gets extra gooey. Pair that with a big scoop of vanilla bean ice cream. The cold creaminess hitting that warm, fudgy base makes my knees weak!
If you’re serving these up for a party or after dinner, here are a few ways I dress them up. They don’t need much because the flavor combination is already winning!
- The Classic Scoop: A scoop of quality vanilla ice cream, as I mentioned. Sometimes I even sprinkle a few flaky sea salt crystals right over the top of the ice cream scoop just before serving. That little salt crunch balances the sweetness so perfectly.
- Morning Coffee Companion: Honestly, these brownies are almost too decadent for breakfast, but they are *amazing* alongside a strong cup of coffee. The coffee bitterness cuts right through the richness of the chocolate and the peanut butter. It’s the perfect treat instead of a muffin!
- Simple Dusting Upgrade: If you don’t want a full glaze, just take a fine-mesh sieve and dust the top right before serving with a mix of powdered sugar and maybe half a teaspoon of extra cocoa powder. It gives it that beautiful, professional bakery look without adding much texture.
- Peanut Butter Boost: If you really love peanut butter, try a very thin drizzle of melted, warmed peanut butter right over the top of the cut squares. Be careful—a little goes a long way!

No matter how you serve these Gluten-Free Chocolate Peanut Butter Swirl Brownies, remember that the intensity of the chocolate is the star. Keep your accompaniments simple so you can really appreciate that swirl!
Frequently Asked Questions About Gluten-Free Chocolate Peanut Butter Swirl Brownies
It’s totally normal to have questions when you step into the world of Gluten-Free Chocolate Peanut Butter Swirl Brownies! Baking without wheat requires just a few tweaks, and I want to make sure you have a giant pan of perfectly fudgy success.
Can I use almond flour instead of a GF blend for these brownies?
Oh, great question! Almond flour is one of my favorite flours, but here’s the deal: it doesn’t absorb liquid the same way a general blend does. If you swap out the cup of GF blend for 1:1 almond flour, you’ll end up with something much closer to a decadent, dense cake than the fudgy brownie you’re dreaming of. Almond flour adds lovely moisture, but it lacks the necessary structure that the xanthan gum in a blend usually provides.
If you *must* use only almond flour, you’ll probably need to significantly reduce the melted butter and increase whatever binder you are using, maybe even adding an extra egg yolk. For this specific recipe—especially since we need that firm layer for the swirl—I really, really urge you to stick to a good quality baking with GF flour blends that already contains xanthan gum. It keeps things straightforward and guarantees you get those celiac safe brownies that hold their shape.
How do I get the best two tone brownie recipe swirl?
Achieving those beautiful ribbons that make this a true two tone brownie recipe is all about being gentle and strategic! Remember, you aren’t trying to mix frosting into cake batter; you’re just marrying the two layers slightly.
Here’s the technique, step by step: First, dollop the peanut butter mixture randomly over the first layer of chocolate batter. Then, top it with the second layer of chocolate batter. Now, take your skewer or knife—a chopstick works great too—and stick it into the pan, but don’t plunge it all the way to the bottom (you want to keep the layers distinct!). Drag the knife through the batter just a couple of times in big, sweeping S-shapes. That’s it!
If you drag the knife over the same spot repeatedly, or if you try to work the patterns in too closely together, you’ll just end up blending the chocolate and peanut butter entirely, and you’ll lose that gorgeous visual contrast. A few gentle passes right on the surface yields the best marbled effect.
Estimated Nutritional Data for Gluten-Free Chocolate Peanut Butter Swirl Brownies
Now, I know some of you folks stop reading as soon as you see health info, but I feel like it’s important to know what you’re enjoying! While these truly are decadent Gluten-Free Chocolate Peanut Butter Swirl Brownies, they’re made with real ingredients, and that’s something to be proud of!
Keep in mind, these numbers are just estimates based on standard amounts of sugar, butter, and that glorious peanut butter. If you use natural peanut butter or a different flour blend, those counts will shift a tiny bit, so take this as a general guide. It’s always better to enjoy the treat and skip the obsessive counting, right?
Here is the breakdown based on 16 squares:
- Serving Size: 1 brownie square
- Calories: Approximately 285
- Sugar: About 28g (It’s dessert, after all!)
- Fat: Around 17g (Hello, butter and peanut butter!)
- Saturated Fat: About 8g
- Carbohydrates: Roughly 32g
- Protein: 6g
- Sodium: 110mg
These numbers tell me one thing: they are rich, dense, and exactly what you want in a fudgy brownie. Please don’t stress too much about this if you’re enjoying one with your coffee! If you want to make them a bit healthier, you could try using dark chocolate chips and maybe swapping out some of the sugar for a zero-calorie substitute, but honestly? I find that messes with the texture too much. Just enjoy the richness!
PrintGluten-Free Chocolate Peanut Butter Swirl Brownies
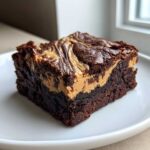
Make rich, fudgy brownies with a distinct peanut butter swirl using gluten-free ingredients.
- Prep Time: 15 min
- Cook Time: 35 min
- Total Time: 50 min
- Yield: 16 servings
- Category: Dessert
- Method: Baking
- Cuisine: American
- Diet: Gluten Free
Ingredients
- 1 cup (2 sticks) unsalted butter, melted
- 1 3/4 cups granulated sugar
- 3/4 cup packed light brown sugar
- 4 large eggs
- 1 tablespoon vanilla extract
- 1 cup gluten-free all-purpose flour blend (with xanthan gum)
- 1/2 cup unsweetened cocoa powder
- 1/2 teaspoon salt
- 1/2 cup semi-sweet chocolate chips
- 1 cup creamy peanut butter
- 1/4 cup powdered sugar
- 1 large egg (for swirl)
Instructions
- Preheat your oven to 350°F (175°C). Grease and line a 9×13 inch baking pan with parchment paper, leaving an overhang for easy removal.
- In a large bowl, whisk together the melted butter, granulated sugar, and brown sugar until combined.
- Beat in the 4 large eggs one at a time, then stir in the vanilla extract.
- In a separate bowl, whisk together the gluten-free flour blend, cocoa powder, and salt.
- Gradually add the dry ingredients to the wet ingredients, mixing until just combined. Fold in the chocolate chips.
- Prepare the peanut butter swirl mixture: In a medium bowl, beat together the creamy peanut butter, powdered sugar, and the remaining 1 large egg until smooth.
- Spread half of the brownie batter into the prepared pan. Dollop spoonfuls of the peanut butter mixture evenly over the batter.
- Spread the remaining brownie batter over the peanut butter layer.
- Using a knife or skewer, gently swirl the peanut butter mixture into the chocolate batter to create a marbled effect. Do not overmix.
- Bake for 30 to 35 minutes, or until a toothpick inserted near the center comes out with moist crumbs attached, not wet batter.
- Let the brownies cool completely in the pan on a wire rack before lifting them out using the parchment paper overhang and cutting them into squares.
Notes
- Ensure your gluten-free flour blend contains xanthan gum for proper structure.
- For cleaner swirls, chill the peanut butter mixture slightly before using.
- Cooling the brownies completely before cutting prevents them from crumbling.
Nutrition
- Serving Size: 1 brownie square
- Calories: 285
- Sugar: 28
- Sodium: 110
- Fat: 17
- Saturated Fat: 8
- Unsaturated Fat: 9
- Trans Fat: 0
- Carbohydrates: 32
- Fiber: 2
- Protein: 6
- Cholesterol: 75