

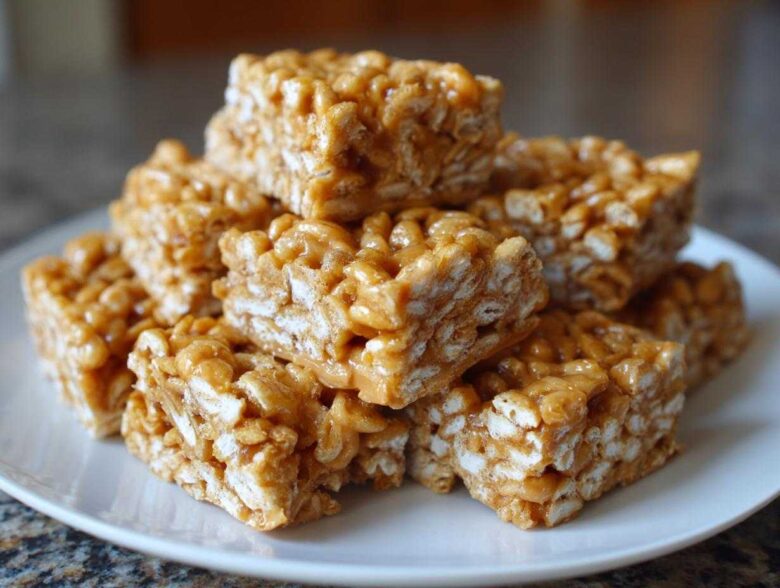
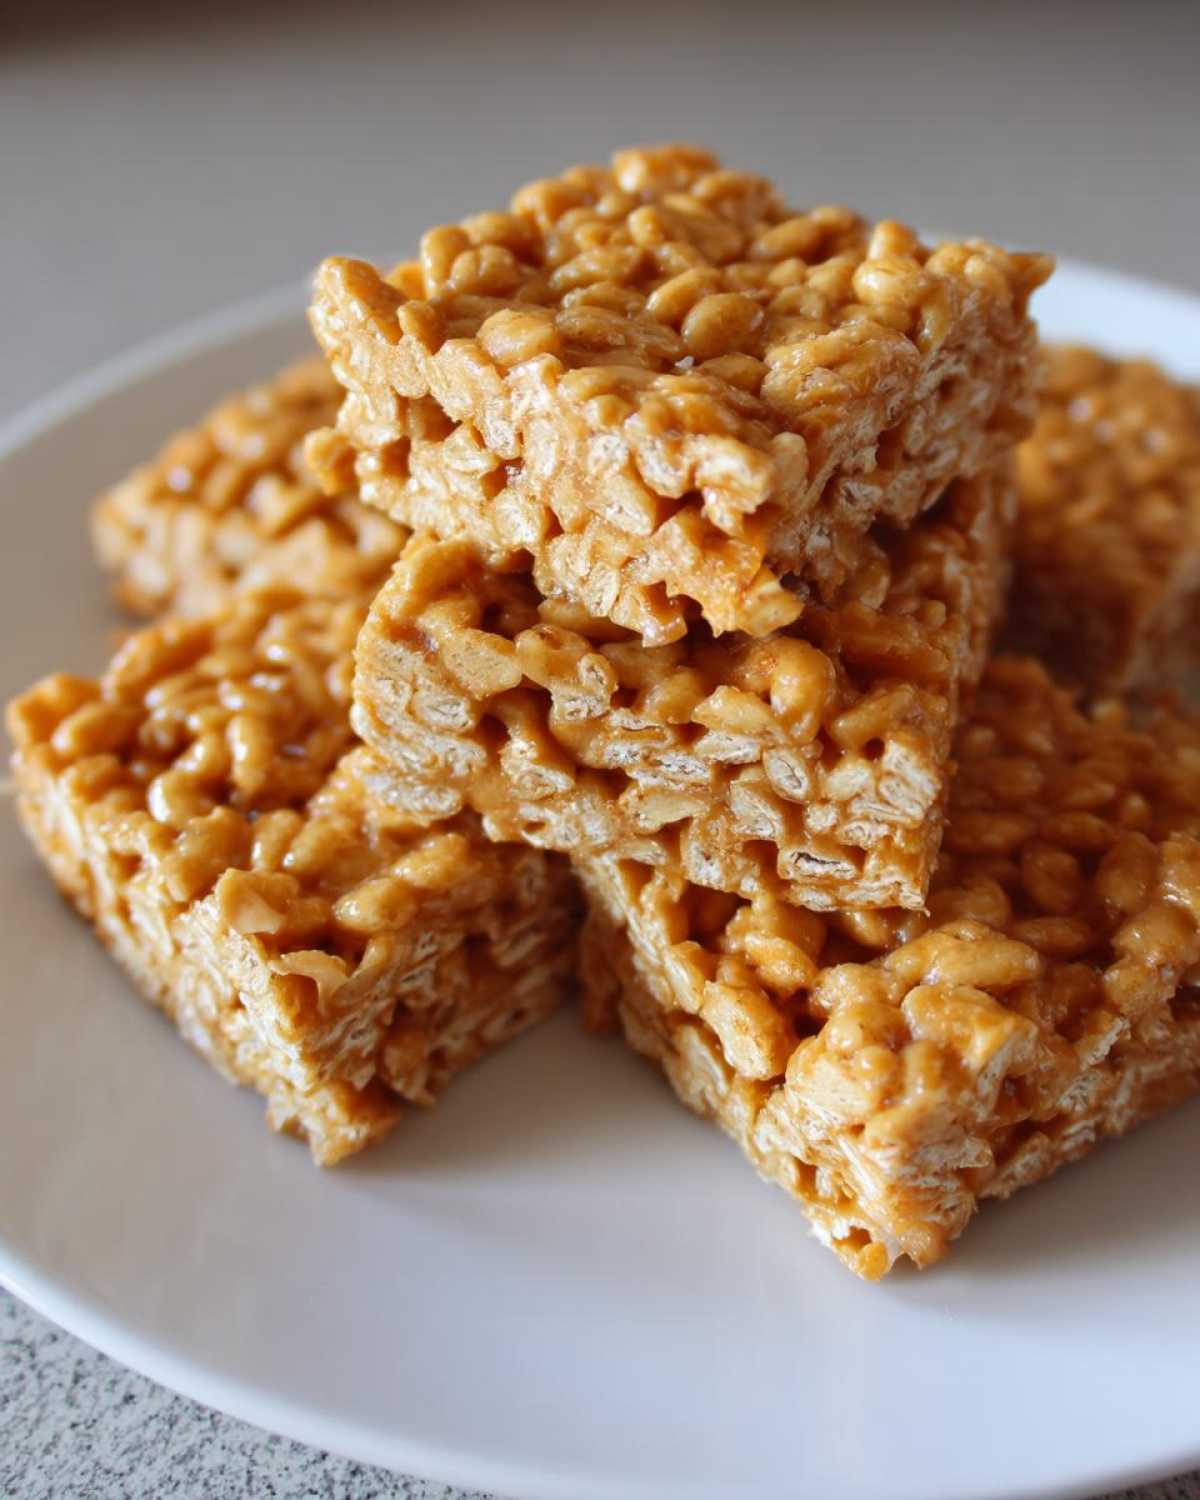
Oh my goodness, if you are anything like me, some days you just need a sweet fix *right now*, and the idea of preheating the oven feels like running a marathon! That’s why I am so thrilled to share my absolute go-to for those moments: the ultimate **No-Bake Peanut Butter Rice Cereal Bars**. Seriously, these come together faster than waiting for the water to boil for pasta. They are chewy, perfectly peanut-buttery, and they save my sanity when soccer practice runs late or I just need something done before guests arrive. Forget fancy baking; we are going straight for pantry magic with these incredibly easy treats! If you’ve ever made the classic marshmallow version, this is a great way to try a different flavor profile, kind of like a grown-up take on the original peanut butter rice krispie treats.
Why You Need This Quick No Bake Cereal Bars Recipe
Listen, if you’re looking for a dessert that doesn’t mess around, this is it. There is no waiting, no temperature concerns, and frankly, almost no chance of failure! I keep the ingredients stocked because they are lifesavers for busy weeks.
- It’s ridiculously fast! We are talking maybe 15 minutes of hands-on time before they head to the fridge. Perfect for when you need **Fast Dessert Recipes for Beginners** who might be intimidated by the oven.
- They are incredibly kid-friendly. Seriously, my kids can help melt the butter, making these the ultimate **Kids After School Snack Idea**.
- Forget the sticky marshmallow mess! These **Easy Peanut Butter Cereal Treats** hit that perfect chewy spot without the pull of perfectly toasted goo.
- These are great for making ahead—potlucks, bake sales, or just stocking the pantry for a week of sweet snacking!
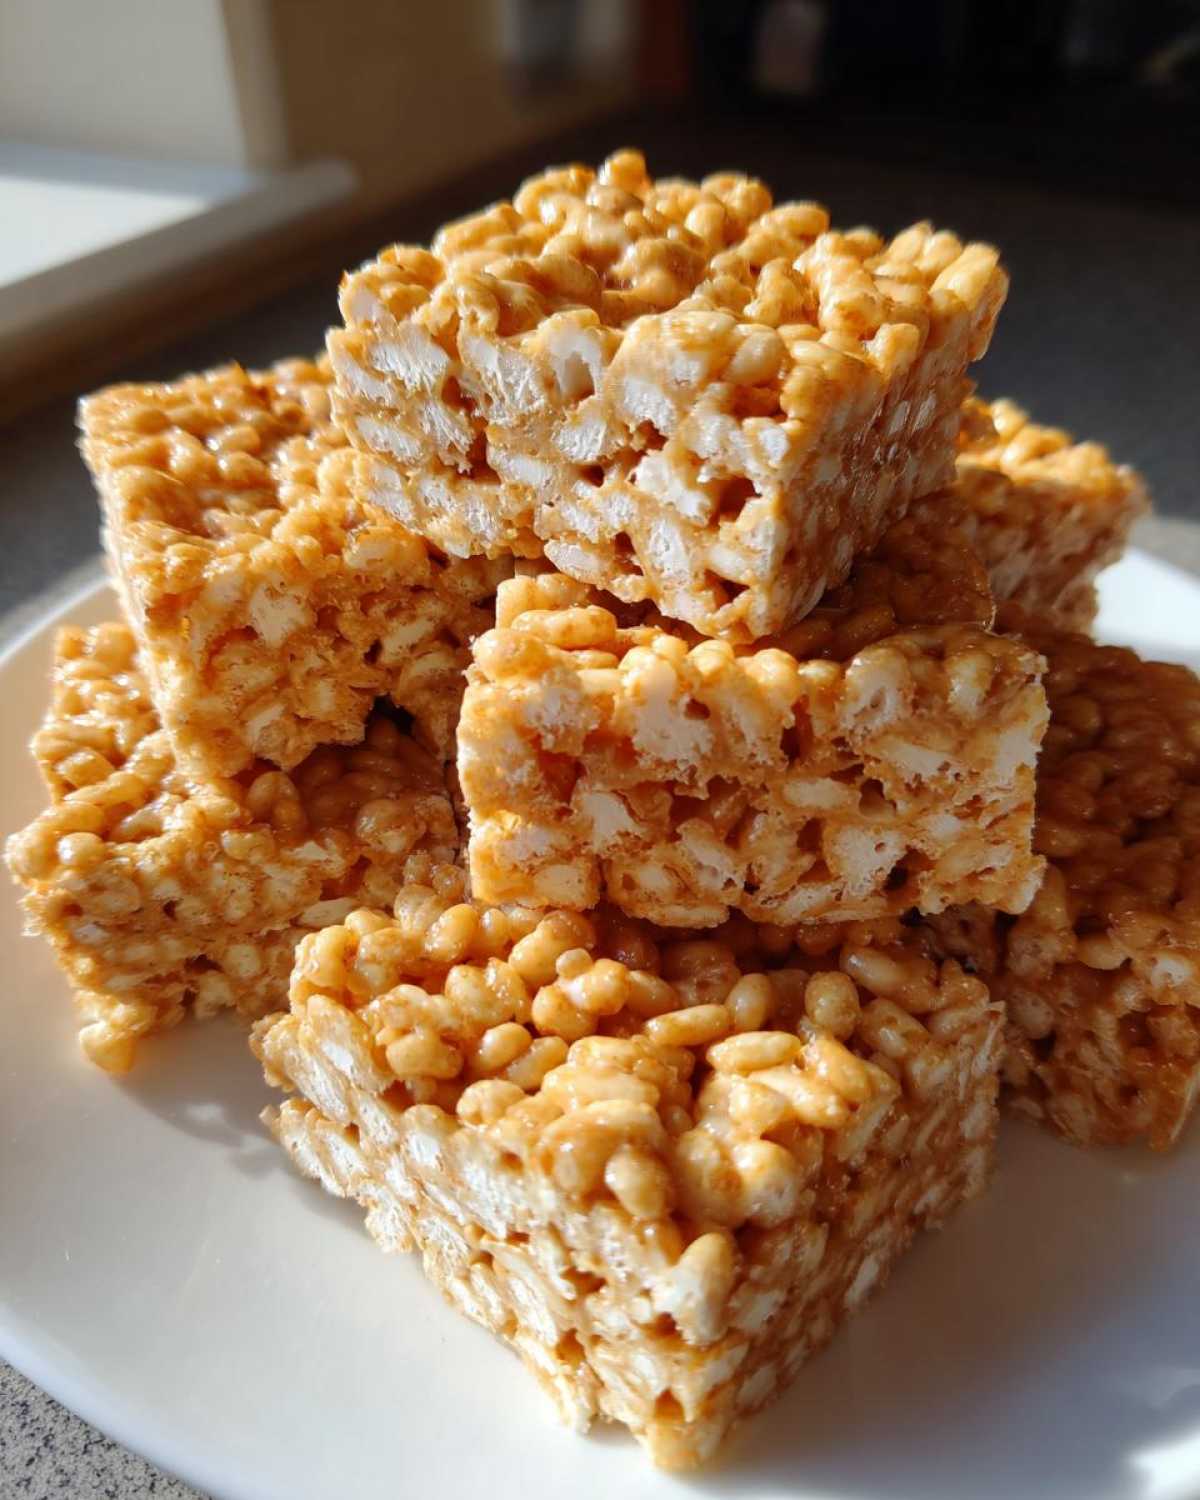
Gathering Ingredients for No-Bake Peanut Butter Rice Cereal Bars
Okay, the beauty of these **Simple Rice Cereal Squares Dessert** is that they rely on staples I usually have on hand. No need for a last-minute grocery run—that’s the whole point, right? We aren’t making just a *three* ingredient version here unless you swap things out later; we’re aiming for that chewy, perfectly set texture that only the full lineup provides.
Here’s the exact list I pull out every time. Pay close attention to the peanut butter—I swear by creamy here for the smoothest binding action. Crunchy ones leave you with weird pockets of peanut chunks when you’re trying to get that uniform square!
- Butter: We need a half cup, unsalted is usually best so we can control the saltiness, but honestly, salted works fine too if that’s what you’ve got!
- Sugar and Syrup: This is our structure team! You need exactly one cup of white granulated sugar and one full cup of light corn syrup. That corn syrup is non-negotiable for the classic chewiness; it keeps them soft for days. Some people try honey or maple syrup, which is fine if you want a different flavor profile, but for this classic, stick to the syrup, trust me!
- Flavor Boosters: One teaspoon of vanilla extract just deepens everything nicely.
- The Star: One full cup of creamy peanut butter.
- The Bulk: Six cups of puffed rice cereal. Don’t crush it beforehand! We want that light, airy texture.
Seeing all that peanut butter makes me think of how similar the base is to my no-bake Oreo balls—same concept of melting fats/sugars to bind a dry ingredient. Love how versatile these pantry items are!
Essential Equipment for Perfect No-Bake Peanut Butter Rice Cereal Bars
You don’t need a stand mixer or anything fancy for these **No Oven Needed Dessert Recipes**! Honestly, the shorter the ingredient list, the more important it is to have the right simple tools. If you skip the parchment paper, you’ll regret it when trying to get those beautiful squares out later.
Make sure you have these three things ready before you even turn on the stove:
- A large saucepan. This is where our syrup magic happens.
- A 13×9 inch baking pan. This size is crucial for getting thick, satisfying bars that aren’t too crumbly.
- Plenty of parchment paper. I mean it—line that whole pan, letting it hang over the sides! This overhang acts as natural handles, which is a lifesaver when the bars are cold and firm.
Step-by-Step Instructions for No-Bake Peanut Butter Rice Cereal Bars
This is where the real action happens, but don’t worry; if you can stir a pot, you can ace these **No-Bake Peanut Butter Rice Cereal Bars**! I’ve watched so many people mess these up by overcooking the syrup or stirring too roughly. Keep your eye on the clock and your hand steady because these few minutes are what separate a perfect bar from a crumbly mess.
Preparing the Pan and Boiling the Syrup Base
First things first, get your pan ready! Seriously, do this before you even turn the burner on. Smoothly line that 13×9 inch pan with parchment paper, making sure you leave plenty of overhang—those flaps are going to save you later when you try to lift this whole slab out. It’s like giving your treat handles!
Next, hop over to the stove. Melt your measured butter in that large saucepan over medium heat. Once it’s fully melted, stir in the granulated sugar and the corn syrup. Now, this is the critical moment where timing matters more than anything. Bring that mixture up to a nice, rolling boil. Once it’s boiling—not simmering, but really bubbling—you must boil it for *exactly* one minute. Stirring constantly is key here to make sure nothing burns on the bottom. If you go past one minute, you risk making your bars hard and brittle, rather than delightfully chewy!
Combining Peanut Butter and Coating the Cereal for No-Bake Peanut Butter Rice Cereal Bars
One minute is up! Immediately yank that saucepan off the heat. We don’t want to cook the peanut butter; we just want it melted and incorporated. Stir in your vanilla extract first, and then drop in the creamy peanut butter. Mix this vigorously until the whole thing looks smooth, glossy, and unified. Don’t let it sit; work quickly!
Now, grab your 6 cups of puffed rice cereal and toss it into a really big bowl—you’ll need the space. Pour that warm, delicious peanut butter mixture right over the cereal. Your job now is to gently fold everything together. Use a wide spatula and be gentle! You want every single flake coated in that glorious binder, but if you stir too hard, you’ll crush the cereal, and then you’ll end up with sticky bricks instead of fluffy squares. Mix until most of the cereal looks coated.
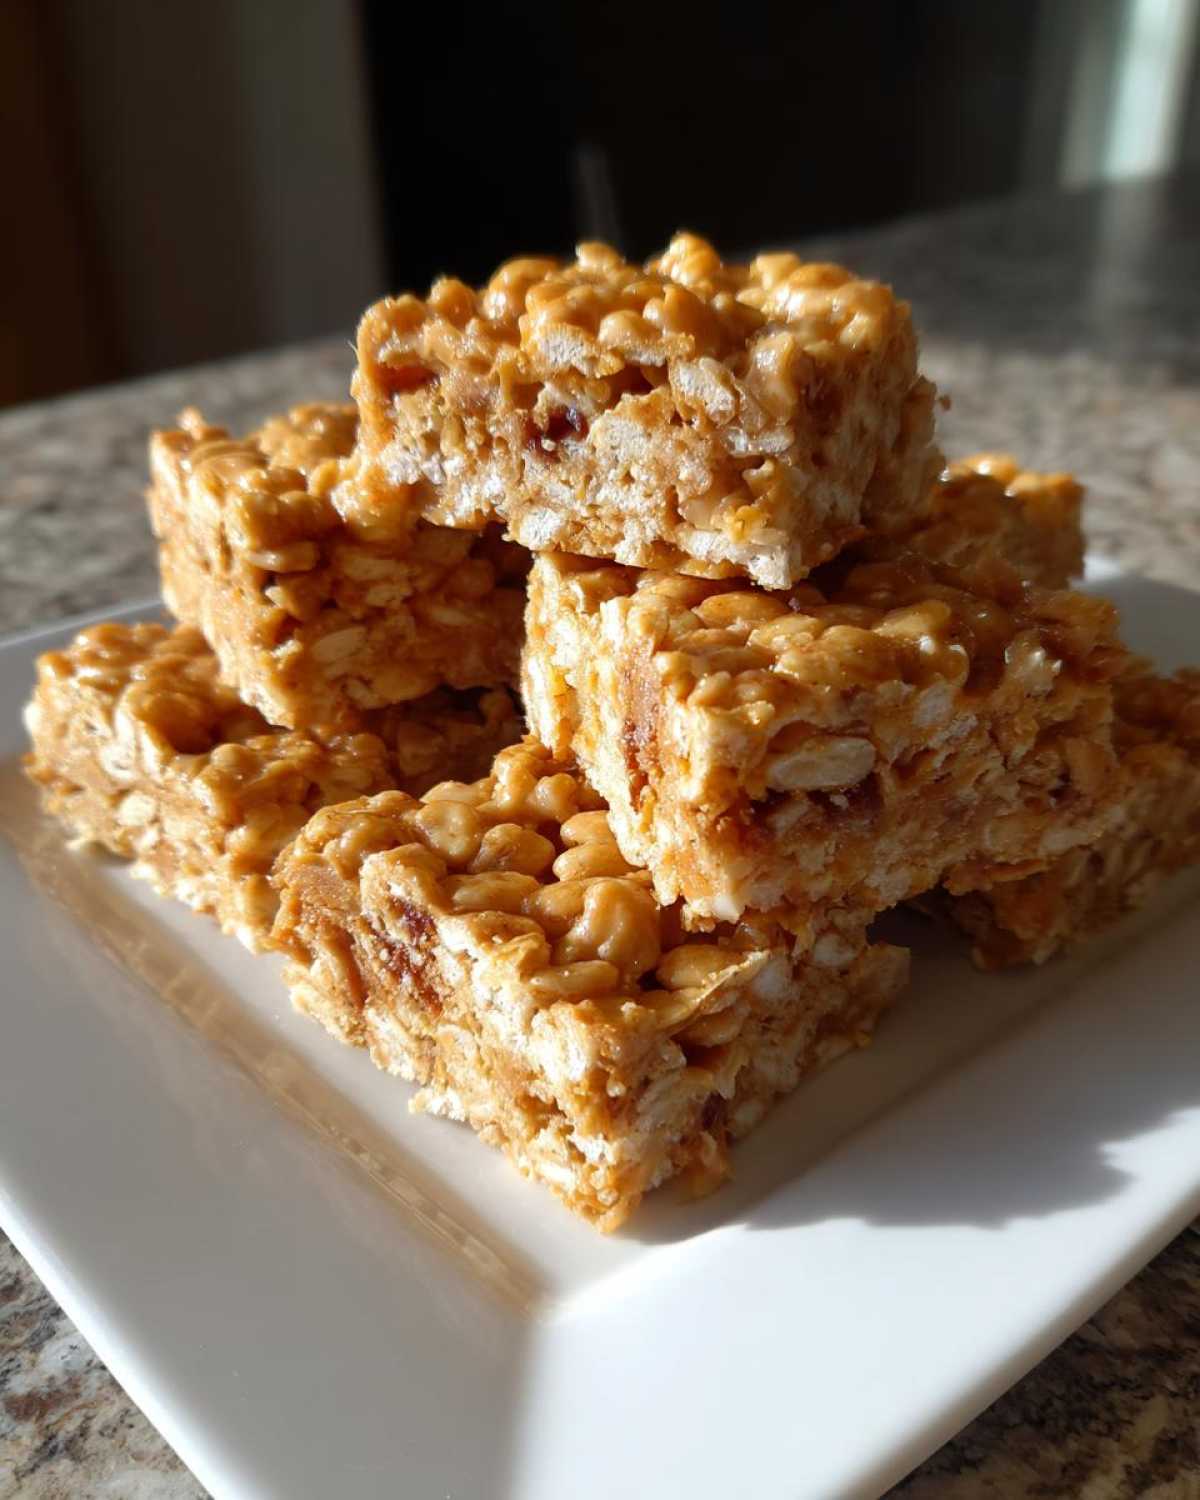
Pressing, Chilling, and Cutting Your Simple Rice Cereal Squares Dessert
Transfer that huge bowl of coated cereal into your prepared pan. This is the part where people usually struggle with sticky fingers. Here’s my secret weapon: tear off a piece of wax paper that’s slightly bigger than the top of the pan, lay it over the cereal, and press down firmly and evenly. You want the surface flat and dense enough to hold together, but don’t smash it so hard you deflate all the air out. If you don’t have wax paper, just lightly butter your hands or the bottom of a measuring cup!
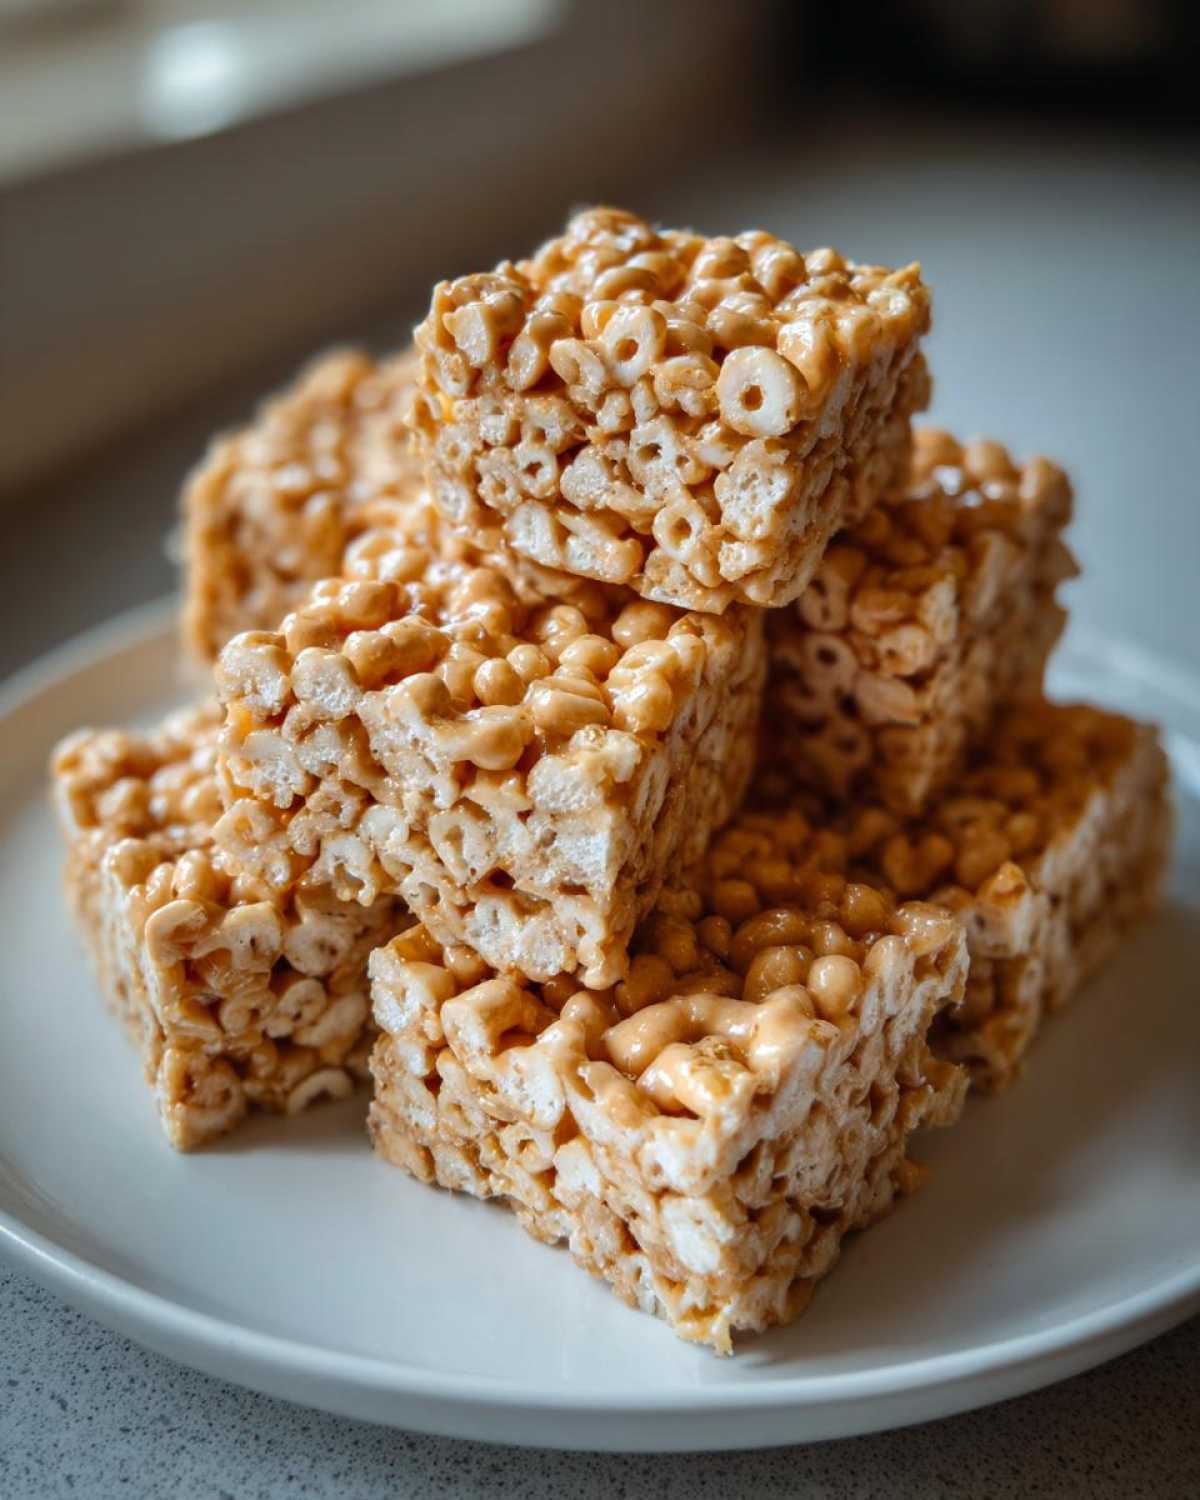
Once it’s all pressed down tight, slide that pan into the refrigerator. You must let these chill for a minimum of two hours. I know, waiting is tough, but if you cut them early, they will absolutely fall apart into a sticky mess. After two hours, use those parchment overhang handles to lift the entire block onto a cutting board. Slice into your **Simple Rice Cereal Squares Dessert**—about 24 squares is a perfect size. They are ready to grab and go!
If you ever want to check out how cooking smooth sauces works when you aren’t relying on the oven, this step actually has a lot in common with getting a good, smooth base for homemade apple butter consistency!
Tips for Achieving Chewy Peanut Butter Cereal Bars
Everyone has different preferences, right? Some people like a nice, firm snap to their bar, but I always aim for that signature, satisfying chewiness in my **Best No-Bake Peanut Butter Bars**. The secret is 100% in that boiling step. If you let that sugar-syrup mixture go past that one-minute mark, I promise you, the bars stiffen up way too much. You end up crushing the cereal trying to get it into the pan because the mixture sets too fast!
Also, temperature matters when you mix in the peanut butter. Make sure your peanut butter isn’t straight out of a cold fridge. If it’s way too cold, it cools down the syrup too fast, resulting in lumps and uneven coating. Let it sit on the counter for half an hour first. Room temperature peanut butter blends beautifully, ensuring every single flake of cereal gets that lovely, sticky coating for maximum chew.
For more classic peanut butter combinations, I always think about my amazing peanut butter blossom cookies—same core flavor, totally different texture journey!
Variations on Your No-Bake Peanut Butter Rice Cereal Bars
Just because these are simple doesn’t mean we can’t jazz them up a bit! If you’re looking to make these **Homemade Peanut Butter Squares** feel extra special, the cereal mixture is the perfect place to sneak in extra goodness. I love adding things in right after I stir the melted peanut butter mixture in.
The recipe notes mention tossing in about half a cup of mini marshmallows, and yes, that adds a wonderfully gooey dimension. Who doesn’t love that extra bit of marshmallow fluffiness? I also often throw in half a cup of semi-sweet chocolate chips right at the end. They melt slightly from the residual heat of the syrup and create these little fudgy pockets throughout the bars.
If you really want to change the texture without changing the flavor profile too much, try swapping the creamy peanut butter for crunchy peanut butter. It gives you more body and a slightly different mouthfeel. It’s amazing how simple pantry tweaks can lead to entirely new favorite treats! If you are thinking about more sweet things inspired by peanut butter, you have to check out how I make my moist strawberry cake—different vibe, but just as addictive!
Storage and Make Ahead Sweet Snack Planning
The best part about these **No-Bake Peanut Butter Rice Cereal Bars** is how conveniently they store. Since we aren’t using any dairy fillings or frostings, they are super stable! You should store any leftovers—if you even have any—in an airtight container right on the counter at room temperature. They stay perfectly soft and chewy for up to four whole days that way.
Because they require zero baking and set up so nicely in the fridge, these are absolutely my top pick when I need **Make Ahead Sweet Snack** options. Just cut them up the day before, stack them between pieces of wax paper so they don’t stick together, and you are golden for that weekend picnic or those inevitable **No Bake Goodies for Potlucks** where you need something reliable and everyone loves.
Frequently Asked Questions About No Oven Needed Dessert Recipes
Can I use natural, runny peanut butter instead of creamy?
That’s a great question, and it comes up a lot when people look for **Simple Pantry Dessert Ideas**! I truly recommend sticking to conventional, creamy peanut butter, like Jif or Skippy, for this specific recipe. Natural peanut butter tends to separate when heated, and the oil can sometimes make the syrup mixture—which is already quite oily—slimy instead of smooth. If you absolutely must use natural peanut butter, make sure you stir that oil back in really, really well, and be prepared that the final bar might be a little less densely chewy because of the lower fat content consistency.
Is it okay to swap honey or maple syrup for the corn syrup?
You can definitely try! These are meant to be easy, **Family Friendly Snack Recipes**, so using maple syrup or honey sounds tempting for avoiding corn syrup. However, these substitutes change the sugar chemistry a bit. If you use honey or maple syrup, you need to boil the mixture for less time—maybe just 30 seconds—because they boil at a lower temperature and can scorch faster. If you boil them too long, your **Chewy Peanut Butter Cereal Bars** will turn rock-hard. If you go shorter, they might not set up firmly enough, so you might need an extra 30 minutes in the fridge.
How do I manage sticking when I press the mixture into the pan?
Oh, the dreaded sticking! If you follow my parchment paper tip, you shouldn’t have much trouble lifting it out later, but pressing it down can still be tough. The absolute best trick that works every time for these **No-Bake Peanut Butter Rice Cereal Bars** is this: I take a piece of plastic wrap or a sheet of wax paper, place it right on top of the cereal mixture, and then use another flat pan (or just my hands over the plastic) to press evenly. This keeps the mixture from sticking right to your fingers or tools. It makes leveling them out so much cleaner, which helps every square look uniform!
My mixture feels too thick to coat the cereal! What did I do wrong?
Don’t panic! This usually happens if the syrup mixture cooled down for just a minute too long before you added the peanut butter, or perhaps your peanut butter was cold. If your syrup and PB mixture is stiff while you’re trying to fold it into the cereal, put the saucepan *back* on the lowest possible heat for about 15 seconds—literally just enough time to warm it up slightly so it loosens up again. Keep stirring gently but quickly until everything is coated, then immediately transfer it to the pan. Don’t cook it on the stove once the cereal is added, or you’ll turn them into bricks!
If you are looking for more ways to use simple pantry items in **No Bake Goodies for Potlucks**, you really should check out my recipe for homemade cheese crackers; they are savory but just as simple!
Nutritional Estimate for No-Bake Peanut Butter Rice Cereal Bars
Since these **Easy Peanut Butter Cereal Treats** are made with standard pantry staples like butter, sugar, and corn syrup, they are definitely a special treat rather than an everyday health food! But for planning purposes, here’s a rough estimate based on the standard recipe yields of 24 squares. Remember that the exact amount of sugar and fat can change wildly based on what brand of peanut butter or syrup you grab off the shelf!
- Serving Size: 1 square
- Calories: Roughly 195
- Fat: Around 10g total fat
- Carbohydrates: About 25g in each bar
- Protein: You get a nice little boost, around 4g from the peanut butter!
- Sugar: Most of the carbs come from sugar, close to 18g per square.
Everyone’s kitchen is a little different, and these estimates can shift based on your ingredients. For more recipe ideas and articles about making simple, home-cooked food, check out the main index on my blog here!
Nutritional Estimate for No-Bake Peanut Butter Rice Cereal Bars
Since these **Easy Peanut Butter Cereal Treats** are made with standard pantry staples like butter, sugar, and corn syrup, they are definitely a special treat rather than an everyday health food! But for planning purposes, here’s a rough estimate based on the standard recipe yields of 24 squares. Remember that the exact amount of sugar and fat can change wildly based on what brand of peanut butter or syrup you grab off the shelf!
- Serving Size: 1 square
- Calories: Roughly 195
- Fat: Around 10g total fat
- Carbohydrates: About 25g in each bar
- Protein: You get a nice little boost, around 4g from the peanut butter!
- Sugar: Most of the carbs come from sugar, close to 18g per square.
Everyone’s kitchen is a little different, and these estimates can shift based on your ingredients. For more recipe ideas and articles about making simple, home-cooked food, check out the main index on my blog here!
PrintNo-Bake Peanut Butter Rice Cereal Bars
Make these simple, quick peanut butter rice cereal bars without turning on your oven. This recipe uses basic pantry ingredients for a satisfying, chewy snack.
- Prep Time: 15 min
- Cook Time: 5 min
- Total Time: 20 min
- Yield: 24 squares
- Category: Dessert
- Method: No-Bake
- Cuisine: American
- Diet: Vegetarian
Ingredients
- 1/2 cup butter
- 1 cup granulated sugar
- 1 cup light corn syrup
- 1 teaspoon vanilla extract
- 1 cup creamy peanut butter
- 6 cups puffed rice cereal
Instructions
- Line an 13×9 inch baking pan with parchment paper, leaving an overhang on the sides for easy removal.
- In a large saucepan, melt the butter over medium heat.
- Stir in the sugar and corn syrup. Bring the mixture to a rolling boil, stirring constantly. Boil for exactly one minute.
- Remove the saucepan from the heat. Stir in the vanilla extract and peanut butter until completely smooth.
- Pour the peanut butter mixture over the puffed rice cereal in a large bowl. Stir gently until the cereal is evenly coated.
- Press the mixture firmly and evenly into the prepared baking pan. Use wax paper or lightly buttered hands to press it down.
- Chill in the refrigerator for at least 2 hours, or until firm.
- Lift the bars out of the pan using the parchment paper overhang. Cut into squares before serving.
Notes
- For a slightly different texture, you can substitute honey or maple syrup for the corn syrup, but you may need to adjust the boiling time slightly.
- Store leftovers in an airtight container at room temperature for up to 4 days.
- You can add 1/2 cup of mini marshmallows or chocolate chips to the cereal mixture before pressing into the pan.
Nutrition
- Serving Size: 1 square
- Calories: 195
- Sugar: 18
- Sodium: 110
- Fat: 10
- Saturated Fat: 3
- Unsaturated Fat: 7
- Trans Fat: 0
- Carbohydrates: 25
- Fiber: 1
- Protein: 4
- Cholesterol: 10